DIY Coat Closet Makeover
This post may contain affiliate links. If you use these links to buy something, I may earn a small commission.
DIY Coat Closet Planning
Our front closet wasn’t being utilized in the best way, leaving a lot of clutter and daily mess. We needed to give it a little refresh, so enter Operation: DIY coat closet makeover! I didn’t want to do anything drastic since we will be selling in a year, but we were in need of some more functional space for shoes and coats. And let’s be honest, who likes those builder grade wire shelves anyway?! Here’s a list of all of the materials and supplies that I used in this project.
Materials, Tools, & Supplies:
- Paint (I used Revere Pewter)
- Spackling
- Putty Knife
- 1×2’s for support boards
- Dewalt Table Saw
- Hart Drill
- Hart Impact Driver
- Caulk
- Caulk Gun
- Circular Saw
- Brad Nailer
- 3/4″ Plywood
- Hooks
- Large Baskets
- Small Baskets
DIY Coat Closet Prep
I started by tearing out the wire shelving. It was surprisingly easy to remove and the closet already looked so much bigger & better. After getting rid of the shelving we had SO many holes to fill. I typically use joint compound to fill the holes, but this time I used spackling. If this was a normal wall, I would sand and retexture our textured walls. Because it is a closet and is filled with shelves and shoes, I lightly sanded, but didn’t fix the texture. You can hardly tell, so I think I made the right choice.
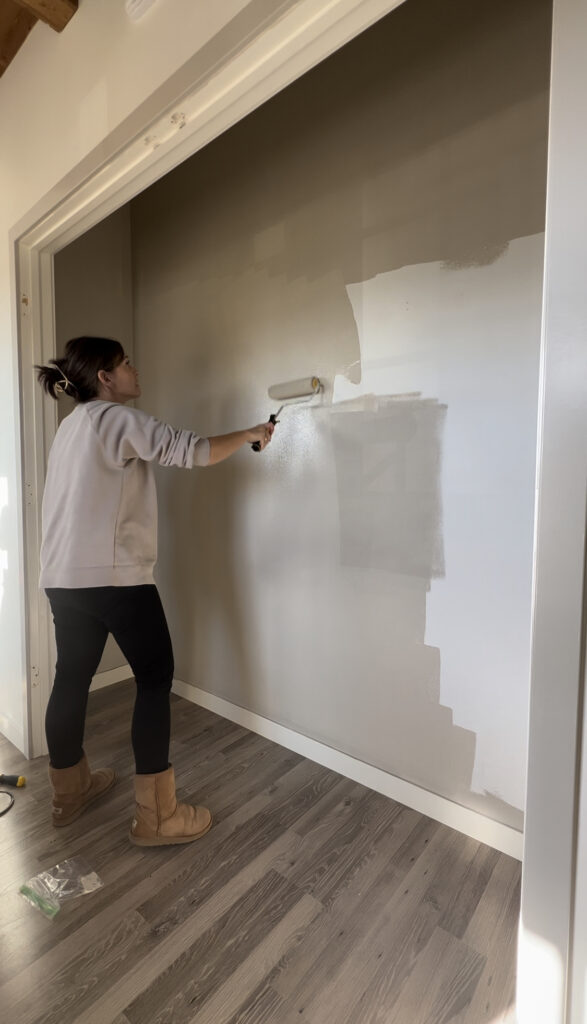
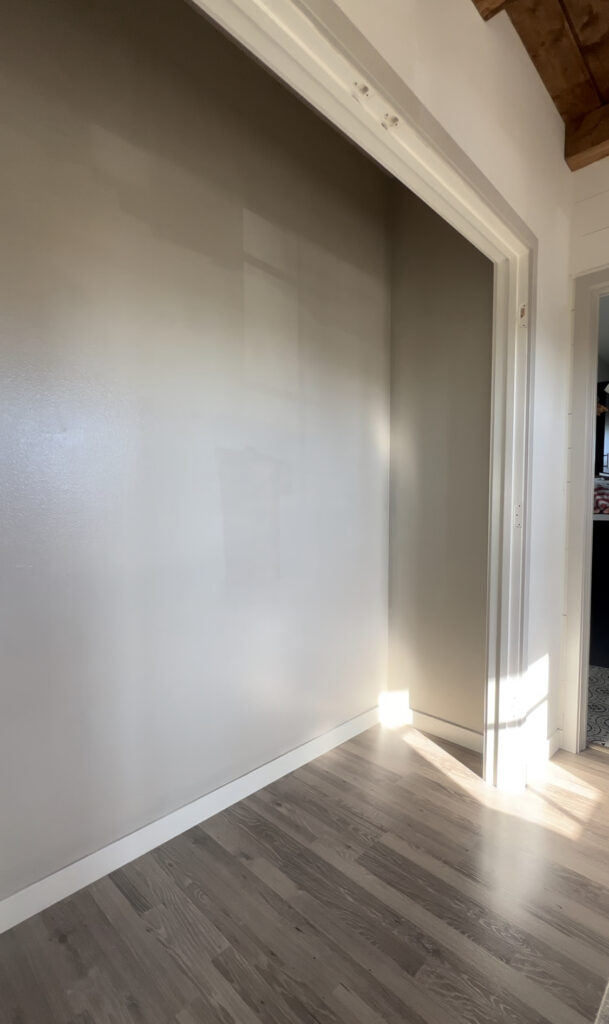
I decided to do a monochrome look for the closet using Revere Pewter by Benjamin Moore. I used the same color for the interior doors on our main level, so I wanted it to all tie in together. I’ve been inspired to try it after seeing the monochrome look done by so many other DIY accounts! I chose to paint the walls and ceiling in a satin finish and the trim in a semi-gloss finish.
DIY Coat Closet Shelf Supports
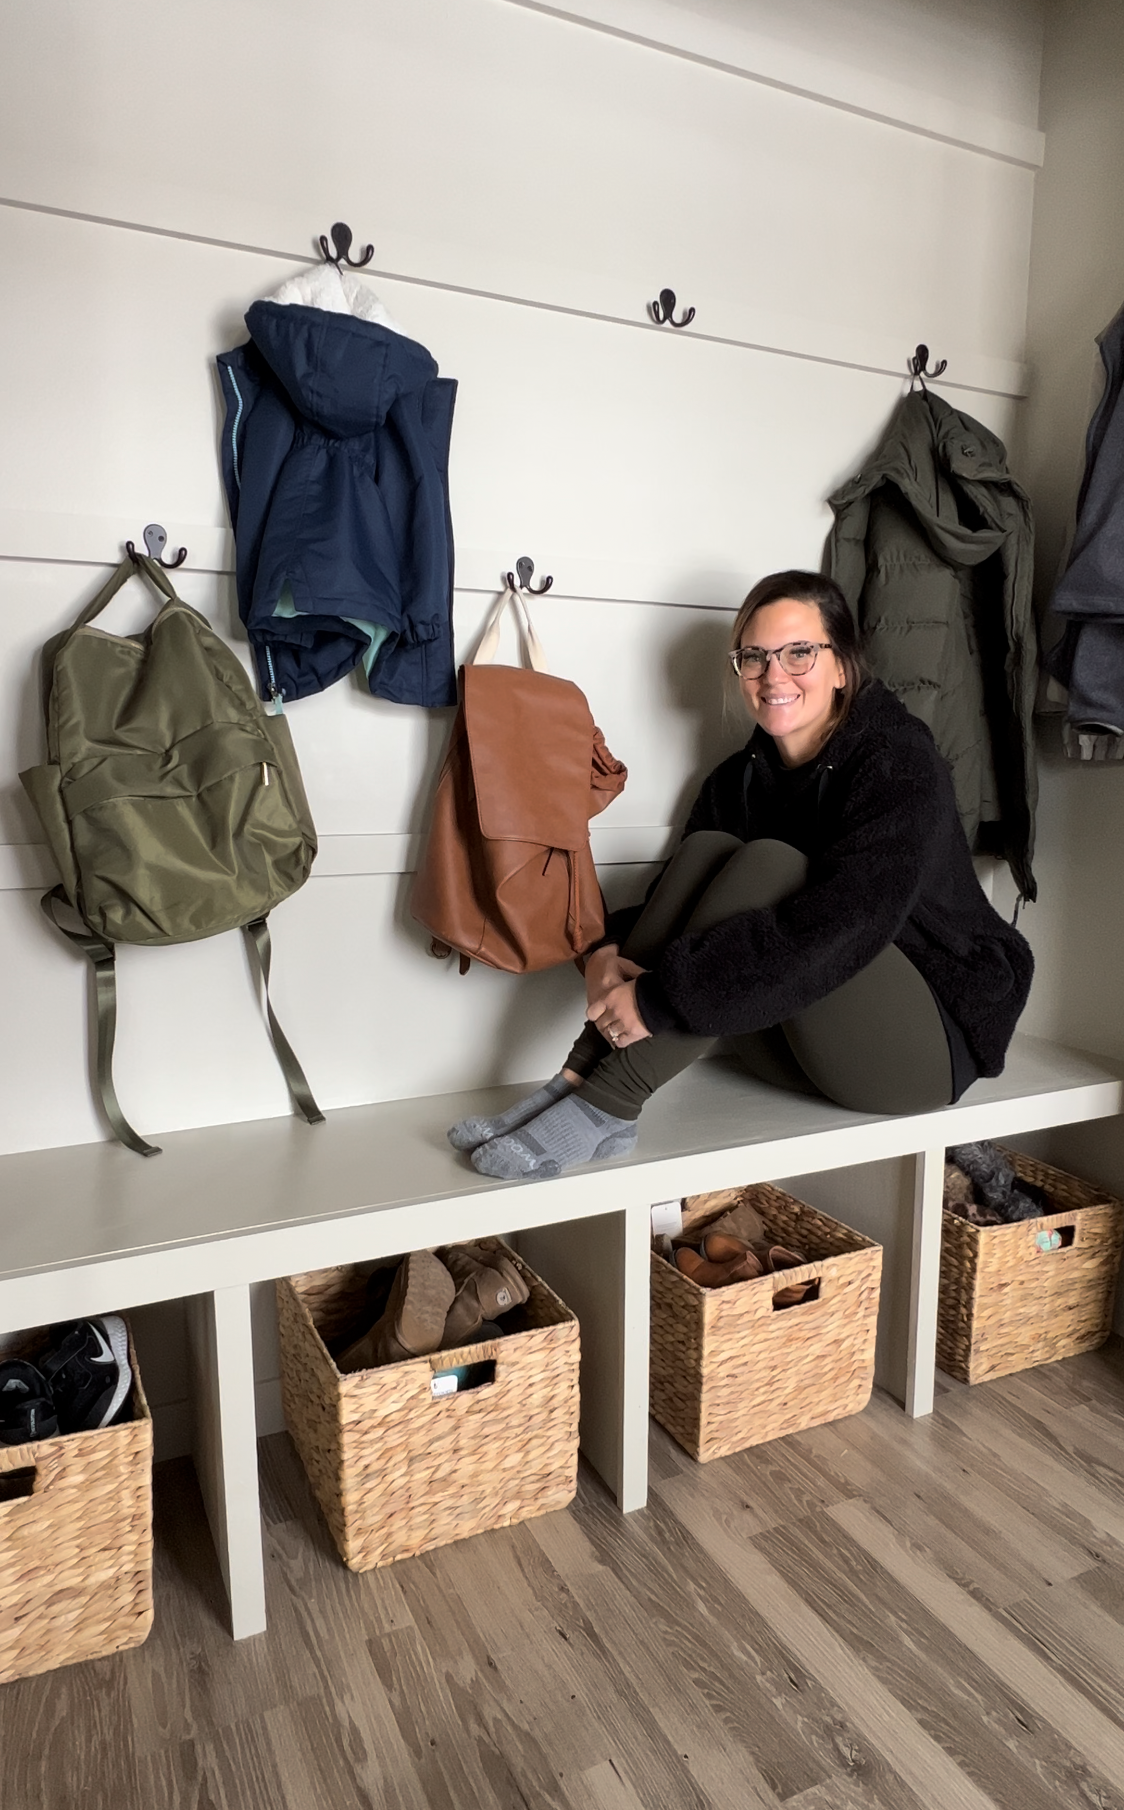
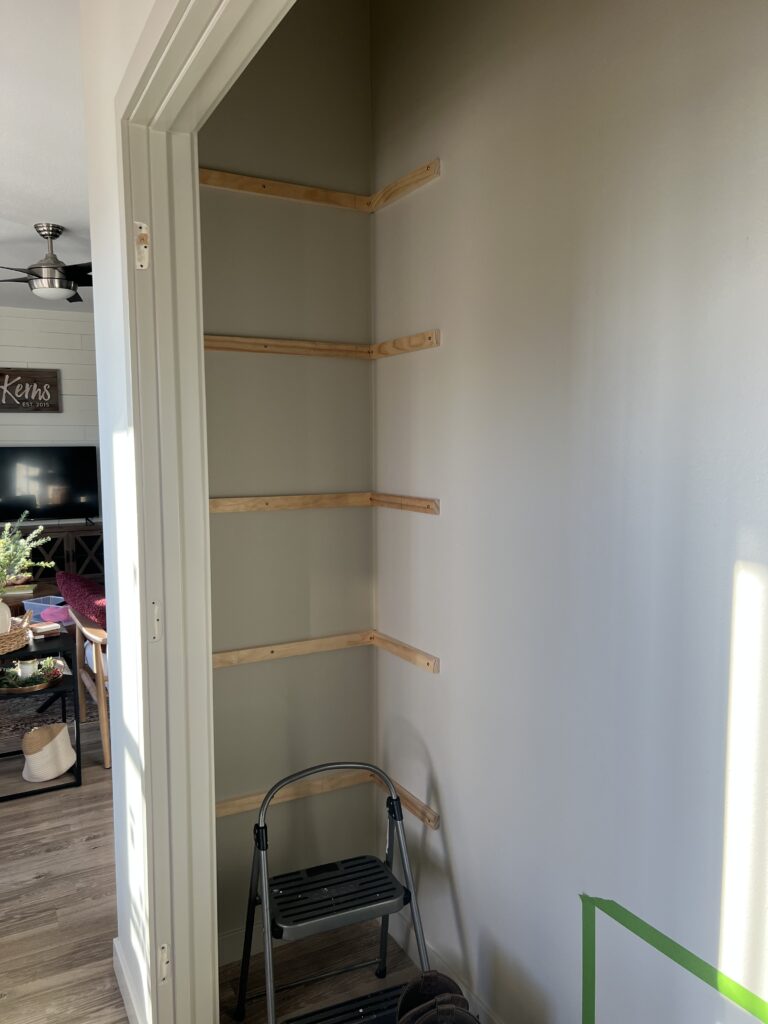
The next step in the DIY coat closet makeover was the shelf build. I wanted to utilize some of the dead space in this closet, so we decided to do shelves all the way up the left side, and then a bench along the bottom with space for baskets full of shoes. The bench won’t get a ton of use because we will be putting the doors back on our closet, but it’ll be a nice drop zone for the kids’ backpacks and things that I want to be out of sight.
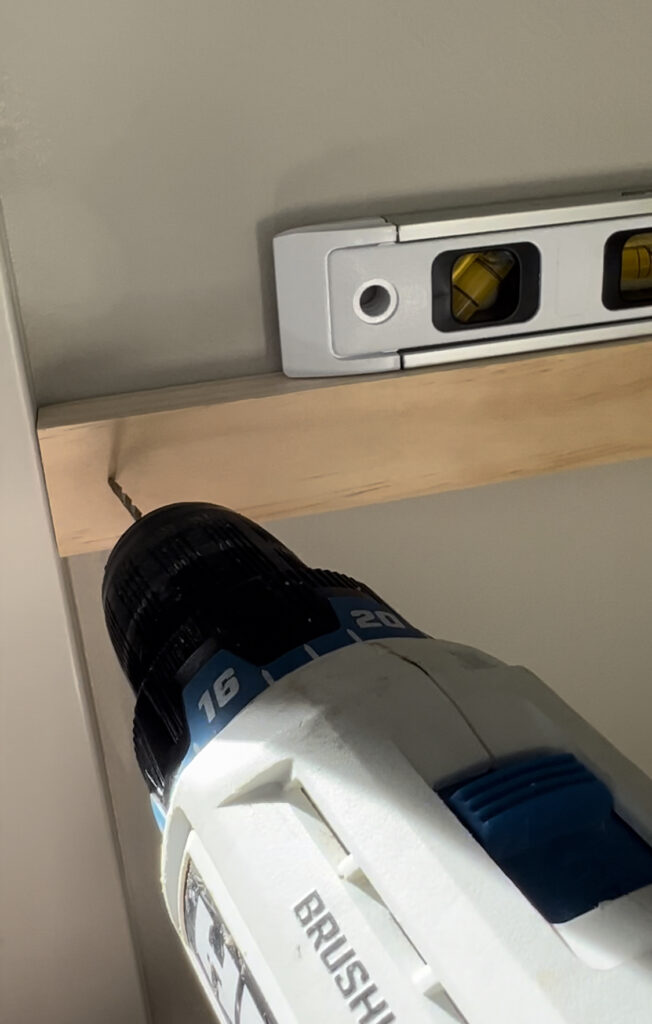
I used 1×2’s to brace the shelves along the back and the sides, and I was actually able to use all scrap wood for for this part. I ripped it down on my table saw to the size I needed, and then I fastened them to the wall with screws. Make sure if you decide to do this, that you pre-drill the holes for the screws otherwise you run the risk of splitting your wood. I made sure to get all of the screws into studs on the walls so the shelves would be nice and sturdy. The only problem I ran into was that one of the braces wasn’t long enough to hit a stud on one end, so I had to use a drywall anchor on that side of the brace. Don’t skip the anchor, otherwise your screw will be going directly into air and insulation!
I debated for a while whether to paint or stain the shelves for this closet. I think stain would have looked better, but ultimately I decided to paint them. The main reason being that I already had the paint on hand, making this a quicker and cheaper project! The other reason was because I knew we were putting the doors back on the closet, so the shelves wouldn’t be seen unless the doors were open.
DIY Coat Closet Shelves
Time to cut the shelves! Turns out a 4×8 foot sheet of 3/4″ plywood is extremely heavy and hard to lift by myself (ha!). I didn’t want to rip that alone on my table saw, so I used my circular saw. I fastened the shelves to the supports using brad nails, but you could also leave them free floating if you wanted.
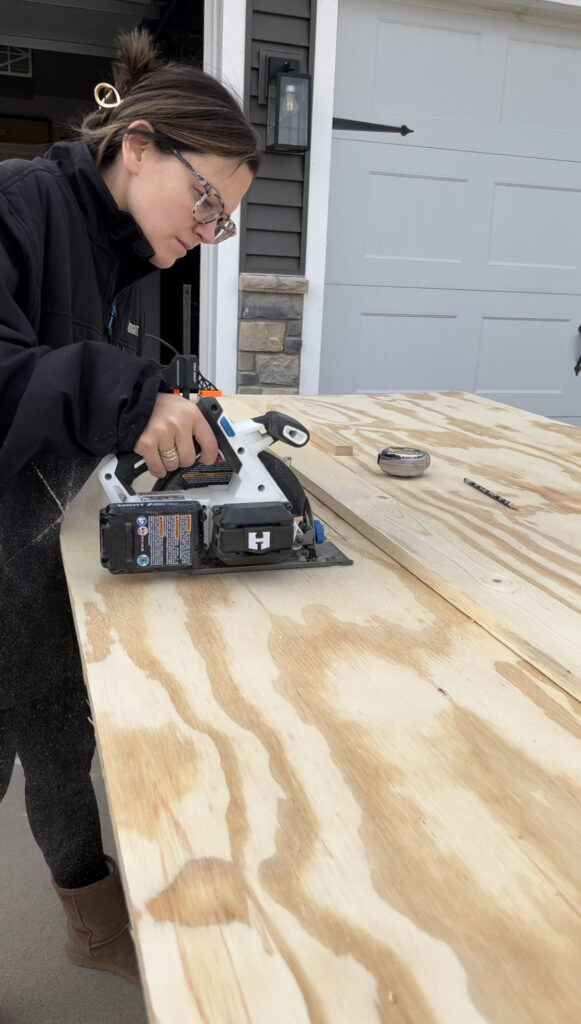
Then I added face frames to the front of the shelves using more scrap wood. I cut it down to approximately 2.25″. Then I attached the face frames with brad nails before caulking and filling all nail holes. The shelves and braces all got painted the same Benjamin Moore Revere Pewter as the walls.

Bench
My husband helped build the bench across the middle of the closet. I made him do all of the cutting so I didn’t have to get dirty (wife perks!). I constructed the bench the exact same way as the shelves (1×2 braces and 3/4″ plywood). The bench did have a little more support, because we added dividers in the bottom to separate the baskets. Then I caulked, filled and painted everything.
Final Touches
The last piece of the closet was the horizontal battens to put the coat hooks on. We only attached hooks to two of the battens, but we still hung the other two to balance it all out and make everything look cohesive.
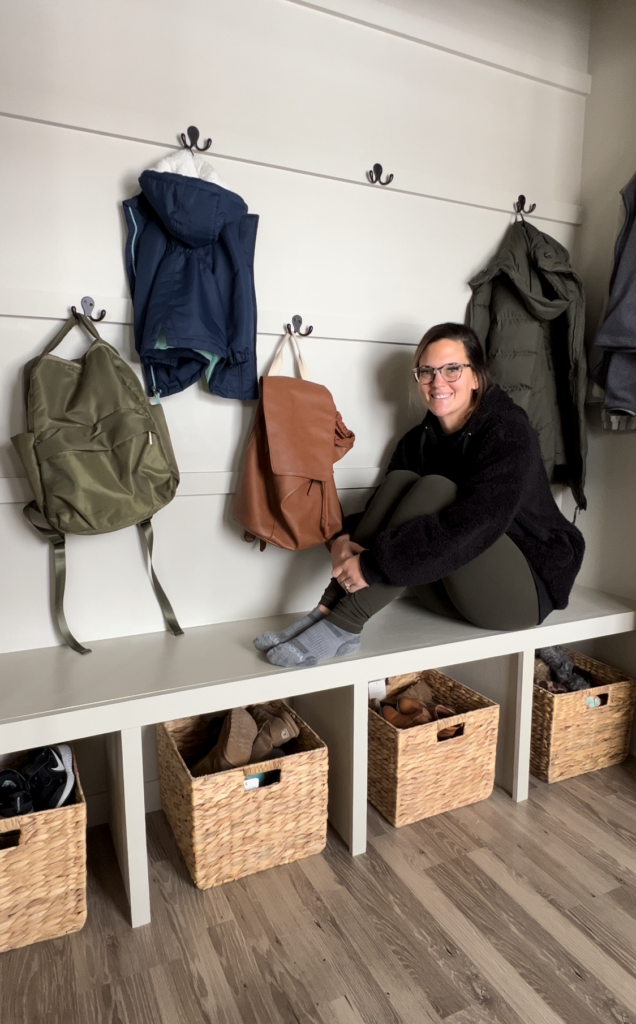
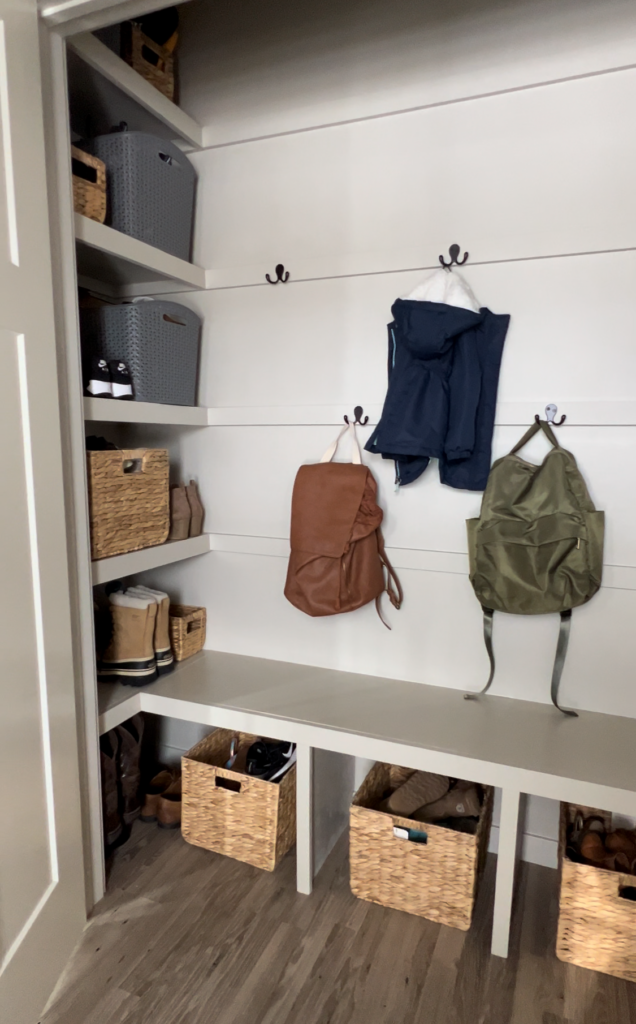
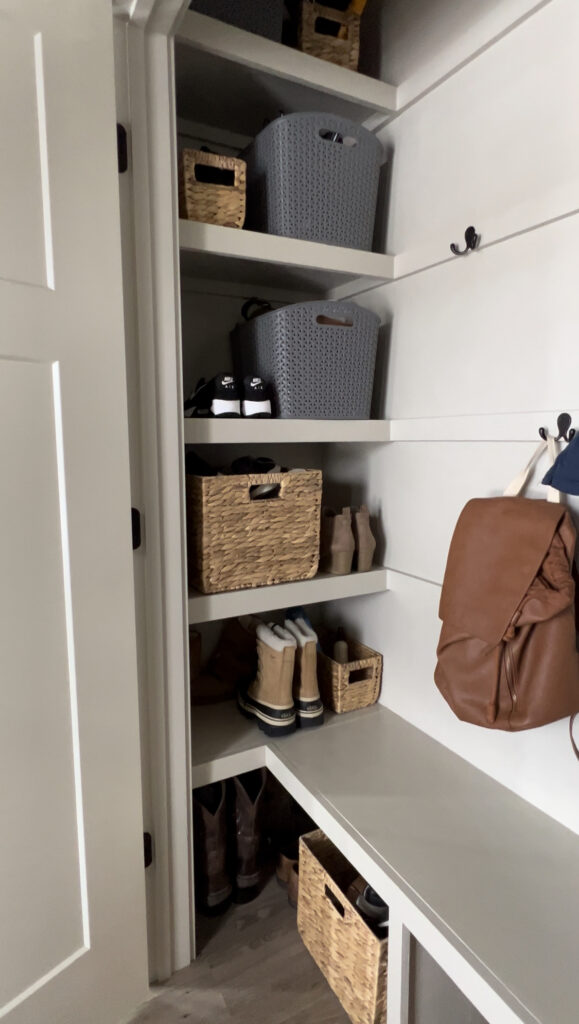
Chef’s kiss! The closet is much prettier than it was in the beginning, but even more important, it’s more functional too! If you need a video tutorial for any part of this project, be sure to check out my highlight reel on Instagram here.
Feeling inspired to DIY an area of your home? Make sure to check out all of our other DIY projects and more about our new home build here.
December 27, 2022

