Old File Cabinet to DIY Fire Table
This post may contain affiliate links. If items are purchased using these links, I make a small commission.
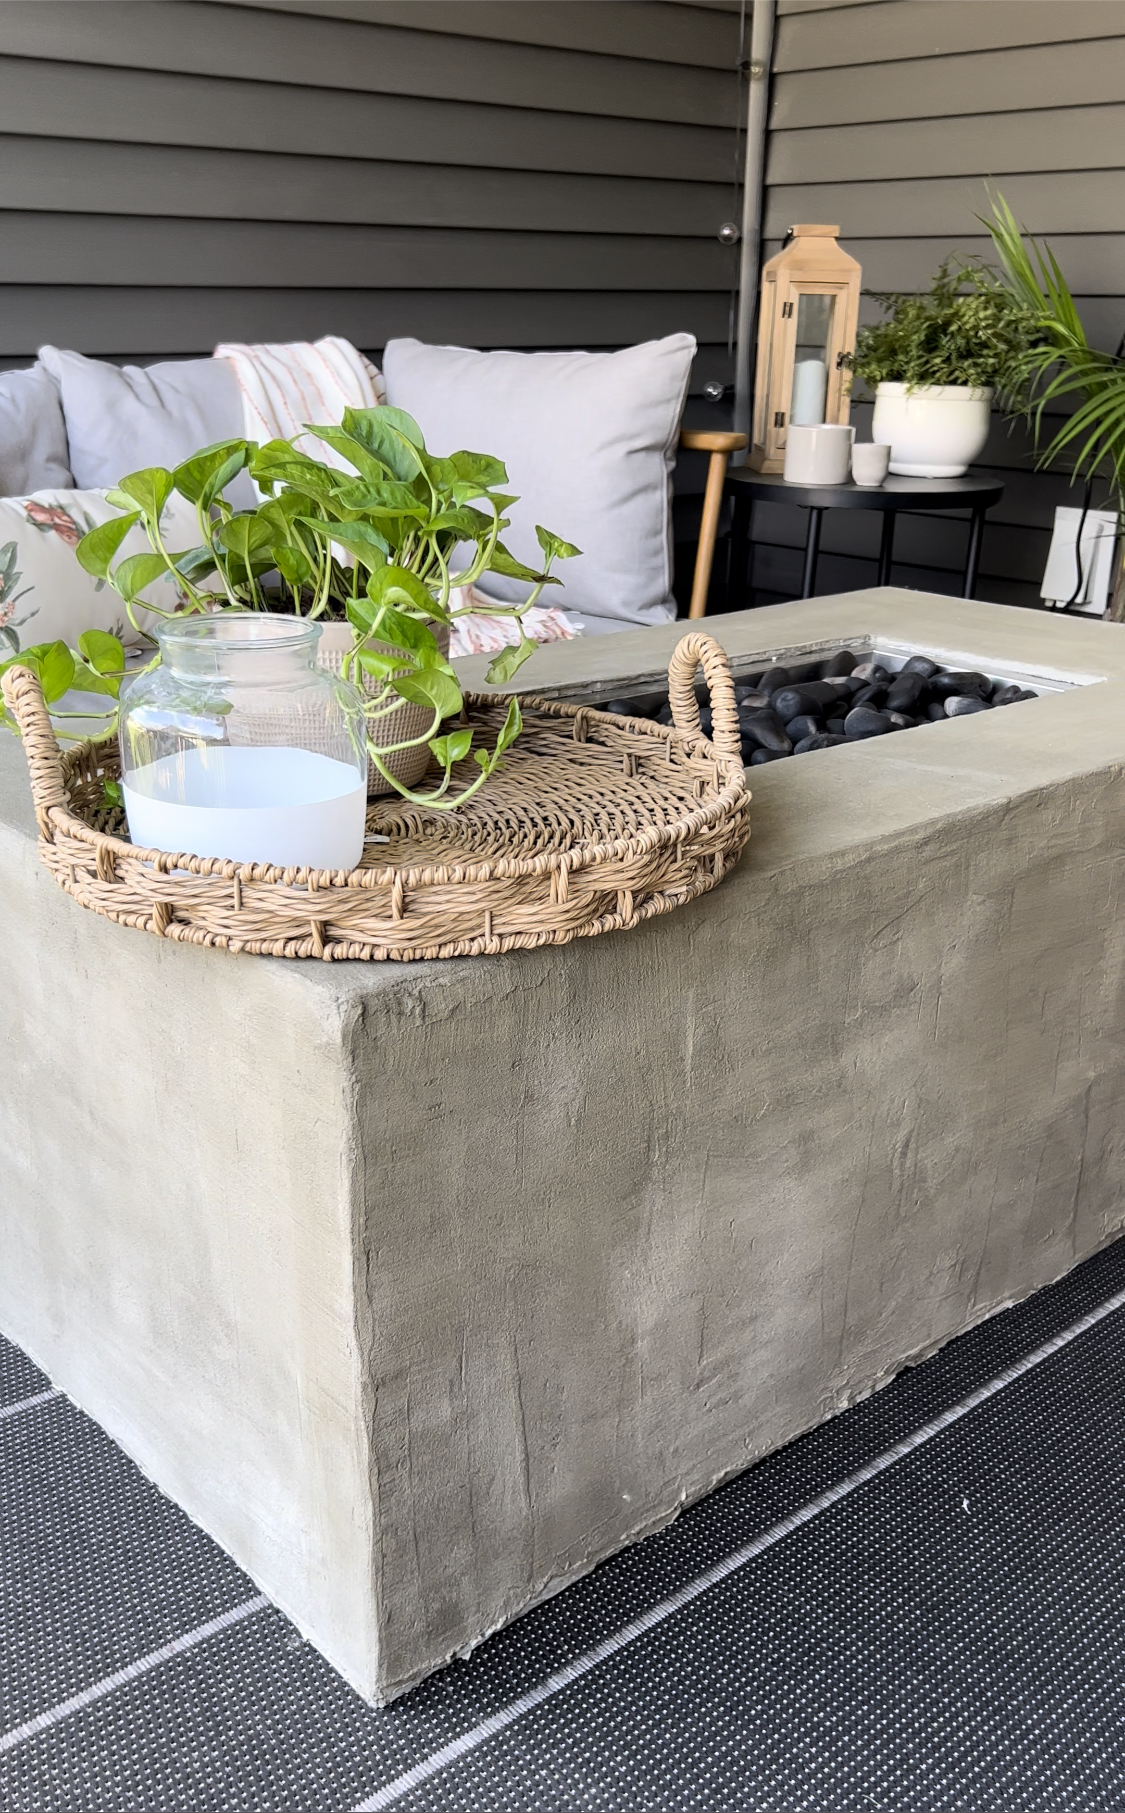
Summer is still hanging on, but fall nights will be upon us soon. You might be thinking it’s time to update your outdoor gathering space to accommodate guests on those chilly nights. A great way to help warm things up would be a patio heater or a fire pit/table! Maybe you have an old metal cabinet sitting in your home office, and you’re not sure what to do with it!? Or, you can check out your local Facebook marketplace, local thrift store or even a yard sale for one. Follow along while I explain how I took an ugly file cabinet, and made it into my very own concrete fire table. Fire pits and tables can help extended your outdoor family gatherings in the cooler months, and provide an ambiance to your space. After you see this, you’re going to be ready to make your own DIY Fire Table! Trust me.
There are tons of things on the market right now, but maybe you don’t want to spend very much money to help warm up your space. I had seen a fire table online that would have fit our space perfectly, but it was so expensive. At right around $1000, I was never going to be ready to spend that. Certain things like that don’t make the budget. After brainstorming what to do with this old filing cabinet I had, I decided it was just about the same size and with some modifications, it could work. That’s what’s so great about DIY projects, you can try to use what you have and repurpose old items to give them new life. One thing to note, is that you will not want to use a wood file cabinet for this. You’re going to want to make sure you’re looking for metal filing cabinets only. A wood surface is obviously going to be combustible, and that wouldn’t be fun for anyone.
We were excited to give the DIY fire table a shot!
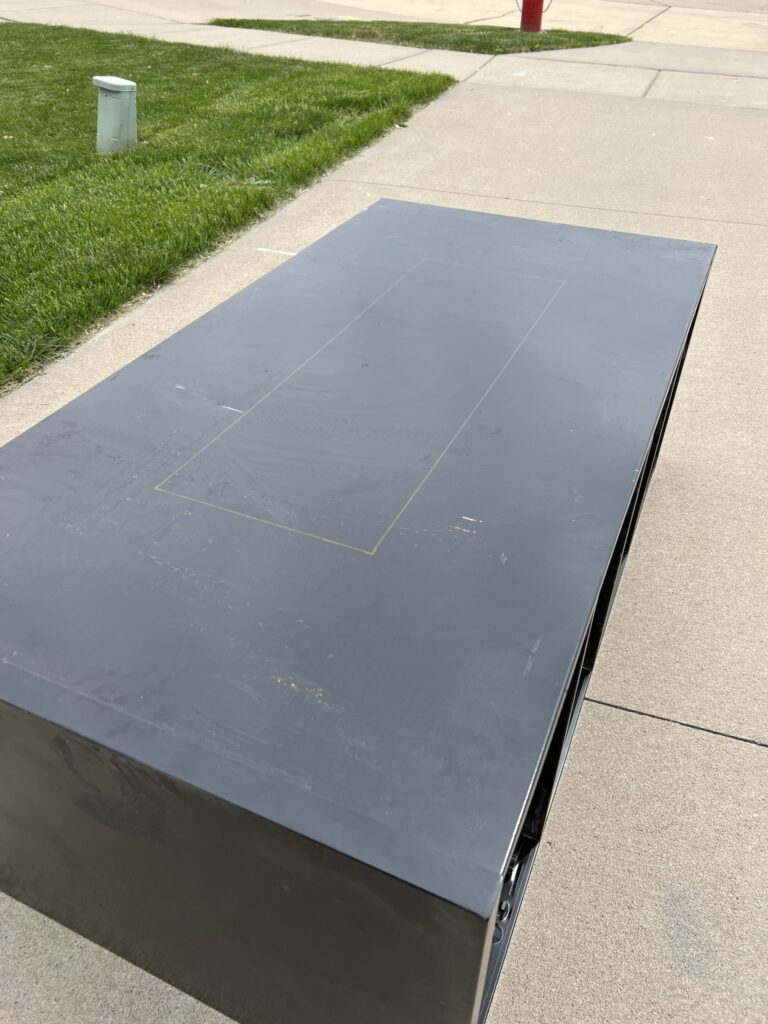
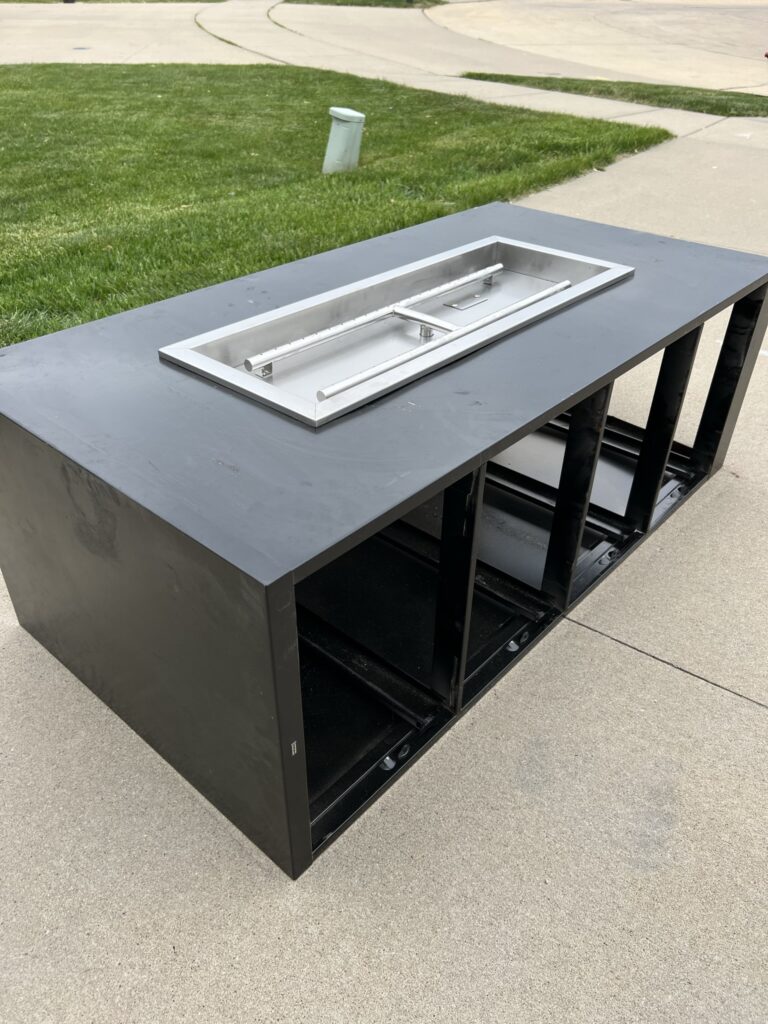
My first step was going to be finding an insert that would fit to the size of the old cabinet we were going to use. I found several options, but it really depends on how much table space you want on the outside of your insert. Here’s the Fire insert that I ended up getting.
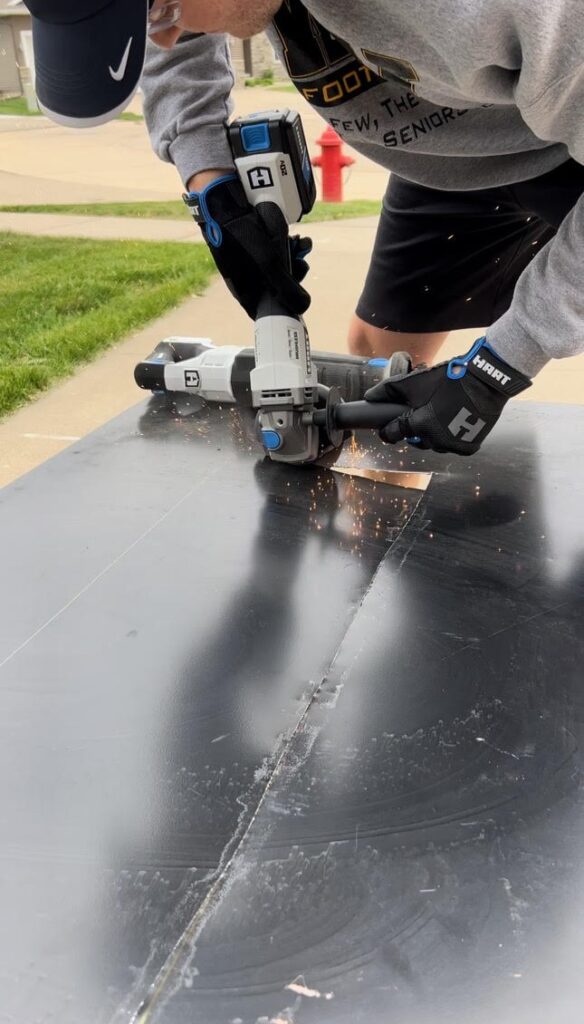
Once we had the insert, the first thing we had to do to remove the file drawers, turn the entire cabinet on its side, measure, and cut the hole for the insert using an angle grinder. Then we popped the insert in to make sure it would fit. I had my husband do most of this part as the angle grinder makes me nervous.
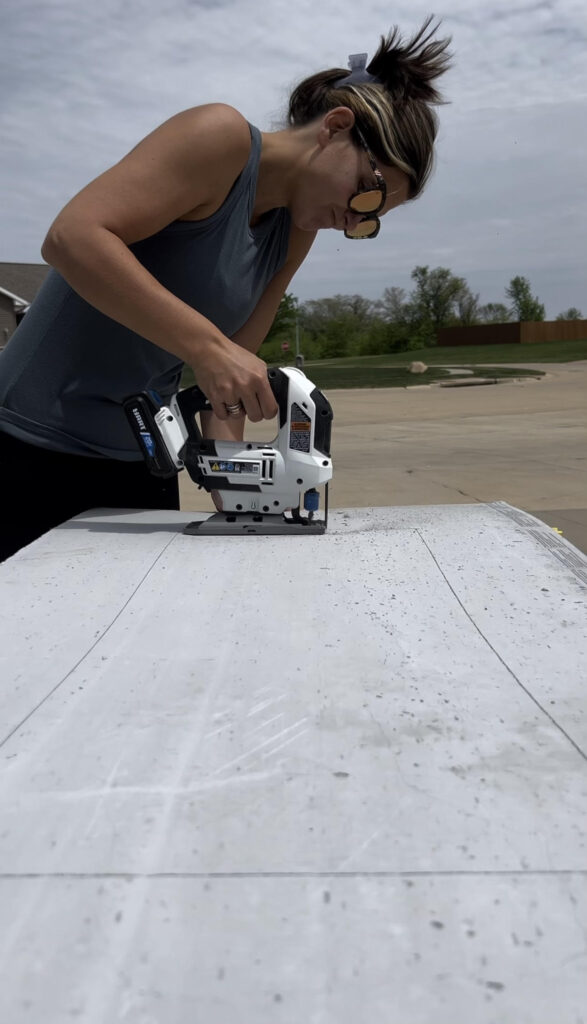
We then cut 1/4” cement board (we grabbed this from Home Depot) with a jigsaw to cover the top of the file cabinet. You want to be very careful with the cement board as it’s pretty flimsy being so thin.
Next, we added a 1/2” layer of cement board over on top (to help with it being too flimsy), and cement board all around the sides of the cabinet.
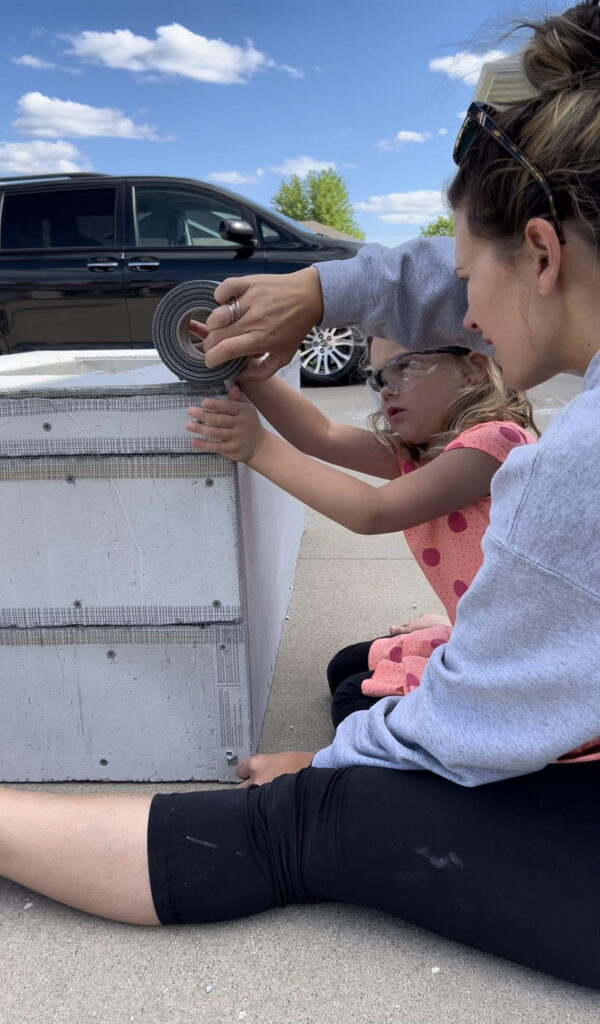
After getting all the cement board on, you will want to go around and tape all your seams and any screw holes with cement tape.
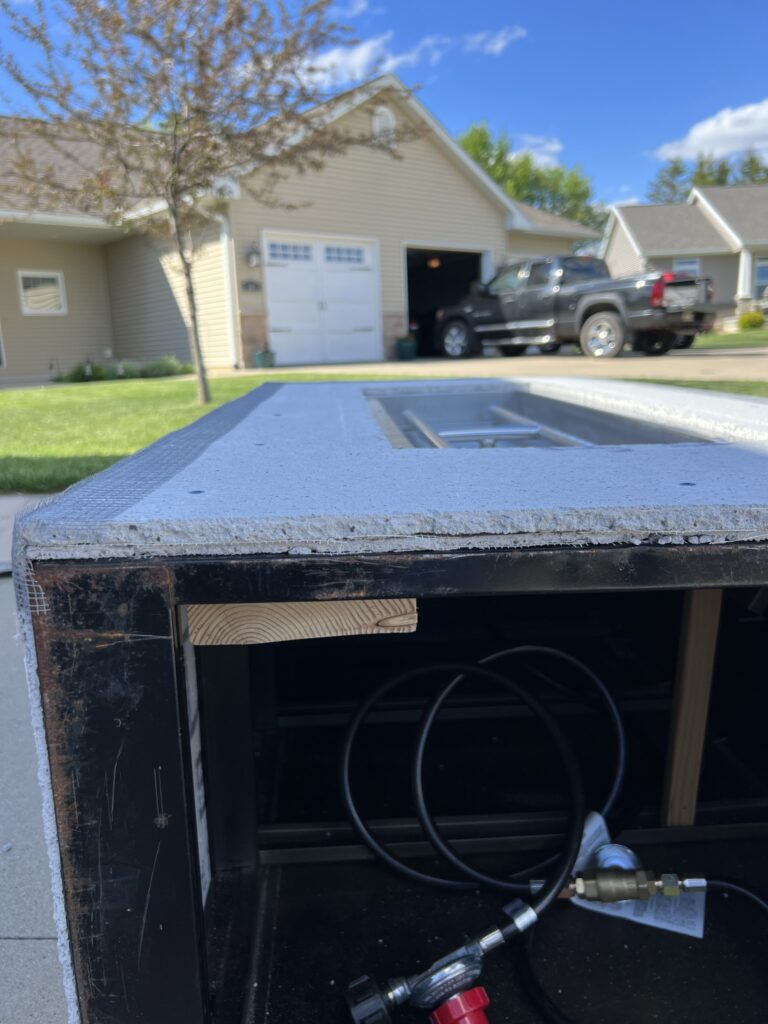
I decided to make a side door to easily access the inside of the fire table so that the tank could be hidden under the table. I wanted it to be fairly sturdy, so we found a scrap piece of wood (3/4” plywood) and secured it to the back of the cement board using liquid nails and clamps.
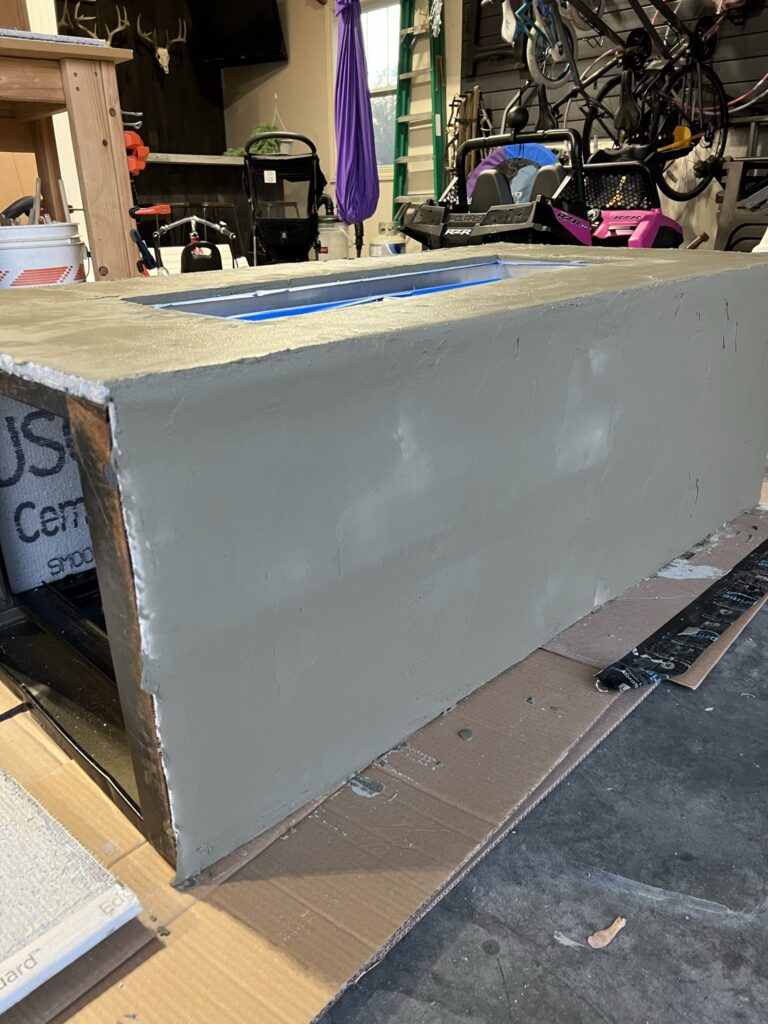
Then, we were ready to add the mortar to cover the entire outside of the table and let dry. You can get kind of creative here with how you apply the mortar and also maybe with different colors. I wanted it pretty even, and knew I was going to be doing two coats of mortar and didn’t want too many rough spots. I applied mortar to the door front at this point also. Make sure you apply thin coats. Your first coat may take a little time, but it’s kind of fun once you get going. While the mortar was drying, I took a damp sponge and smoothed over most of the rough spots. Then after the first coat dried, I did a light sanding with 220 grit sandpaper. The second coat went a bit quicker. If you do light coats, you may only need 2 like we did.
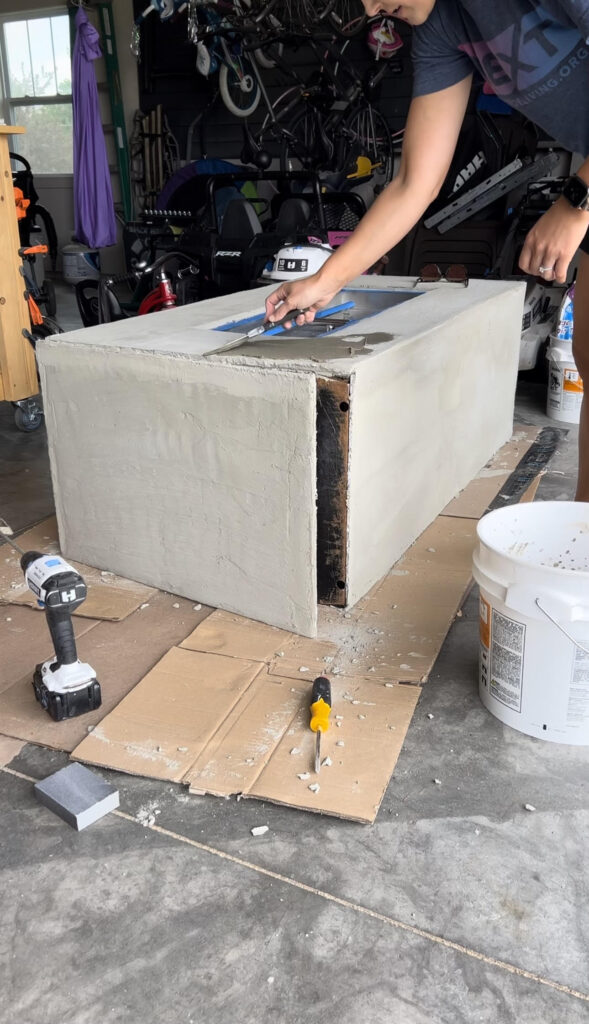
The last step was getting some new hardware for the door. We also found that adding some magnets to the door was the best choice for keeping it attached to the rest of the cabinet.
The entire thing took us a couple of days with dry time and all. The best part was this DIY filing cabinet makeover turned out even way better than I could have imagined.
Supplies to go from Old File Cabinet to DIY Fire Table:
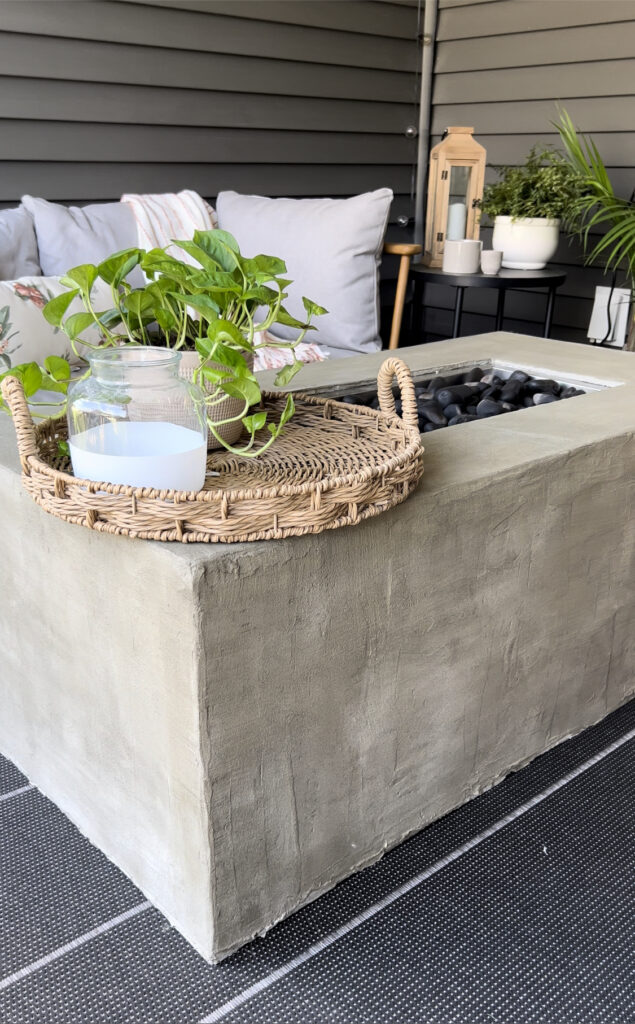
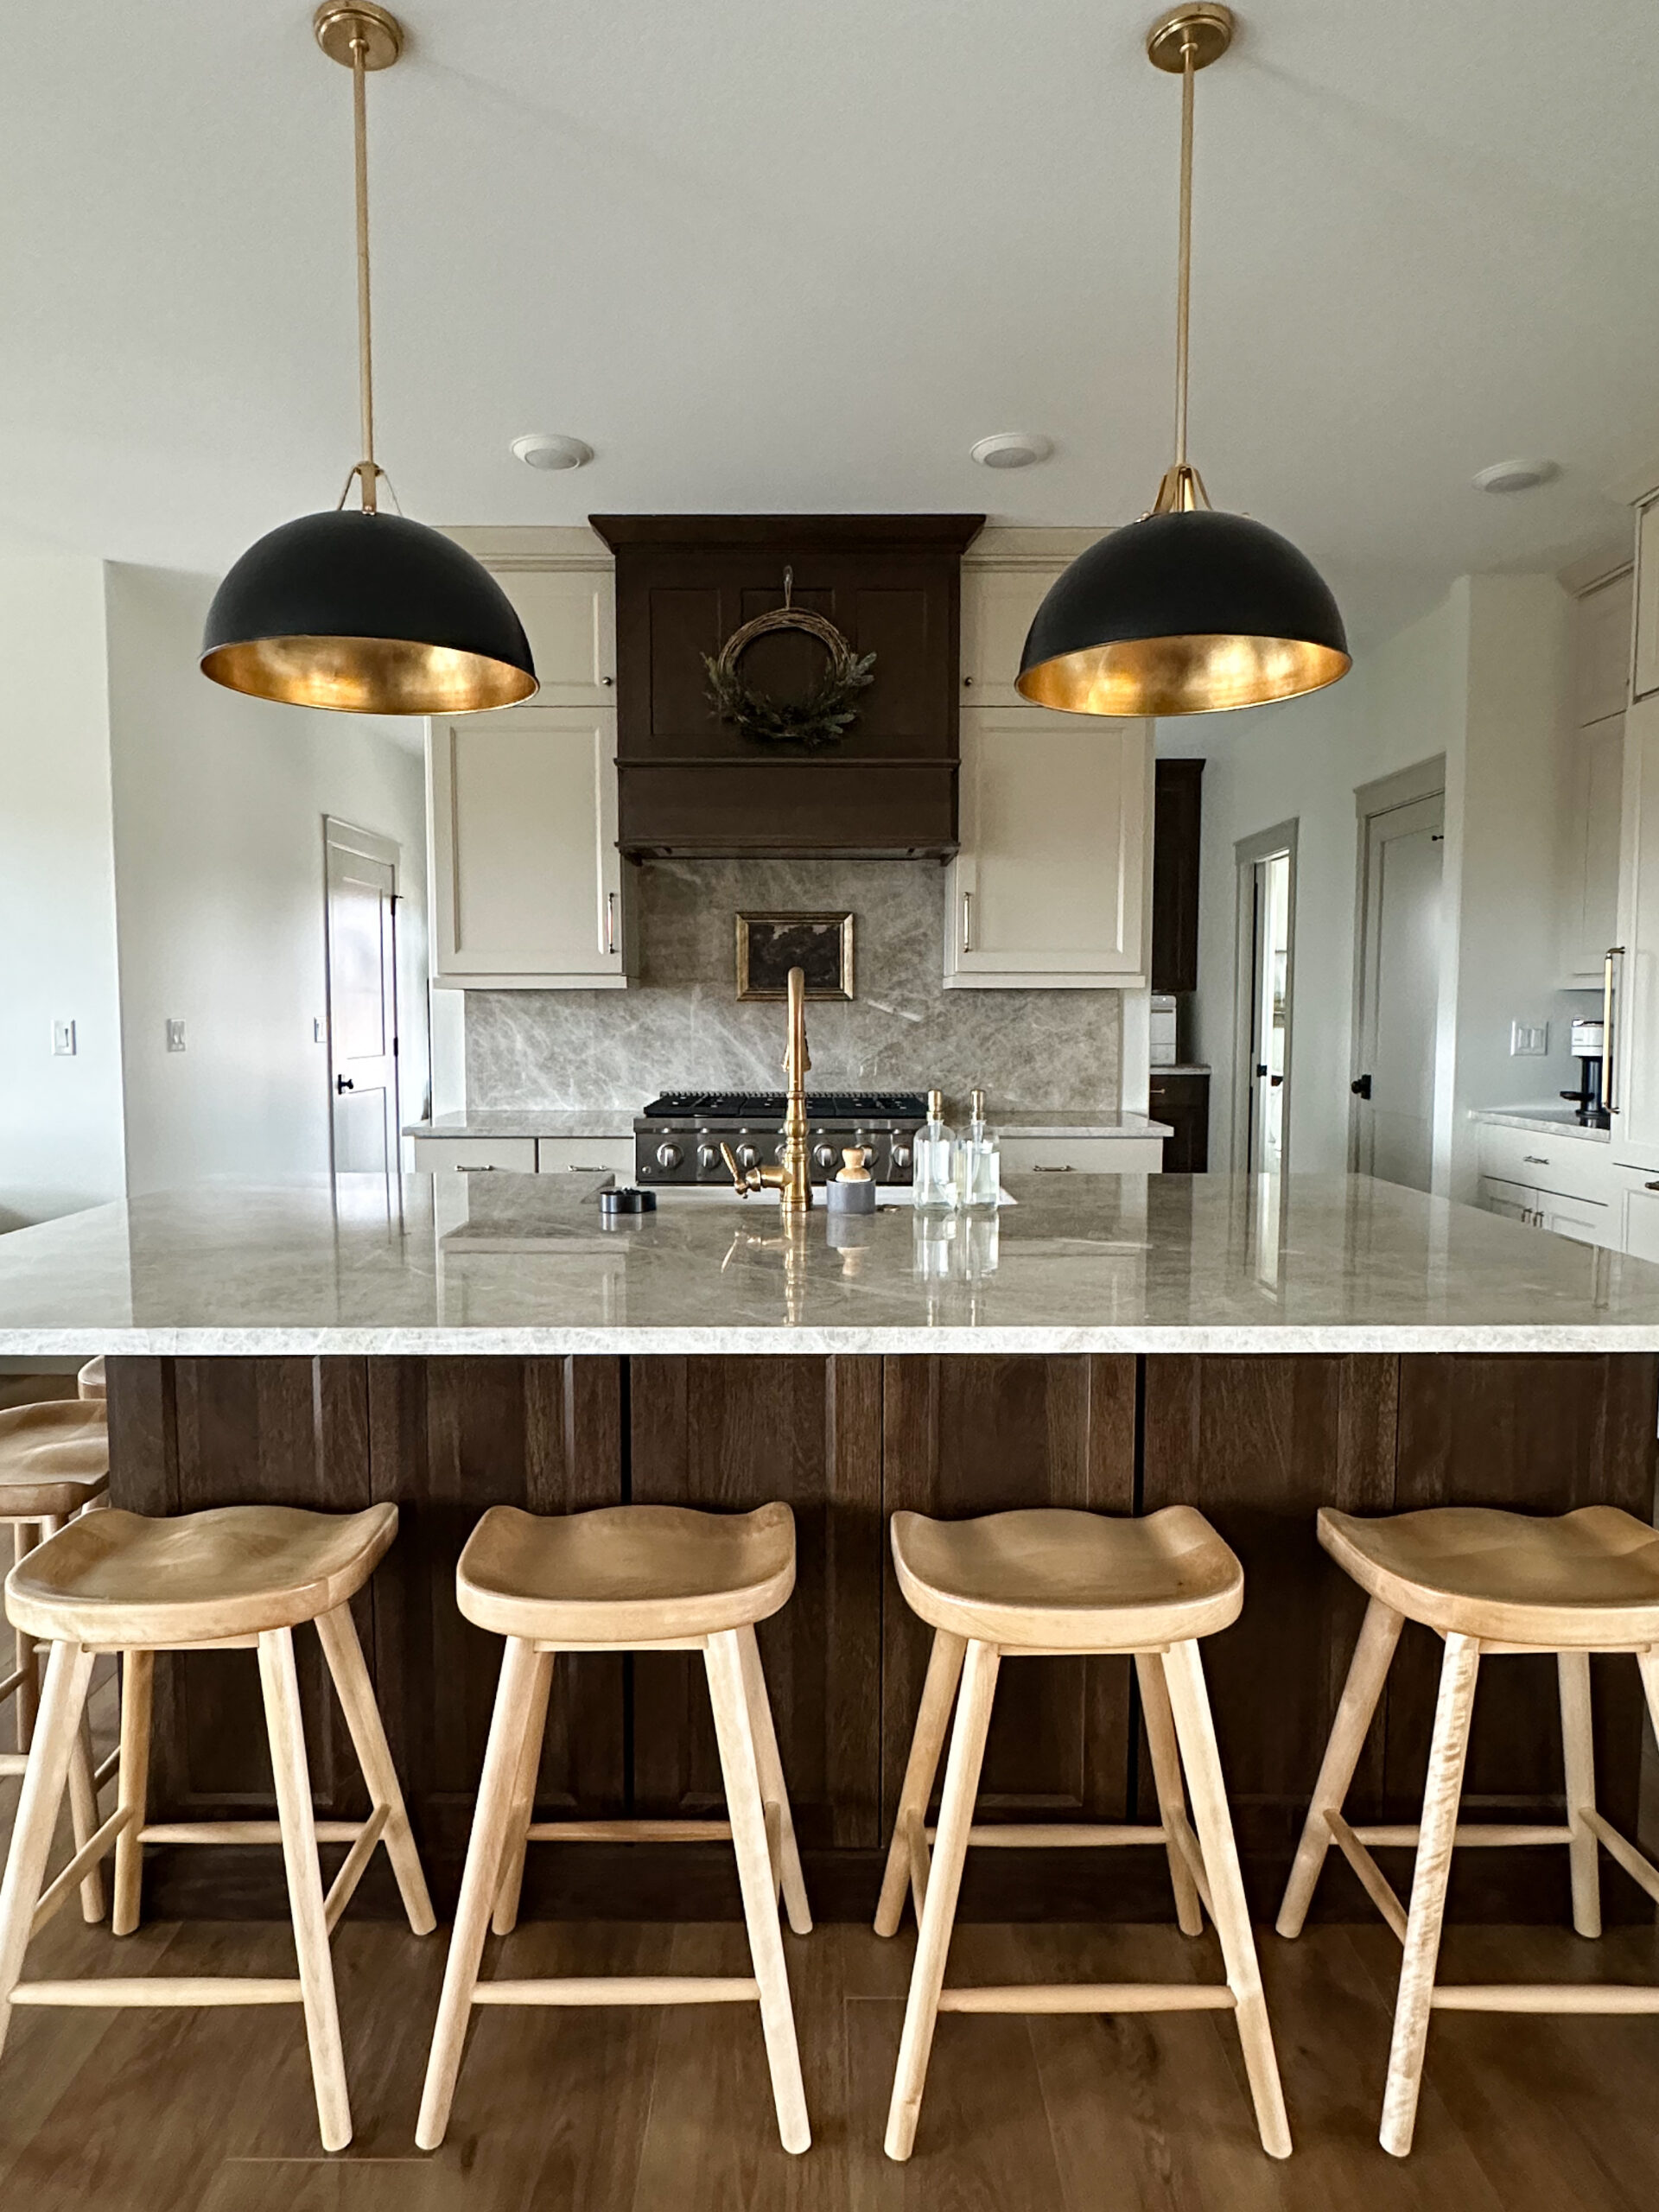
With a few finishing touches, we had an awesome looking fire table, for less than half of what the online one would have cost us! This can easily become part of your home décor, so if you’re looking for a new piece of furniture for your outdoor space, give this a try! Can’t wait to see how you take your old file cabinet to a DIY fire table. Check out the final product here!
September 15, 2023

