Shiplap Wall Feature
This post may contain affiliate links. If you use these links to buy something, I may earn a small commission.
Dining Room Vision
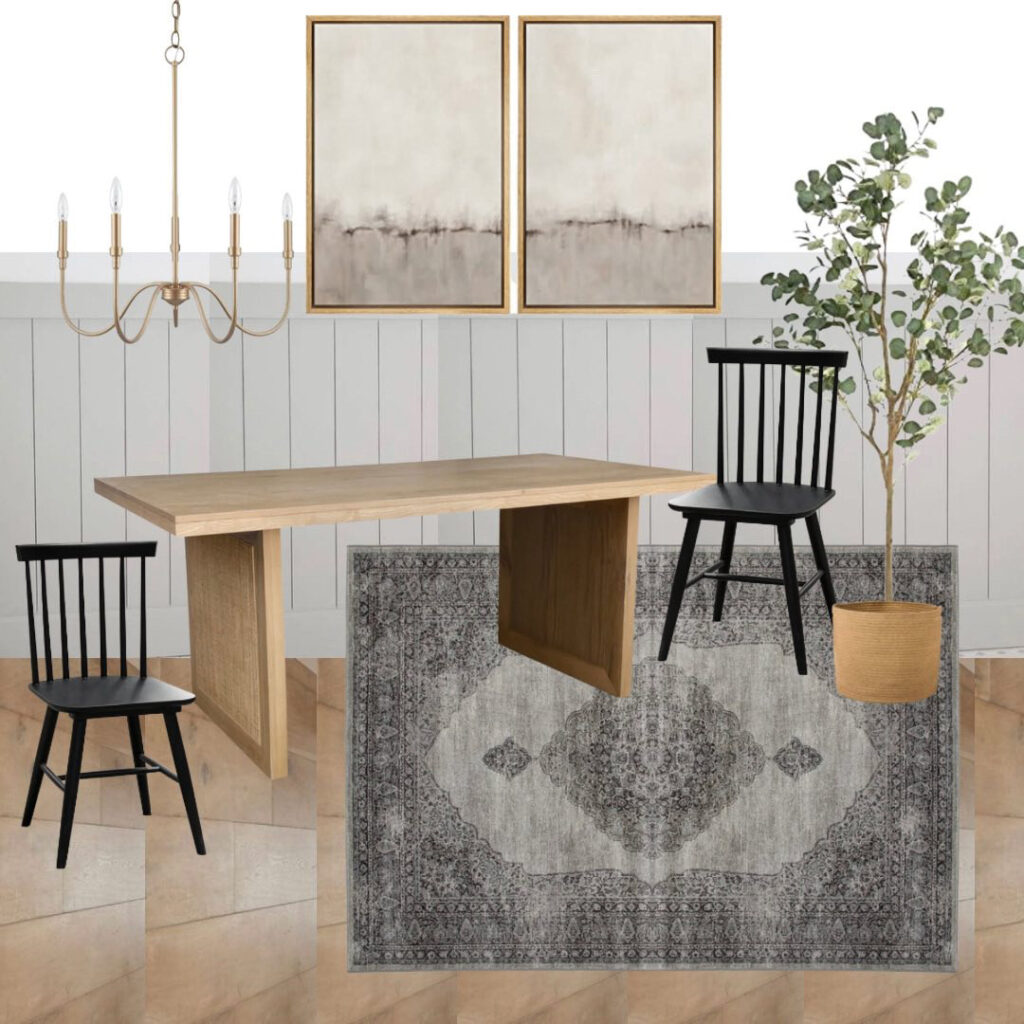
When my sister asked me to give her dining room a little refresh, I jumped at the opportunity to design a room she would love! I mean, how many chances do you get to design and DIY for other people? I wanted to give her a dining room that she could walk into every day feeling grateful and inspired. First things first, a mood board to pull together my vision for the space (and of course, get her on board!). I knew that a shiplap feature wall would be the perfect start.
Shiplap Feature Wall Planning
I couldn’t design her a room without a little DIY, so the main focal point is a show-stopping shiplap feature on the walls. I chose to go with Revere Pewter by Benjamin Moore for the paint color. There are several ways to create a shiplap wall. For this dining room refresh, I went with vertical 1/4″ sanded plywood boards, topped off with a horizontal trim piece at the top to finish it off nice and clean! The sheets come in a 4ftx8ft measurement, so we ripped them down to 4.5″ wide. Then we sanded the edges and primed the boards before putting them on the wall.
Shiplap Feature Wall Instructions
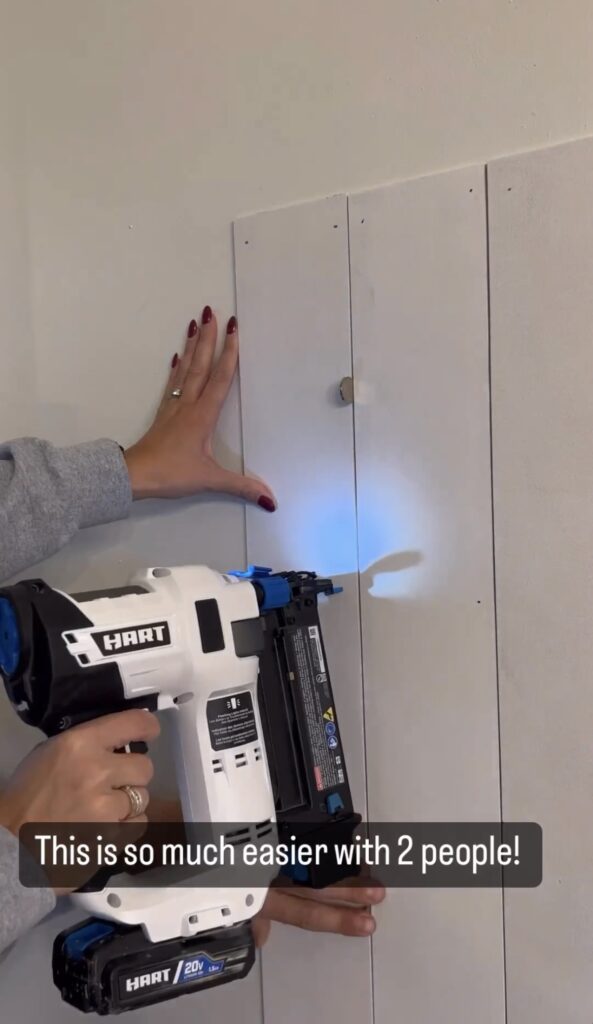
Math is not my favorite, so my brother-in-law took over that portion of the planning stage to maximize the best use of the boards. (Head on over to my Instagram highlight reel labeled “Dining Room“ for some entertaining back & forth!) Once the boards were cut, primed and ready- it was DIY time! We started putting the plywood boards up one by one, using my favorite Hart brad nailer. We shot roughly 8 nails into each board- 1 in each corner, and 4 placed diagonally on opposite sides to hold the board in (see the photo below for a visual explanation), using a quarter as a spacer. Be sure to shoot in all of your nails at an angle to anchor them in, since every nail won’t be going into a stud.
How to Install Around Corners
The corners of the walls in their dining room weren’t square, so we used a band saw (my first time seeing one live in action!) to cut down a plywood piece to fit. My brother-in-law held the board up while I drew a pencil line along the back of the board. This gave us a guide for where to cut (see the photo below). Raise your hand if you love trying out new power tools as much as I do!


Trimming out the Top
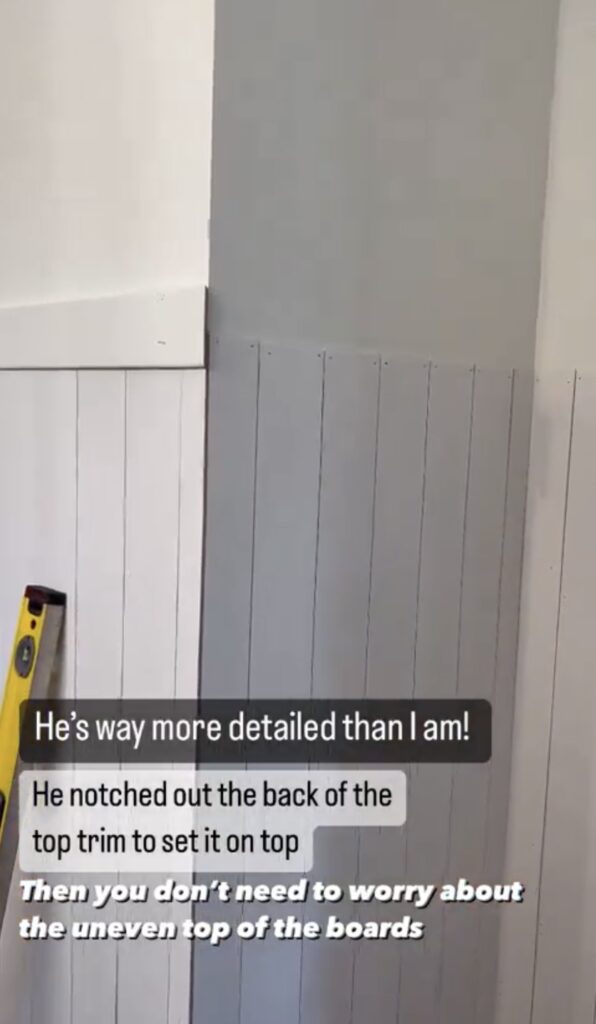
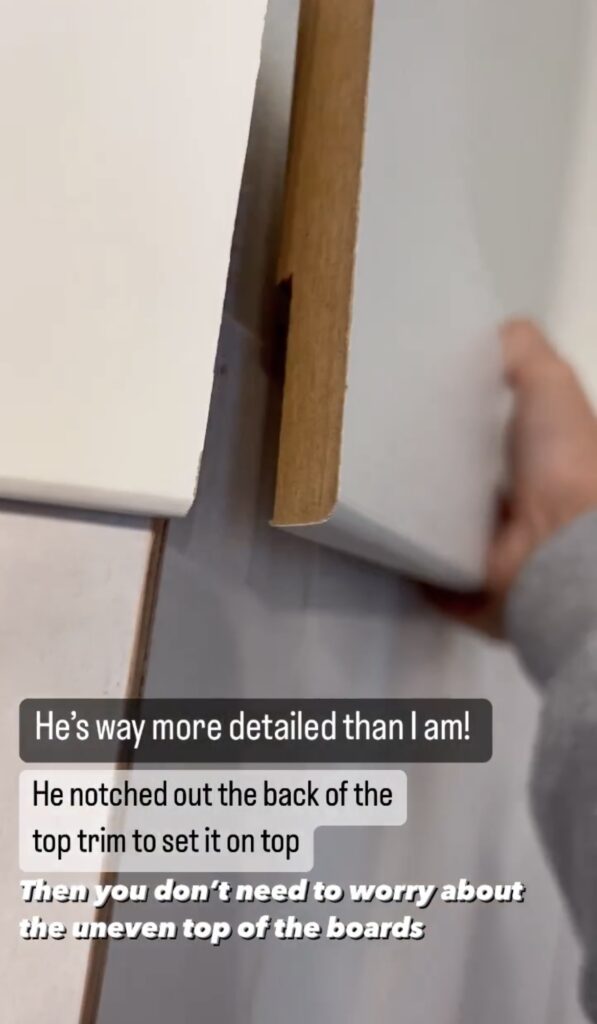
To finish off the wall at the top, there’s a beginner friendly option and a more intermediate friendly option- choose your adventure style! The beginner friendly option is to set one of your 4.5″ wide plywood boards horizontally along the top of your vertical boards, and brad nail in the same way you did along the rest of the room. If you go this route, be sure that all of your vertical boards are perfectly even in height, otherwise you’ll have some not-so-cute gaps in there! My brother-in-law wanted to go with the intermediate option, so he chose to notch out the back of a trim piece, where it could sit along the top. This covered up the top inch of the vertical boards (see the photo below).

The Finishing Touches
After all of the boards were up, we used spackle to fill in the brad nail holes, then sanded using 220 grit sandpaper. Then we wiped down the boards with a wet cloth to remove any wood particles before painting with 2 coats of Revere Pewter by Benjamin Moore.
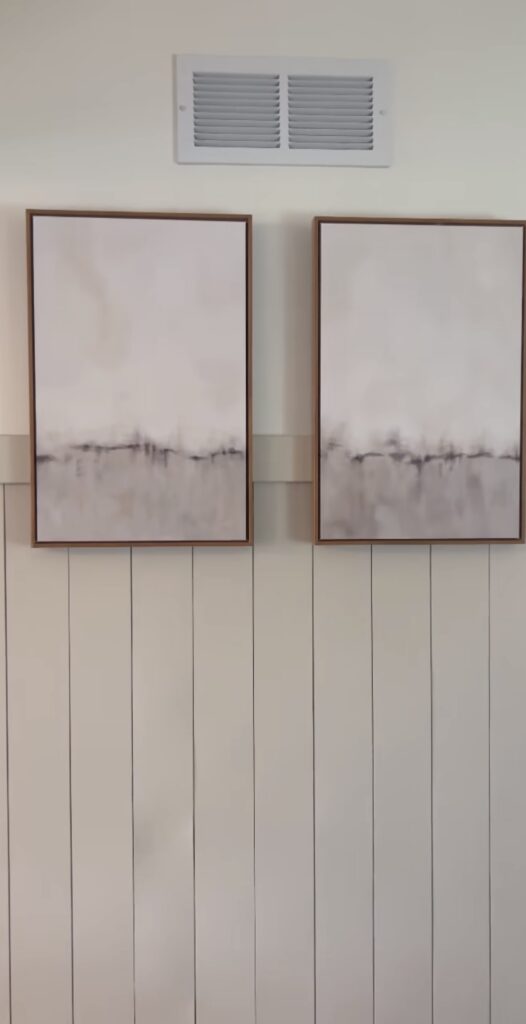
The shiplap wall feature was the perfect jumping off point for the dining room. From there, we pulled from the mood board to add curtains, art and a new light fixture.
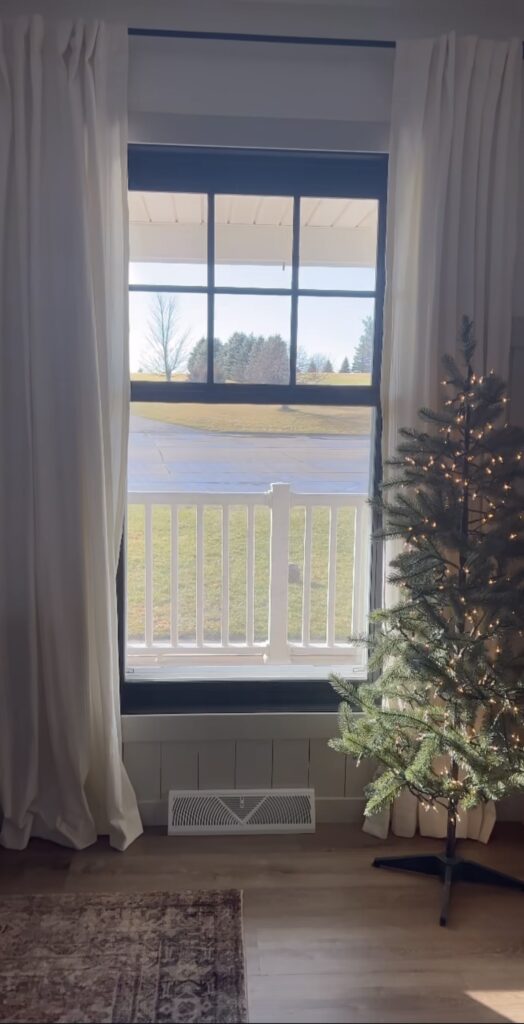
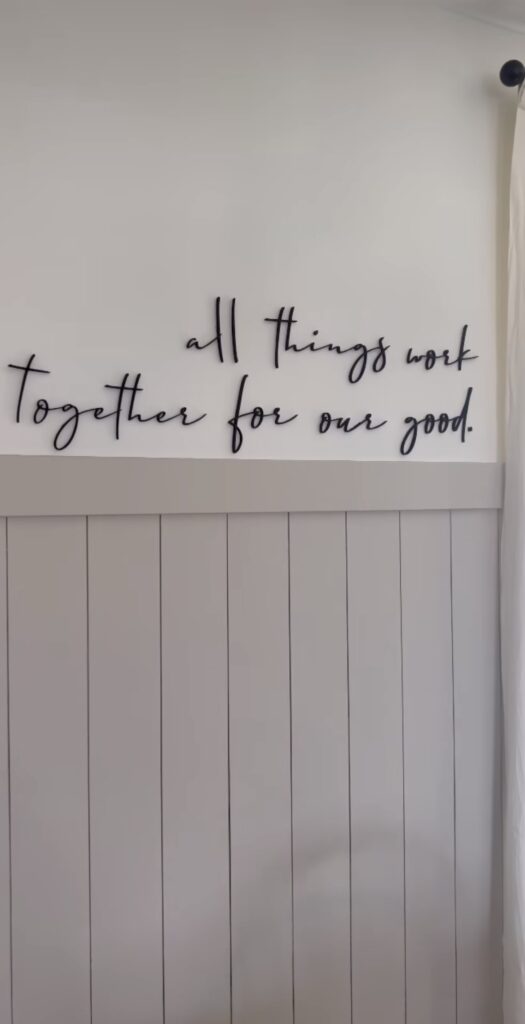
For a personal touch, I asked my friend Molly, owner of The Woodsy Timber, to design and cut out a sign. I love how it turned out! You’ll definitely want to check out her website to custom design art for your own home.
Dining Room Reveal
Now for the final reveal, insert all of the heart eyes!
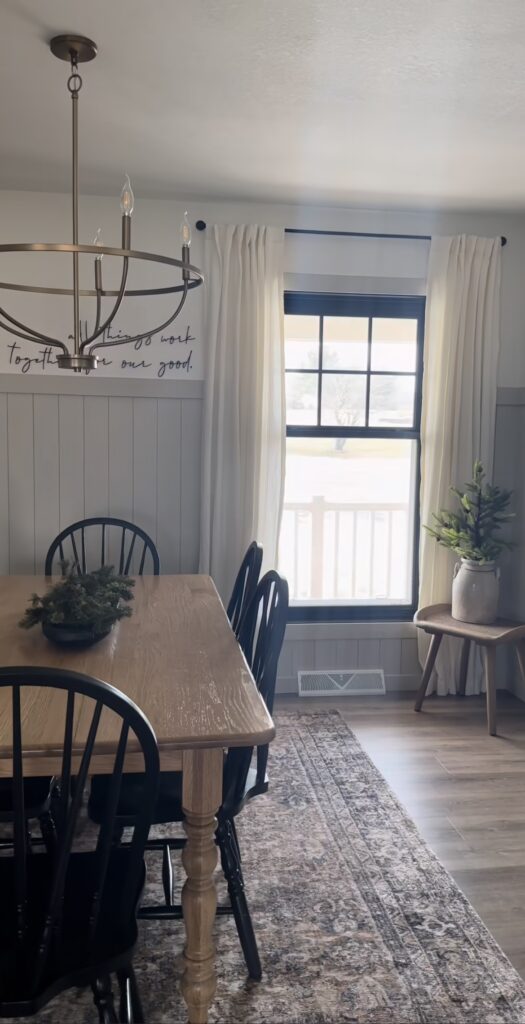
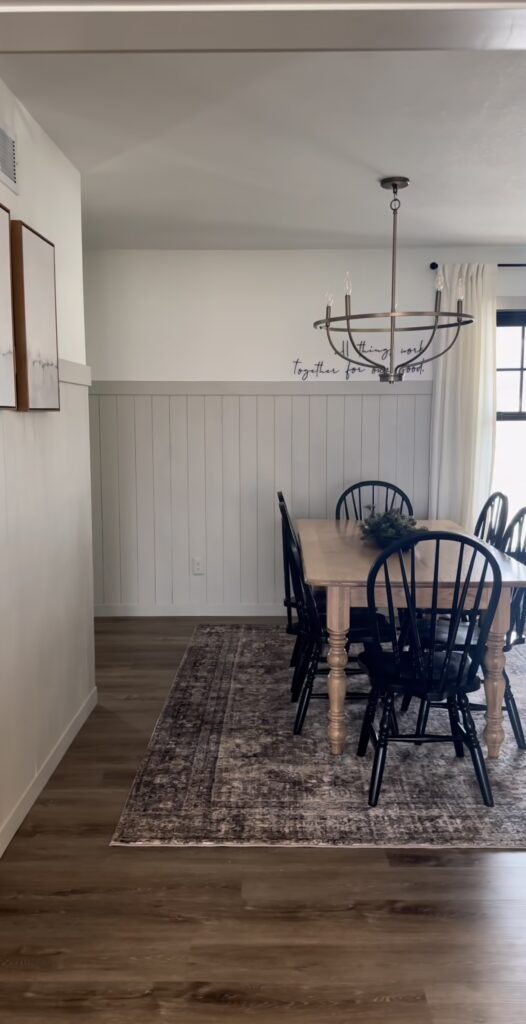

I can’t choose my favorite part, because it’s all so beautiful! And luckily my sister thinks so too!
Prefer a video tutorial of this whole process? Same. Head on over to my Instagram and click the highlight “Dining Room” for a video step-by-step!
Looking for a little more DIY inspiration? Check out my DIY Coat Closet Makeover, and don’t forget to read the latest on our New Build Adventure!
Materials, Tools & Supplies:
- Paint (I used Revere Pewter for the shiplap, Alabaster for the walls and Tricorn Black for the window)
- Spackling
- Sanding Block
- Plywood Boards
- Hart Brad Nailer
- Dewalt Table Saw
- Band Saw
- Light Fixture
- Bench
- Rug
- Curtains
- Art
- “For our Good” Sign
January 17, 2023

