DIY Entry Table
This post may contain affiliate links. If you use these links to buy something, I may earn a small commission.
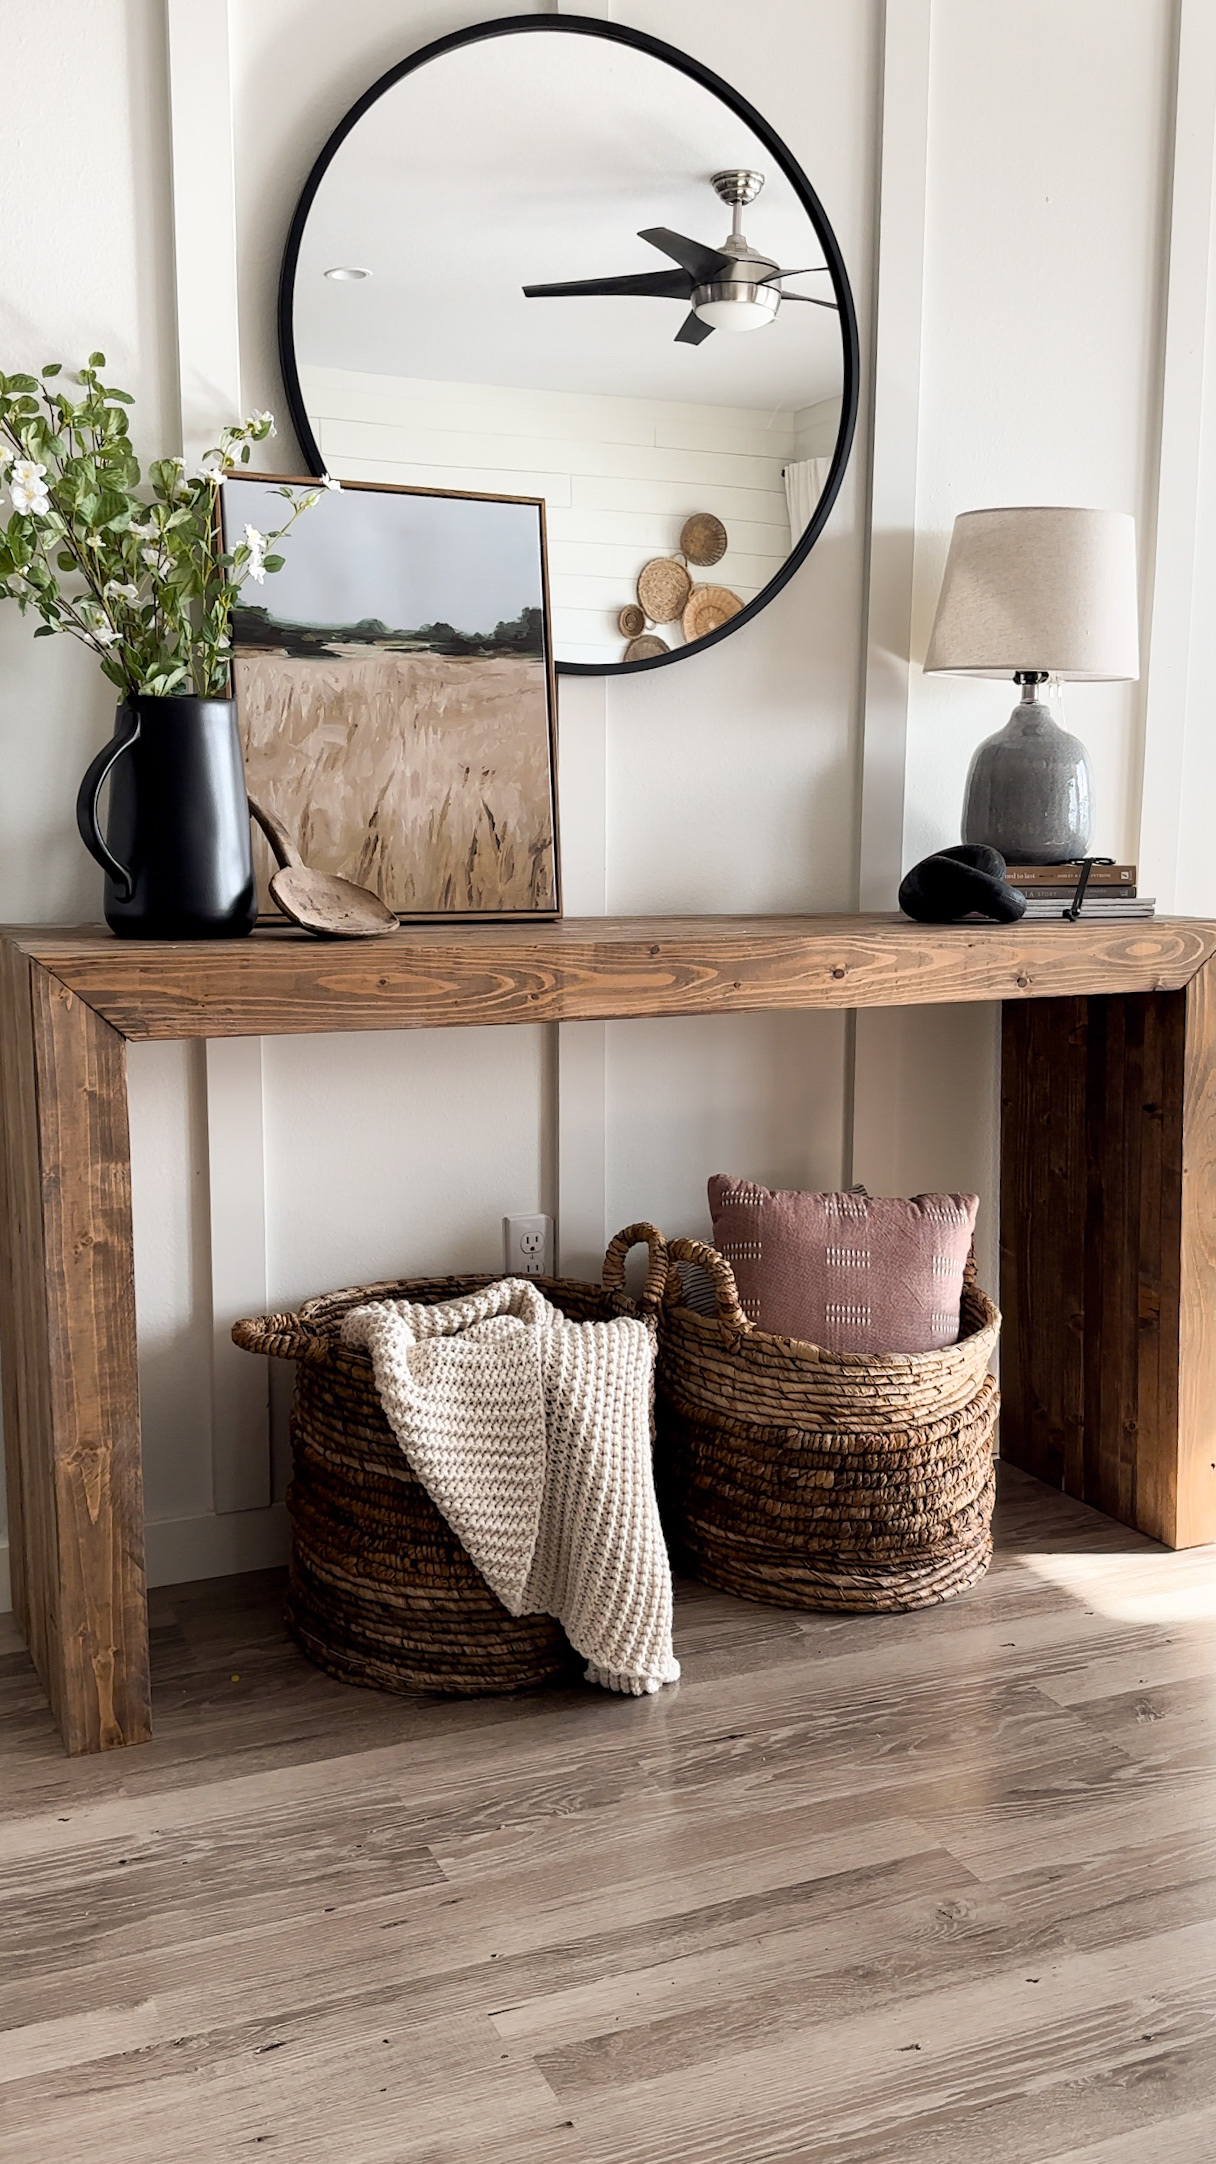
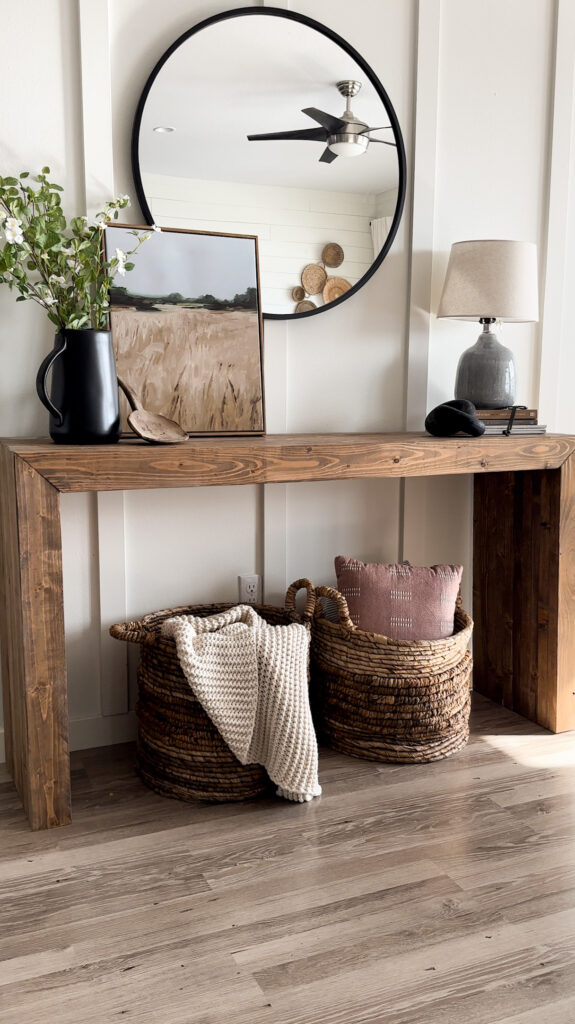
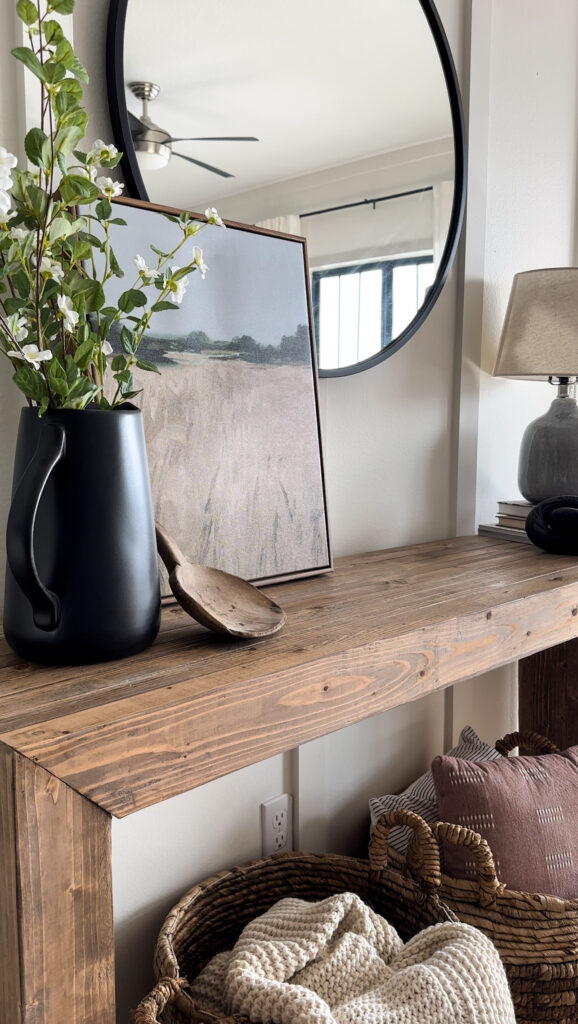
I was on the hunt for an entry table with dimension and clean lines. Since I couldn’t find exactly what I was looking for, I decided to build my own! While I could have gone the route of building the entry table with a few wide boards (and a few quick cuts!), that wouldn’t have given me the dimension (or challenge!) that I was looking for. Instead, to give the table more visual interest, I decided to glue together several 2×4’s for the sides and top. This made the entry table more interesting to look at, but also gave it more stability!
Cutting Down the Boards
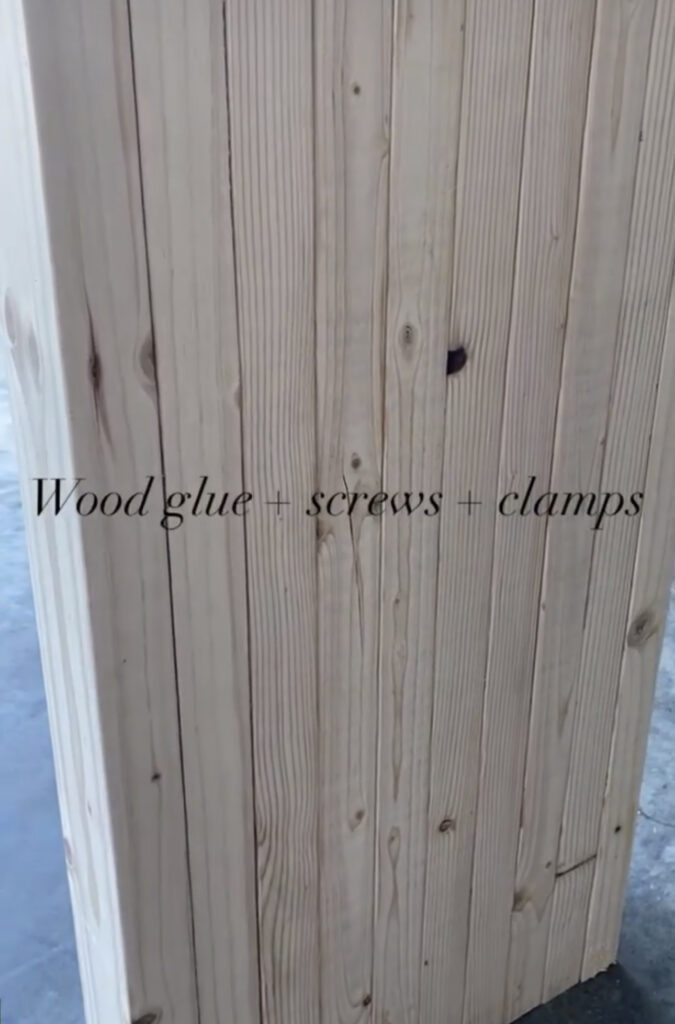
First I cut all of the boards down to size. I cut the leg pieces to 33″ long, and the top pieces to 54″ long. Then I took each set of boards and glued all of the pieces together with wood glue, screwed them all together with my drill, and clamped them to hold them tight while the wood glue dried.
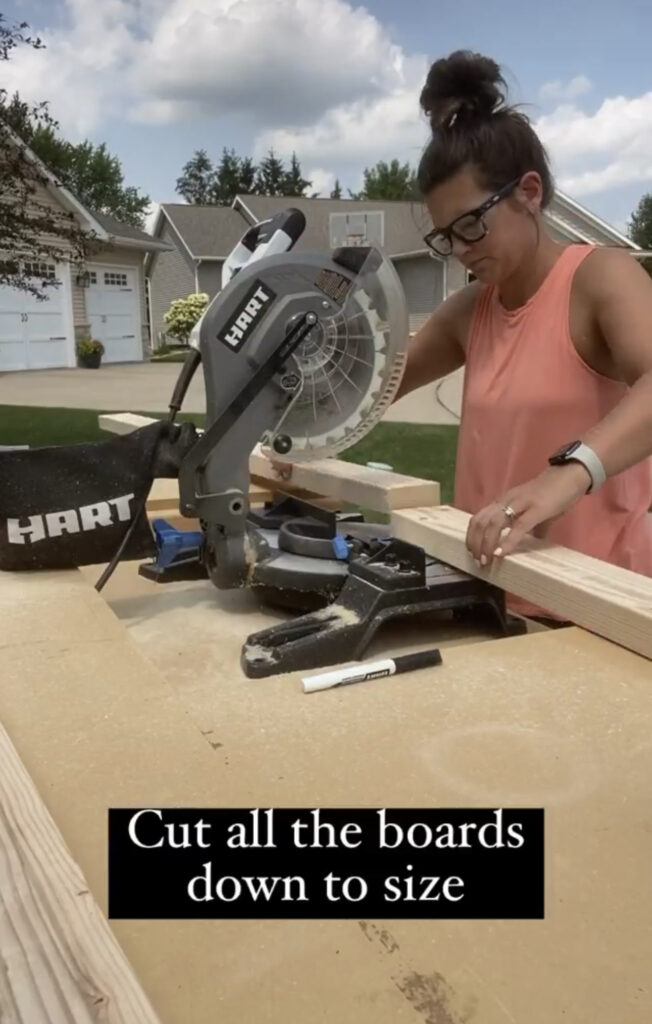
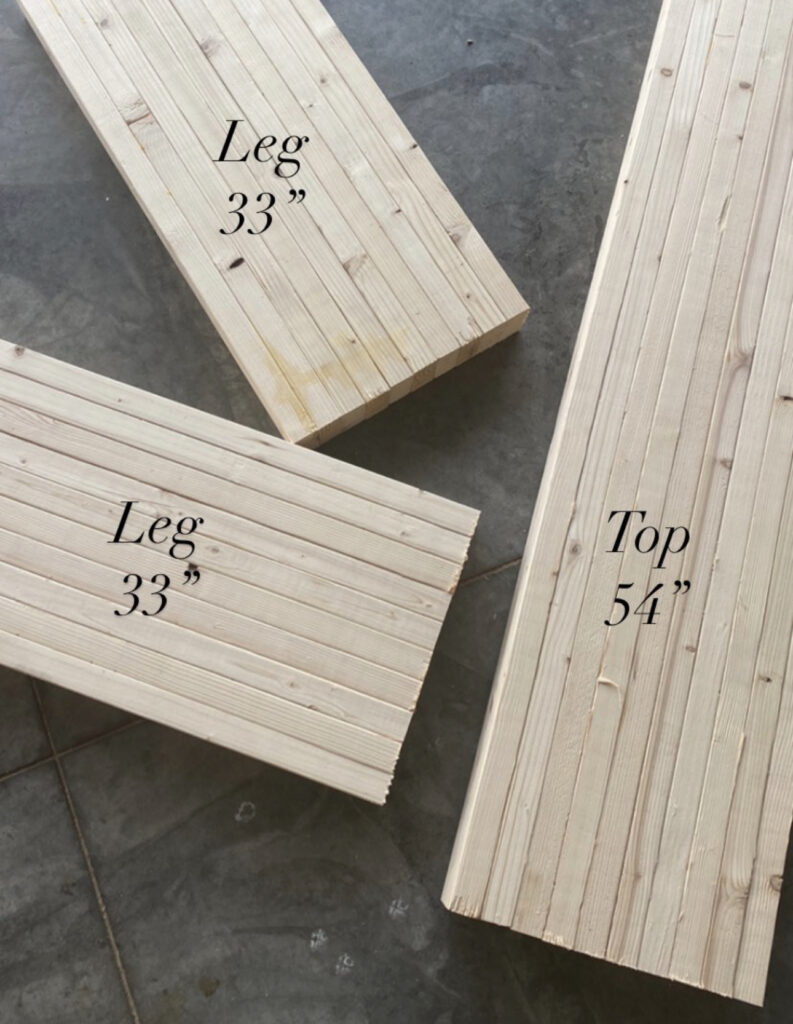
Next I needed to cut 4- 45 degree angles into my sets of boards. These angles are how the top and sides form the perfect mitered corners. I originally started by using my table saw, however, it couldn’t reach all the way through from either side, so I needed to get creative for the middle portion.
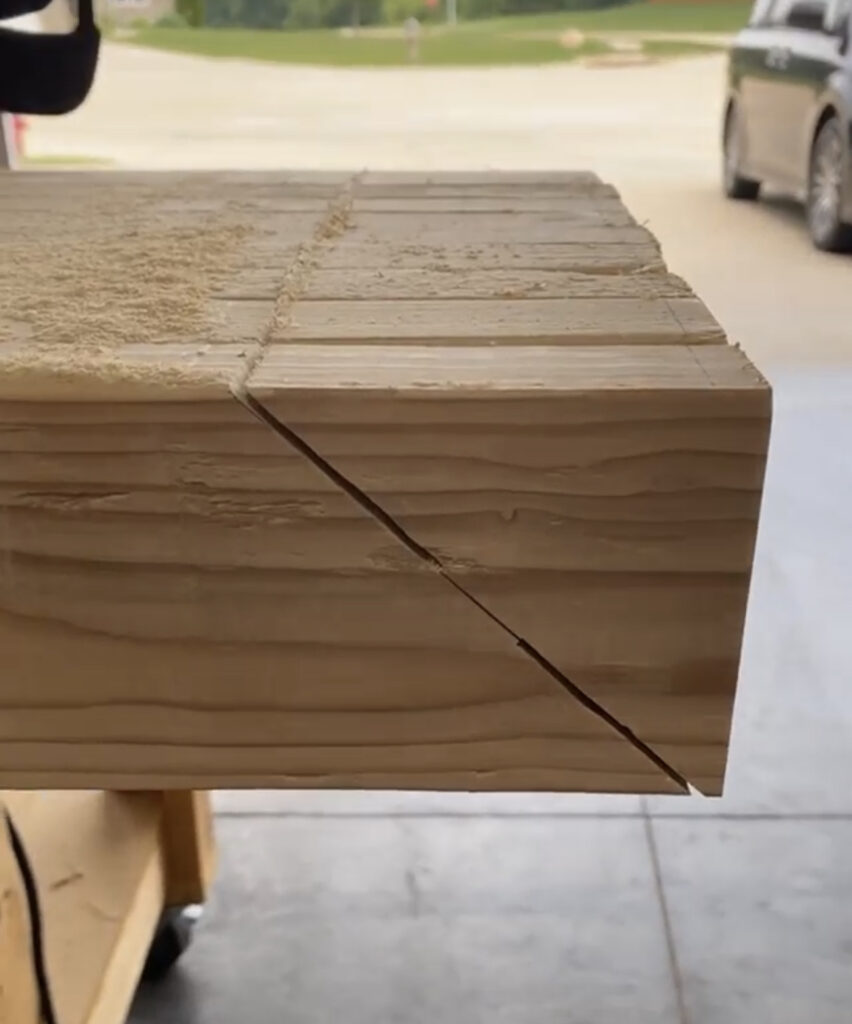
Next I tried the circular saw, but that alone didn’t work either. At this point I was feeling a little frustrated and defeated, so I tried basically every tool I had until I finally got the angles cut! What do I mean when I say “every tool”? Well, I was assisted by a chisel, a sawzall, a hammer, jigsaw and circular saw. If you don’t have this many tools in your arsenal, don’t worry! Just cut your 45 degree angles before you glue the boards together. If only I had thought of that before, I would have saved myself a lot of frustration!
Smoothing out the Table
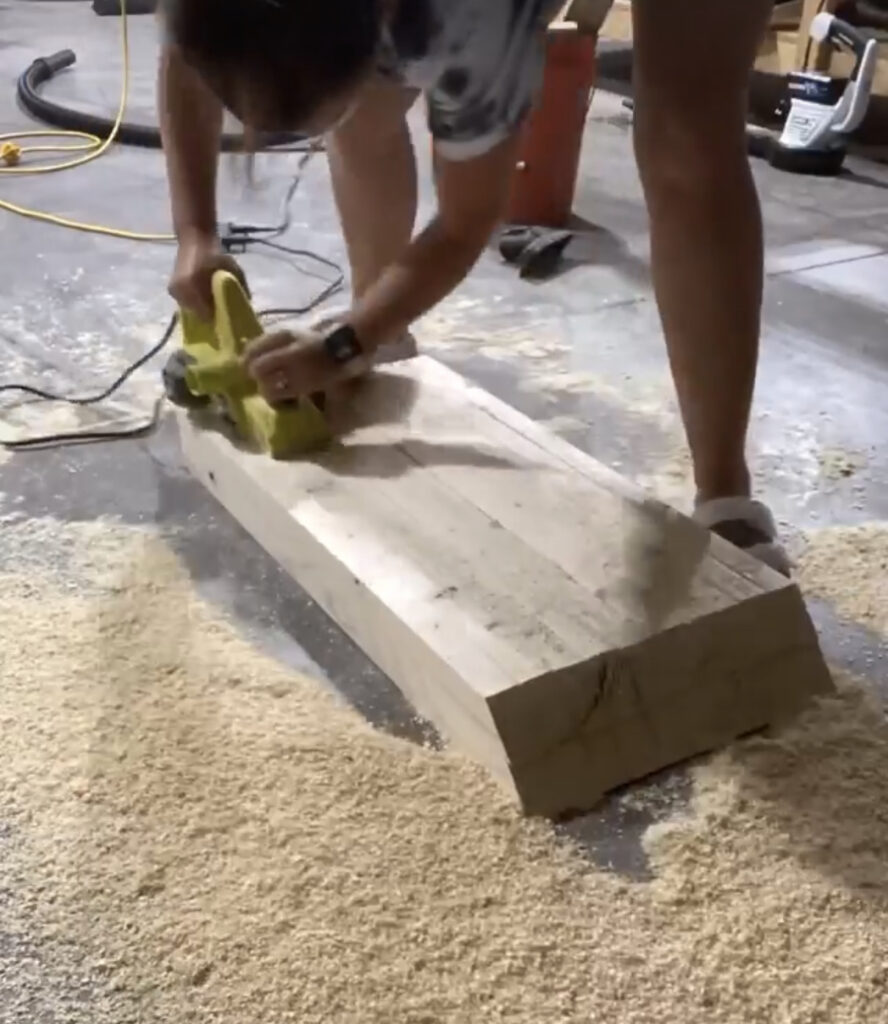
I wanted to remove the rounded edges of the 2×4’s so everything was nice and smooth and fit together perfectly. The best way to do that was to use a planer before sanding. A planer is run carefully across the boards to cut away any parts that are sitting higher than the others. This way, if you passed a card across the table, it would slide across without getting stopped by an uneven table.
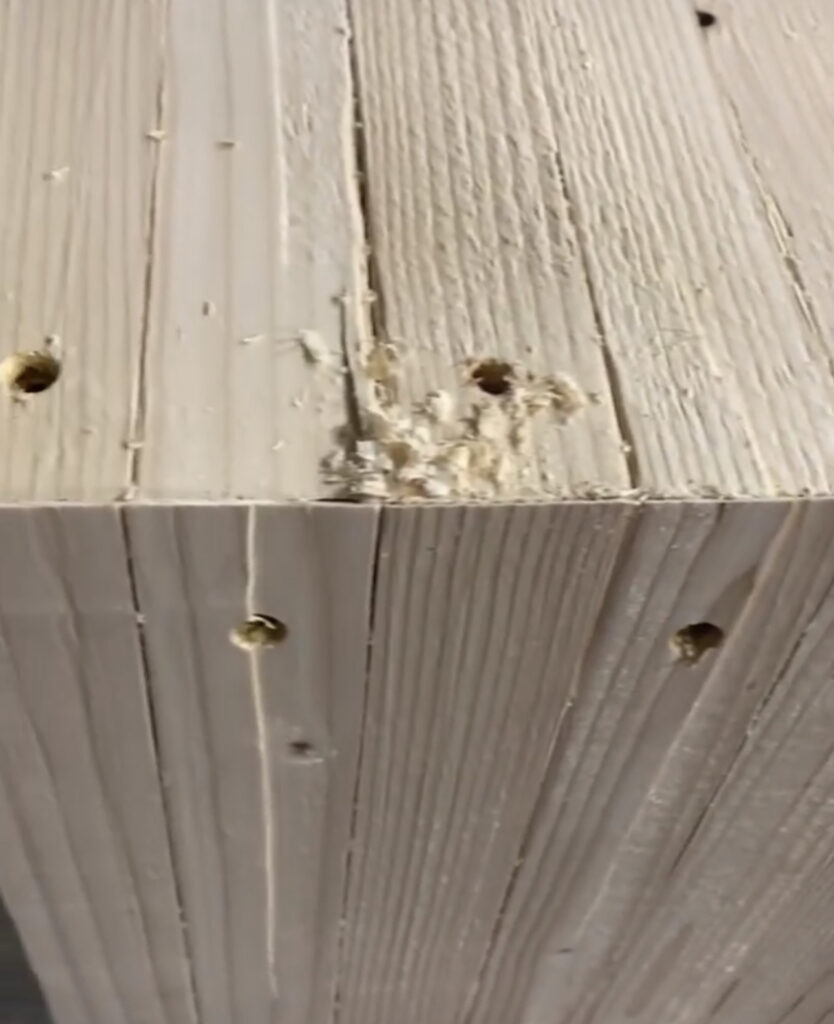
Now that the entry table was smooth, it was time to drill it all together! I pre-drilled my holes to prevent the wood from splitting, and then I screwed it all together.
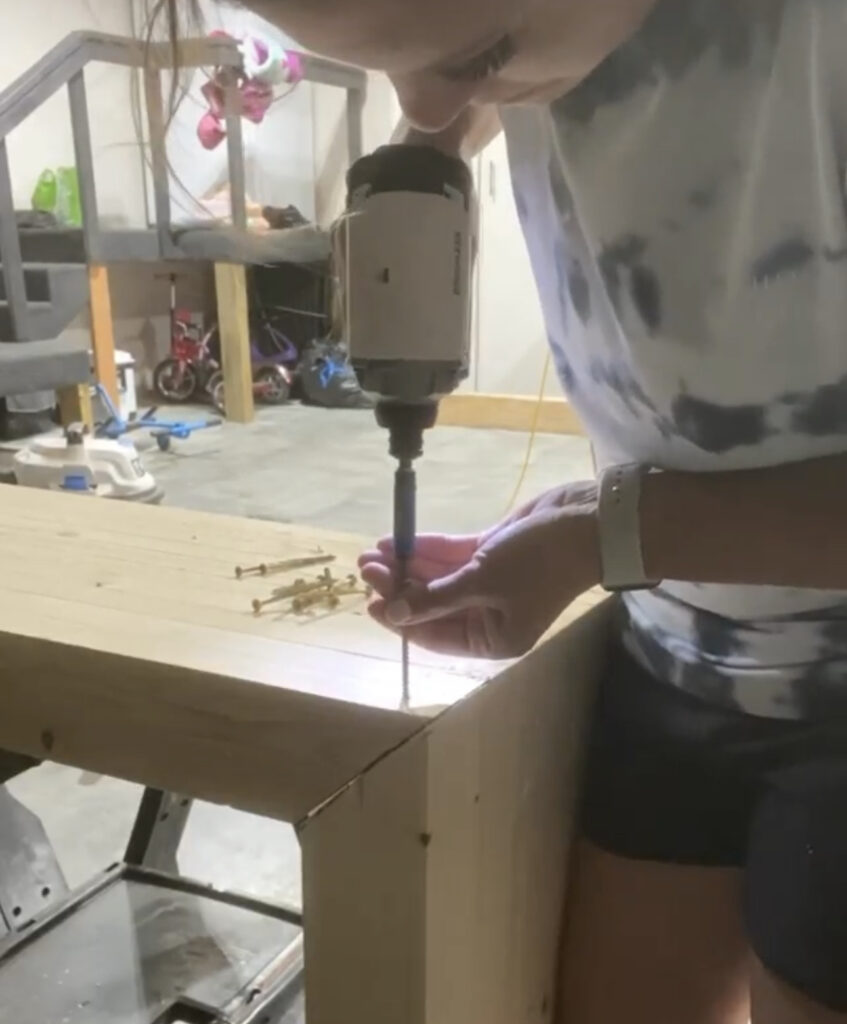
Finishing Details
After the entry table was built, I took a step back and admired this beautiful piece of furniture that I built with my own two hands! But we weren’t done yet, I still had to put the finishing touches on it. I filled the holes with wood filler, and once dry, I sanded those portions down. Then I stained it with Minwax Early American and sealed it with Minwax Polycrylic to protect it from our daily wear and tear.
Finally I got to bring the entry table in and see it in my own home!
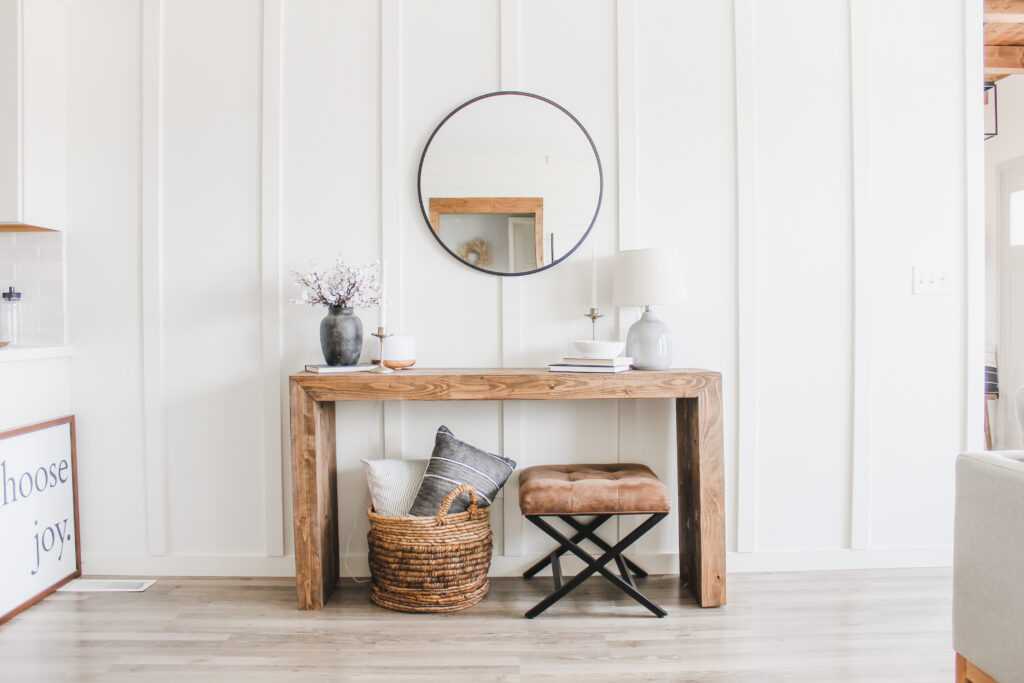
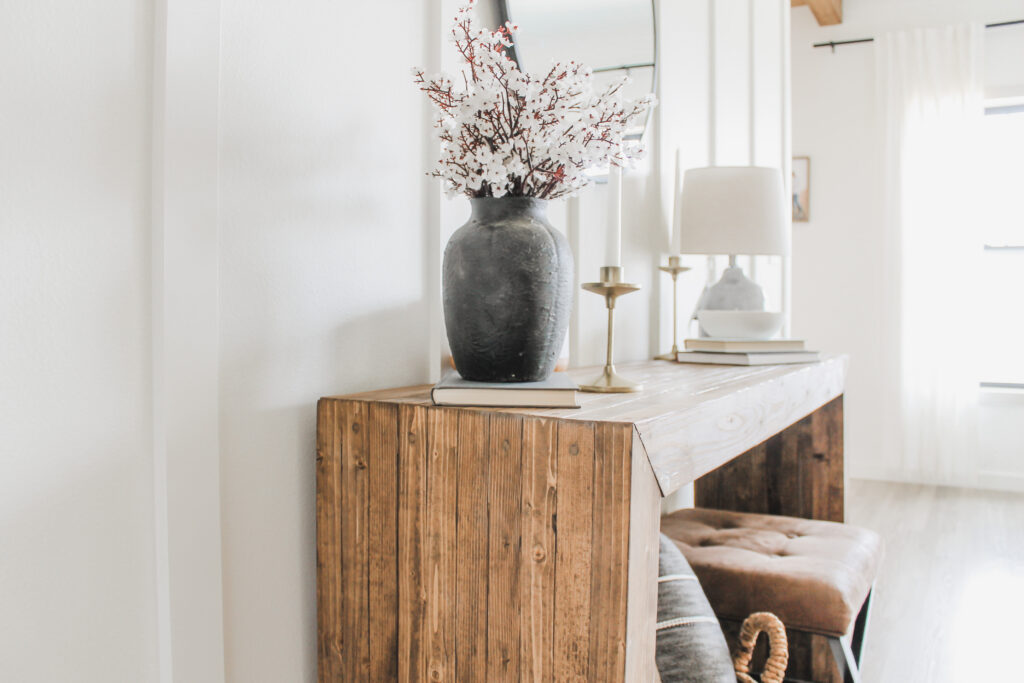
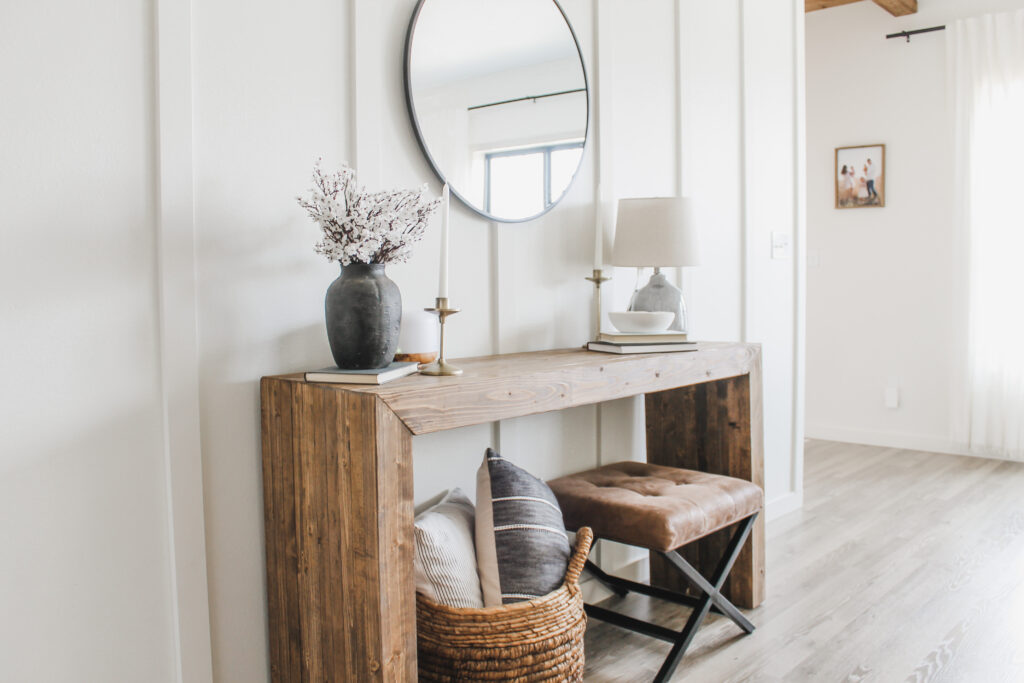
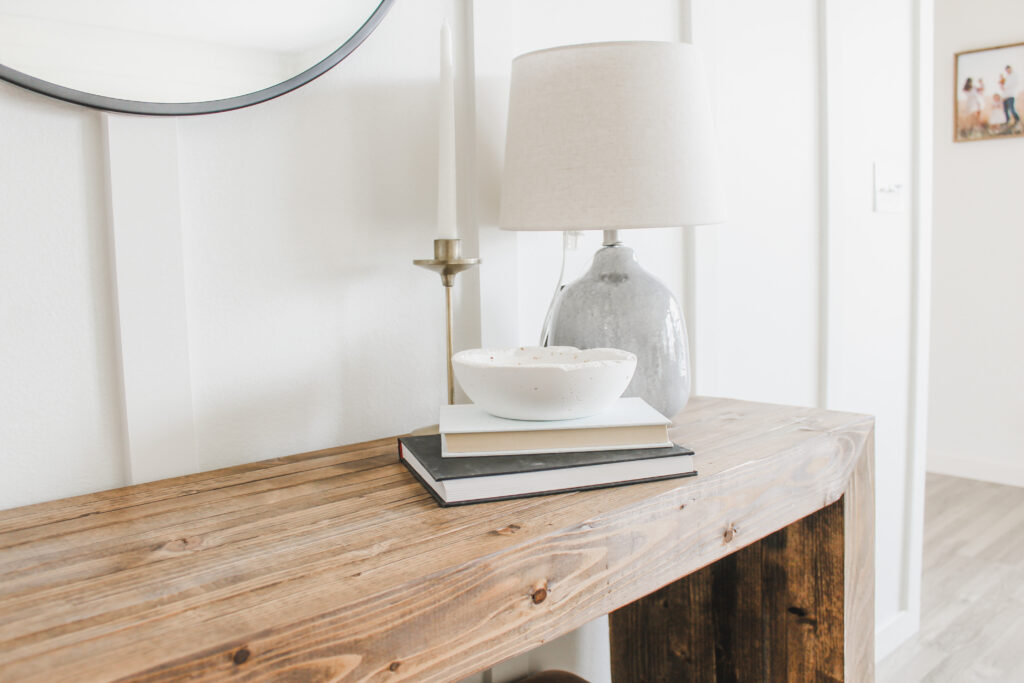
What do you think? Is this a project you would try? It’s an easy one to customize for your own home by changing the size or finish color. Don’t forget to check out my DIY Fluted Coffee Table for your next project!
Materials, Tools & Supplies:
February 27, 2023

