Fluted DIY Coffee Table – how to create your own
This post may contain affiliate links. If you use these links to buy something, I may earn a small commission.
Planning
My living room was in need of a new coffee table and I was loving the fluted trend going around. I wanted something that was both beautiful and unique (and honestly, I knew I wanted a round coffee table). I searched social media around until I figured it out- a fluted DIY coffee table. This project tested my patience, but in the end it was worth it. It’s exactly what I dreamed to fit into our living space!
Materials
You won’t need a ton of materials to get this project going, which is part of what makes it so fun! You can gather most of these at Home Depot or any home improvement store. I used 2- 36″ pre-cut rounds (large circular wooden board), 1- 2×4, approximately 200- 1/2″ wooden dowels, wood glue, screws, 220 grit sandpaper, L brackets, wood stain, and some sealer. I’ll link everything at the bottom of the post.
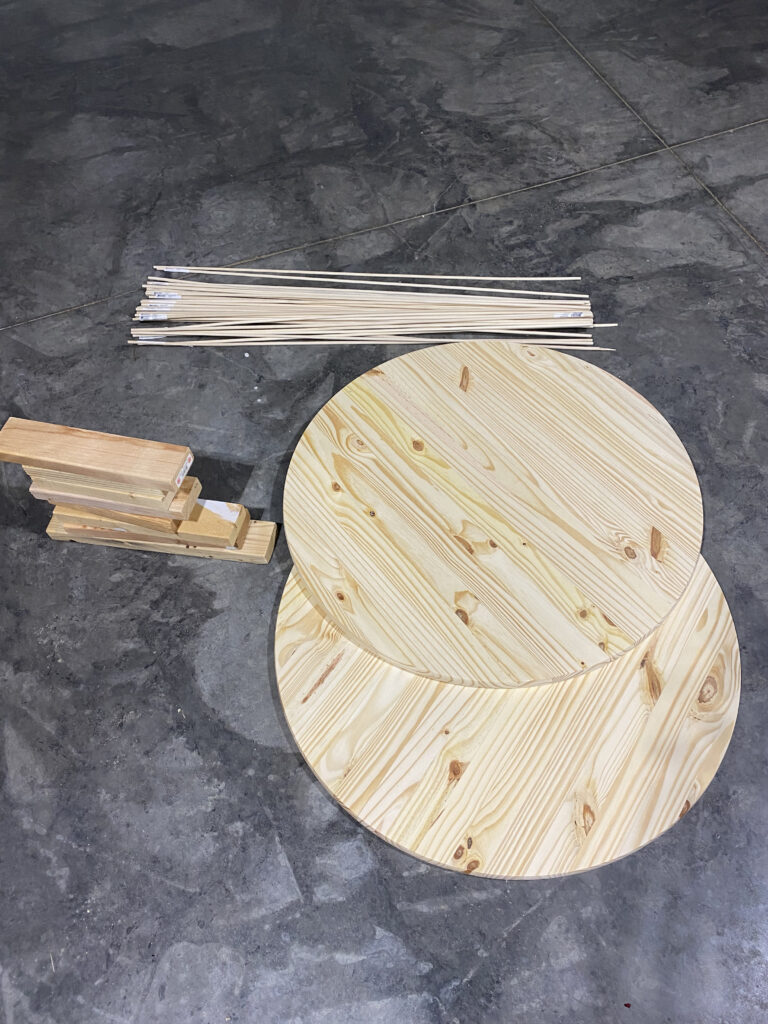
Coffee Table Supports
Step 1:
The first step was to cut down the 2×4 into 4- 11″ and 4- 13″ long pieces. These would become the supports inside of the coffee table base, so that it’s a sturdy piece of furniture. I simply created a box using 2- 11″ each pieces as the ends and 2- 13″ pieces as the middle.
Step 2:
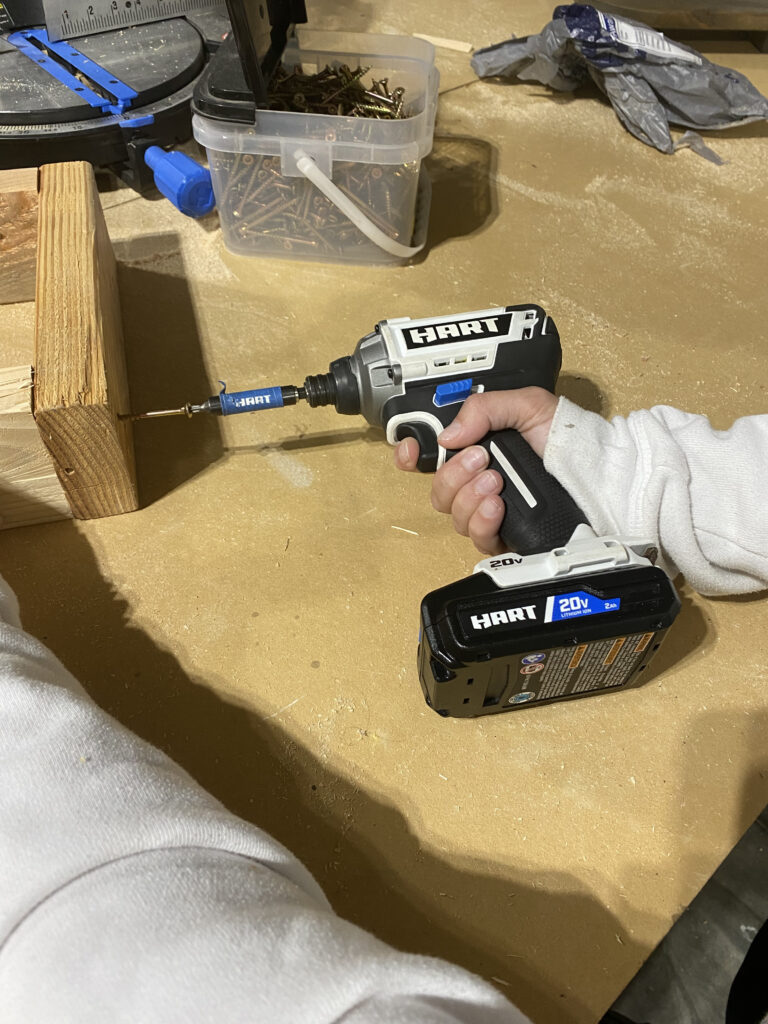
Then I drilled 2- 2.5″ screws into each end, using 8 screws per box. Then I repeated that process for the second box.
Step 3:
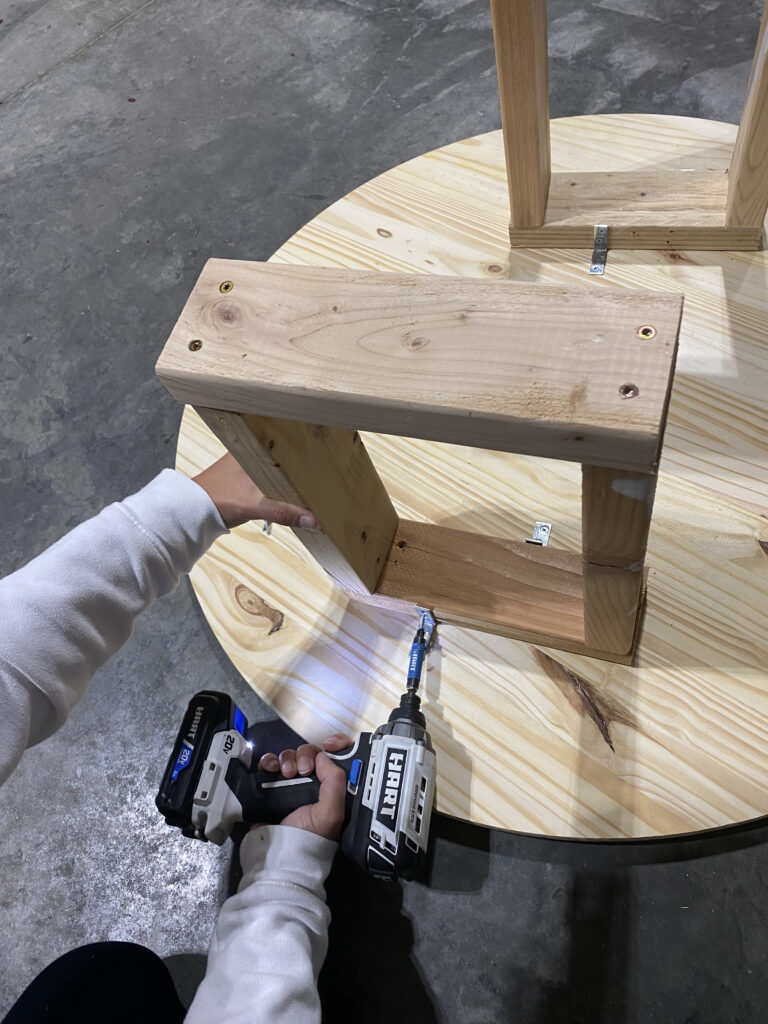
With the empty boxes built, I used the L brackets to attach them vertically. Knowing that these are going inside of the coffee table, I wanted to try and set them apart evenly about 1/3 of the way in. Setting them too far out to the edges or too far in to the middle won’t give the coffee table as much of a solid support as I wanted. Then I set the empty box to be standing up vertically (to support the top of the coffee table), and I attached the L bracket on both the empty box and the wood round and drilled it in (see photos below). I repeated this process for the second wood box, and then flipped it over and repeated to attach the top.
If you would prefer a video tutorial of this process, check out my Instagram highlight here! *Important: Make sure that your wood rounds are perfectly in line with each other before drilling the supports in to the top of the table.

Cutting the Wood Dowels
On to the best part- adding the wood dowels. A very important thing to note is that the wood dowels need to be cut to the perfect length. If they are off even slightly, they won’t work. A wood dowel that’s too short will fall out, and a wood dowel that’s too long will bend (or not fit at all). I learned after the first time that batch cutting wasn’t going to work, so I had to cut all of the dowels individually. I told you, this project tested my patience!
My second tip is to plan ahead on the length of your wood dowels, so that you can get the most out of each one. For example, if you get 4′ wood dowels, you can perfectly cut each one into 3- 16″ wood dowels without any leftovers wasted. This would give you a coffee table with a final height of around 18″.
Inserting the Wood Dowels
Turn on some music and get comfy, because this next part takes a while! Once I cut a few of my wood dowels to length, I inserted them one by one. Using wood glue, I put a small amount of glue on each end of the dowel, and then carefully inserted it between the two rounds. I only cut about 3-4 at a time to make sure my measurements stayed exact.
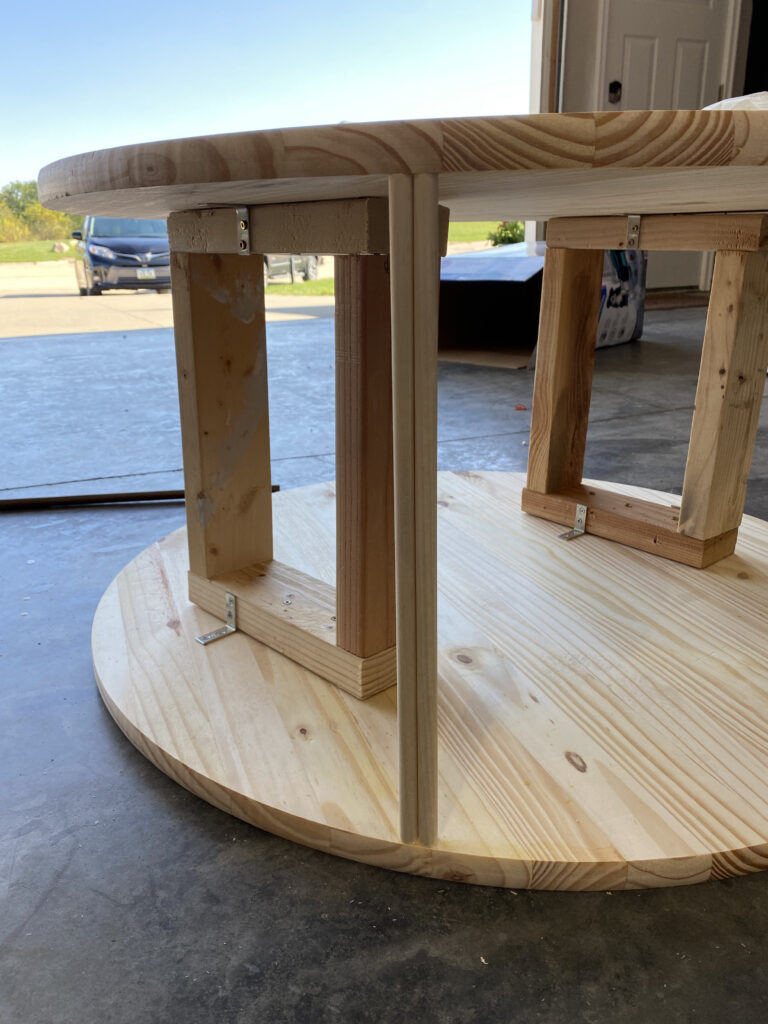
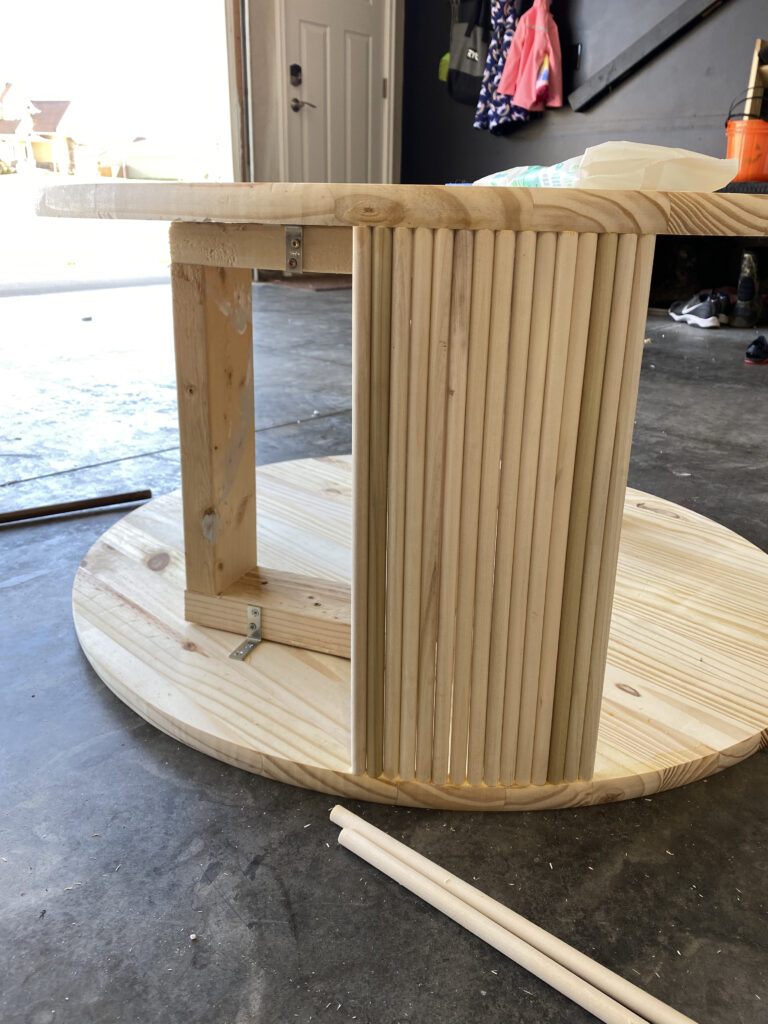
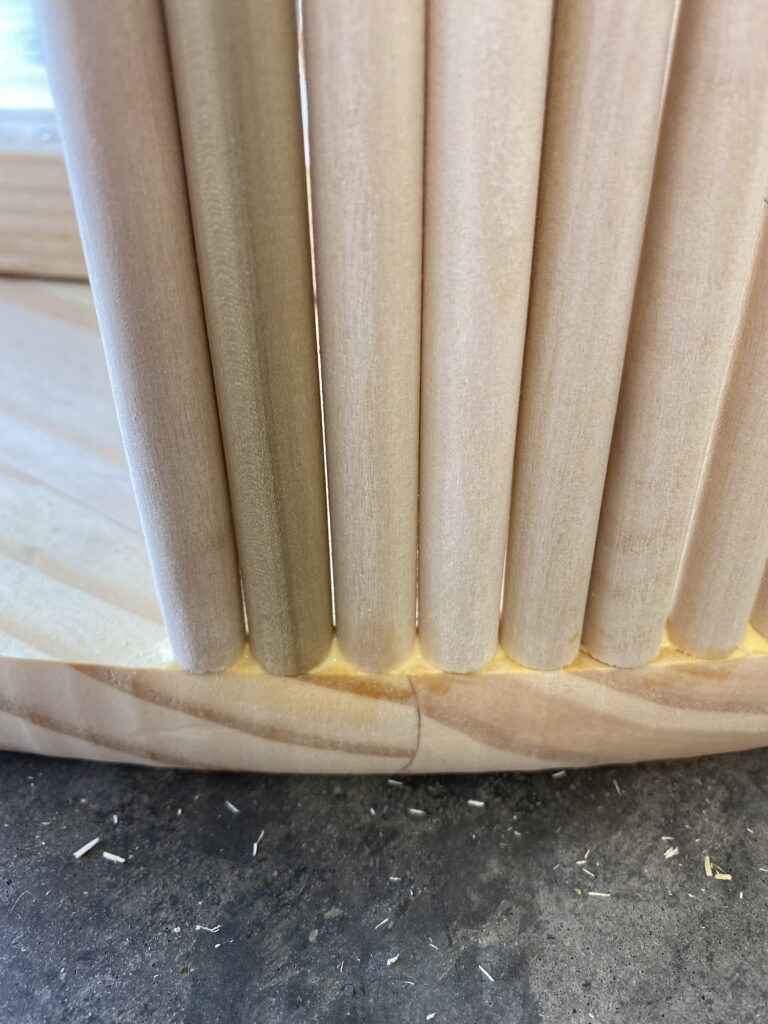
I didn’t want to go too heavy on the glue, because wood glue doesn’t accept stain. If I did have a little extra wood glue that seeped out from under the dowels, I just quickly wiped it away! I also applied extra wood glue on the inside, bottom of the table where the dowels met the wood rounds. It added a little extra support, but was hidden inside so I didn’t need to worry about wiping excess glue away.
For a short bit, I debated using a nail gun for this step. I decided against it for several reasons but the main one being that I didn’t want to have to break out my wood filler to fill 400+ nail holes. The glue worked well for us and is still extremely sturdy.

Fluted DIY Coffee Table Progress
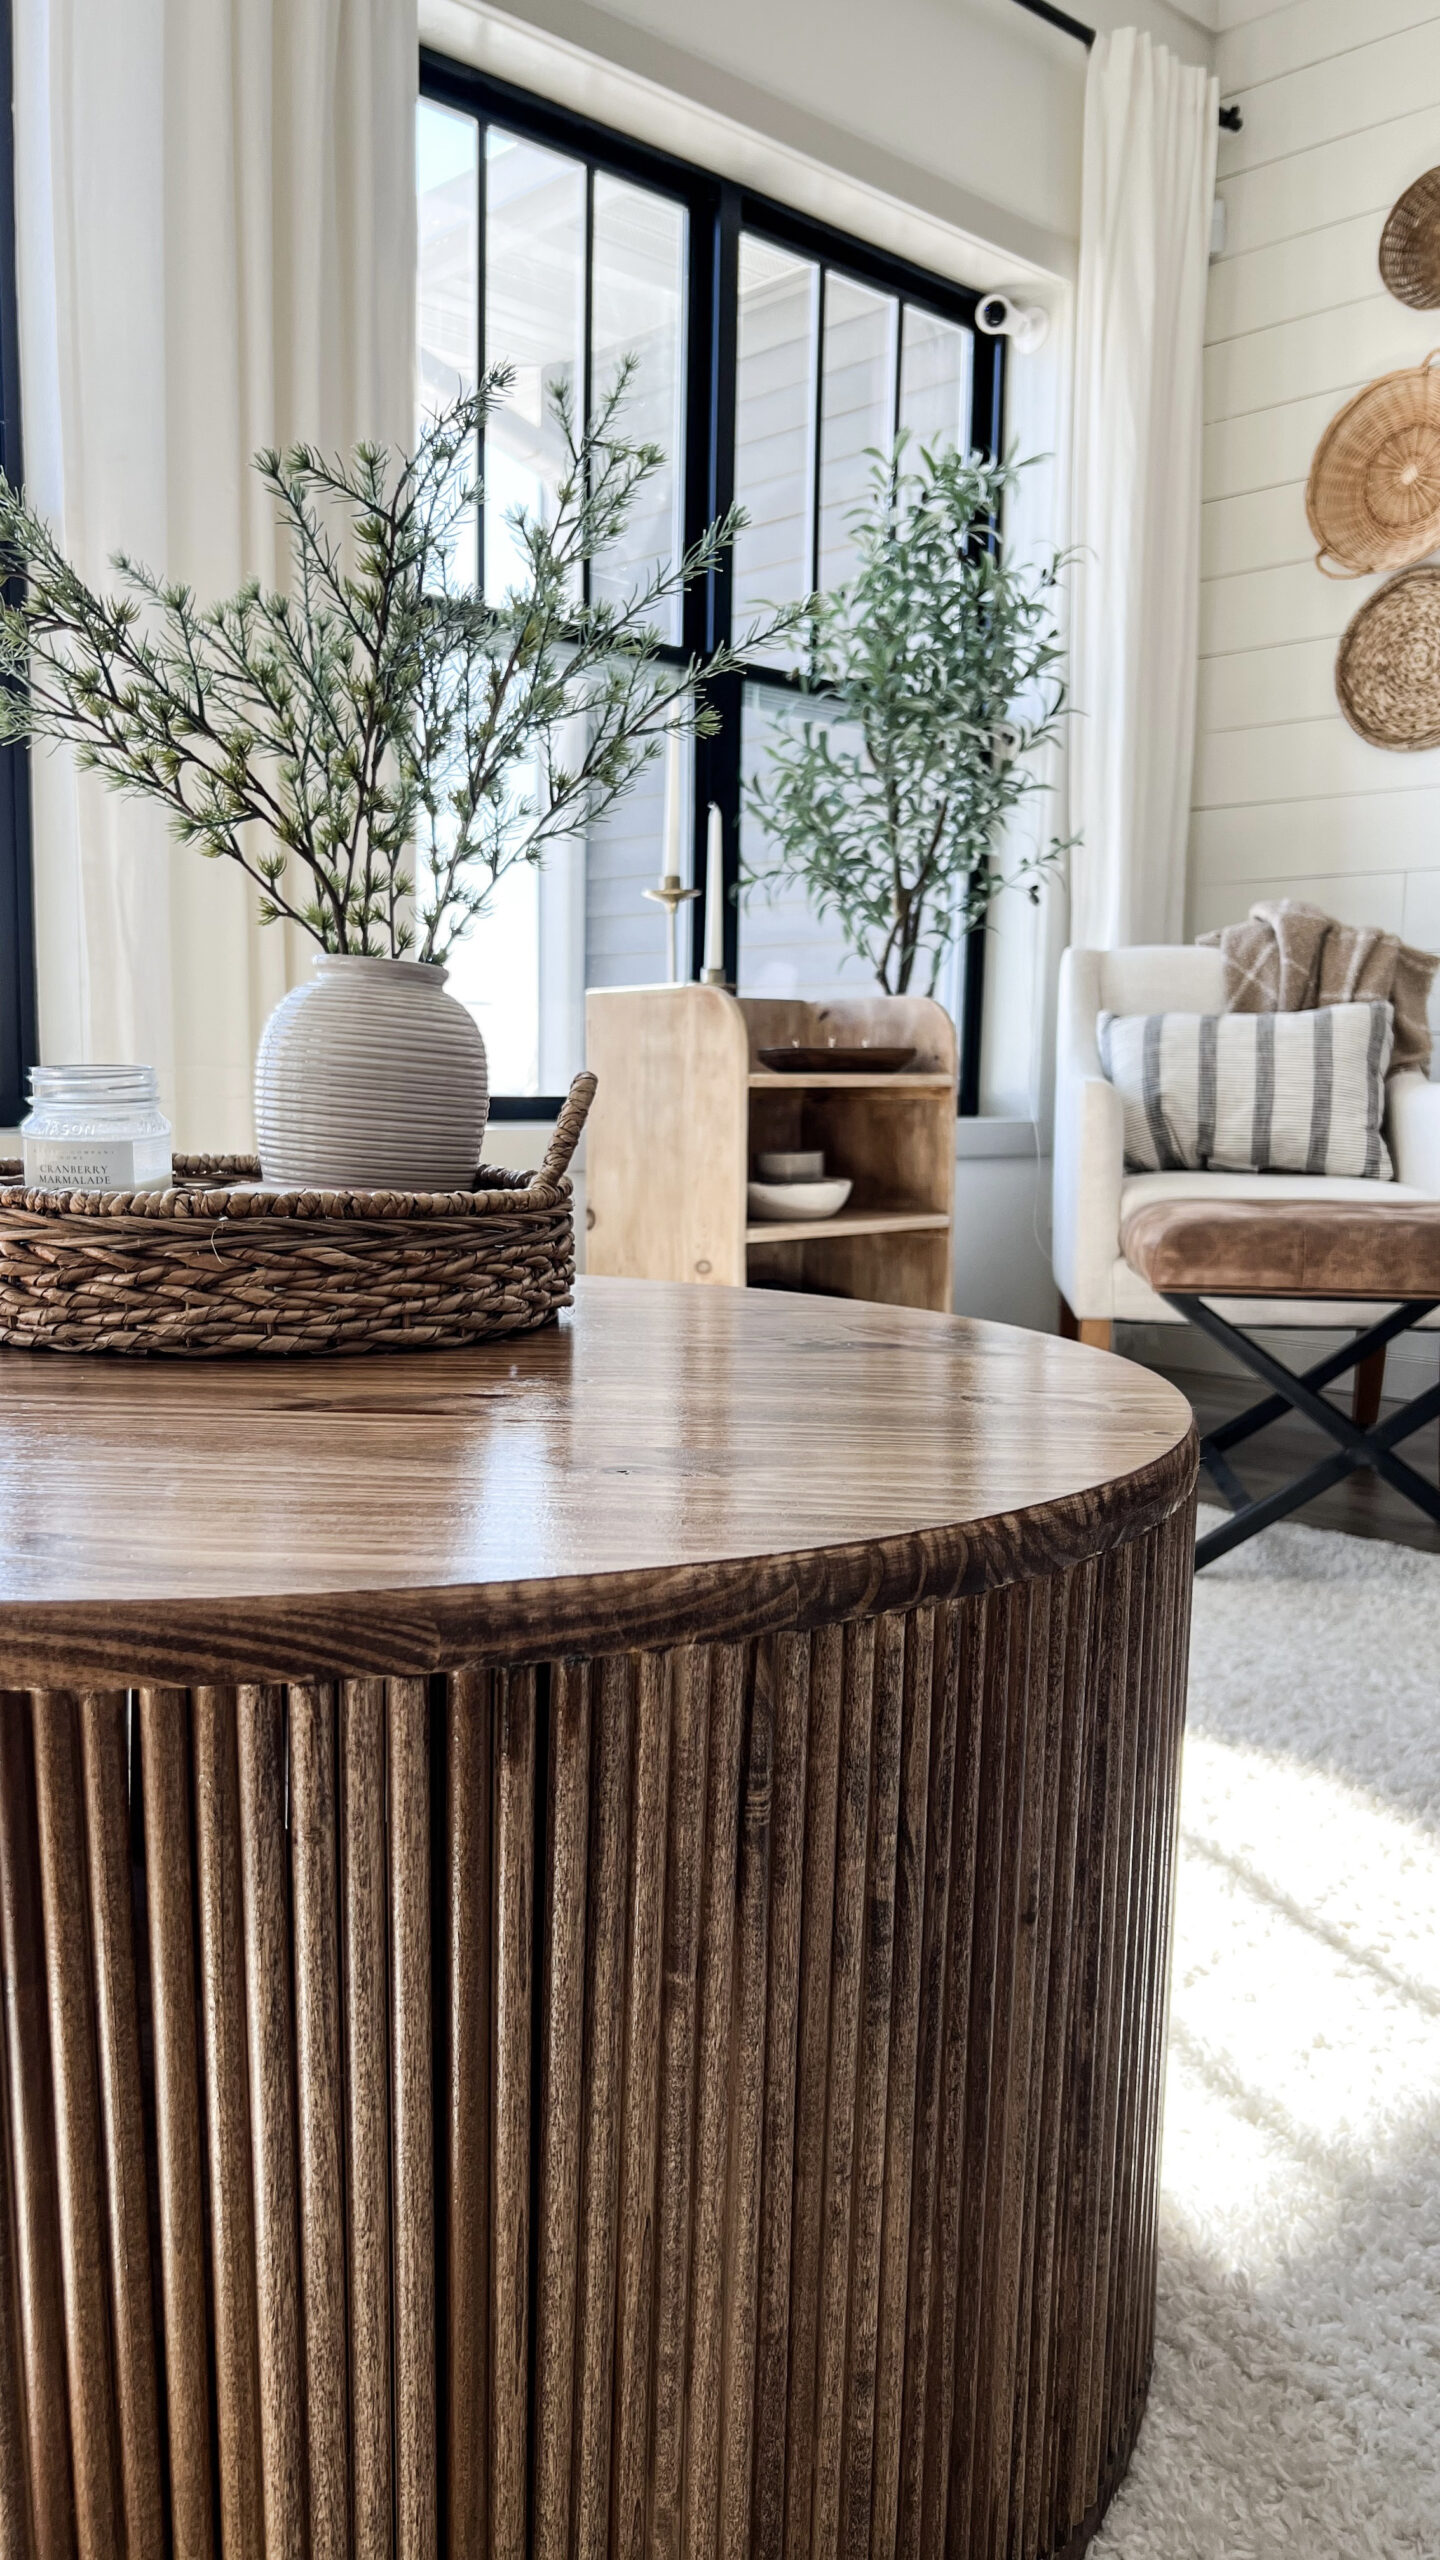
While it may have felt like it took forever, eventually I got every single wood dowel glued in. And wow did it look beautiful! You can also see the size of my beautiful coffee table here- it’s a good, solid piece of furniture!
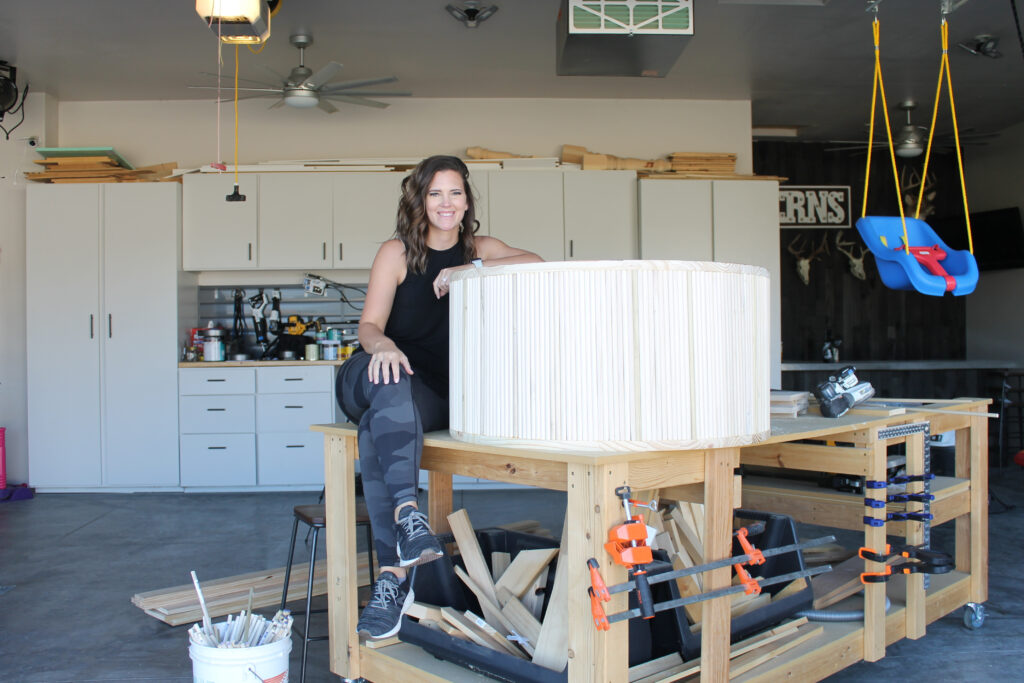
Getting to this point was so exciting, because I could really start to envision this piece as a coffee table in our home. But we weren’t done yet. Next up- staining. If you want to use your 220 grit sandpaper over the table before staining, now is the time to do that.
Staining the Coffee Table
Step 1: Wood conditioner. It can be tempting to skip this step, but it’s so important for even coverage.
Step 2: Lightly apply your stain color of choice with a brush or a rag. I used Minwax Early American.
Step 3: Touch up wood glue spots (with semi-transparent Minwax Early American) with a small paint brush.
Step 4: Apply 3 coats of polycrylic in satin finish to seal it.
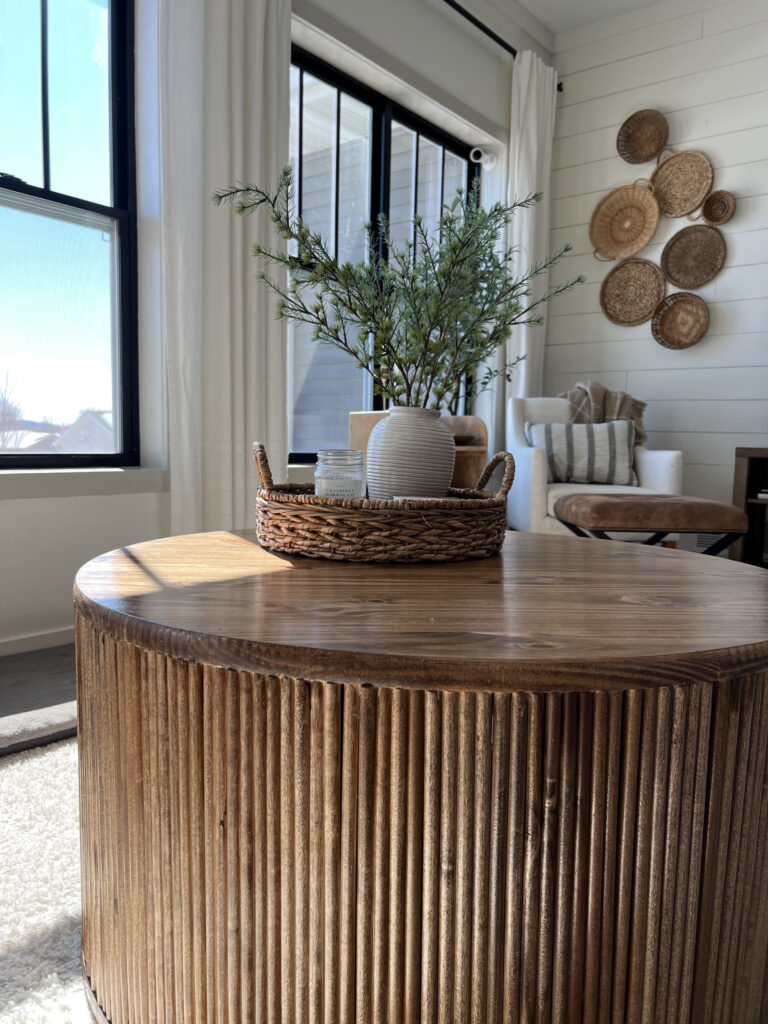
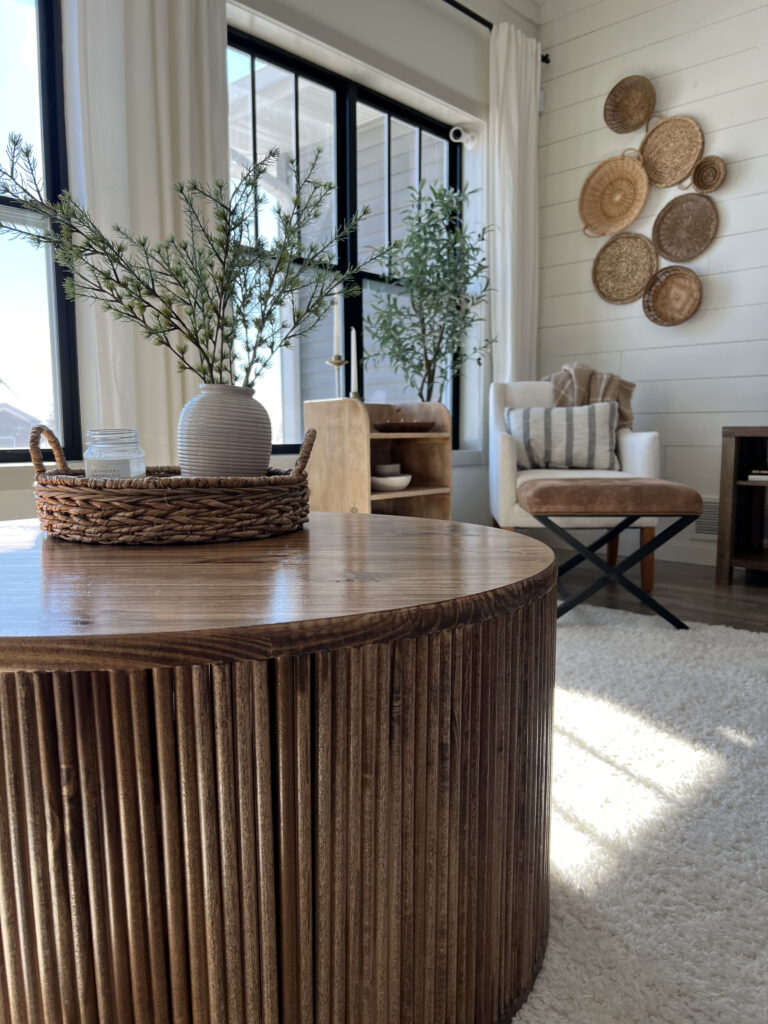
And that’s it! I now have my own fluted diy coffee table with an expensive-looking finish. She sure is a beaut, isn’t she? I hope that you’ll do your own diy version of this and share it with me. It could easily be adapted to different heights, such as making an fluted side table instead of a coffee table (or in addition to!).
Ready for a little more DIY inspiration? Check out my shiplap wall tutorial here. Don’t forget to check out the most recent updates on our new build here!
Materials, Tools & Supplies:
- 2- 36″ Pre-cut Wood Rounds
- 1- 2×4
- Approximately 200- 1/2″ Wood Dowels (post-cut)
- Screws
- Wood Glue
- Wood Glue Dispenser
- L Brackets
- Wood Conditioner
- Stain (I used Minwax Early American)
- Polycrylic
- Hart Drill
- Hart Miter Saw
February 6, 2023

