DIY Budget Friendly Closet Door Makeover
This post may contain affiliate links. If items are purchased using these links, I make a small commission.
Do you have plain closet doors that you’re sick of? I’m so excited for you to check out this amazing diy closet door makeover that I did. And, the best part about it is that it’s very budget friendly. It is also a great way to give your room a fresh new look – especially if you have those old hollow core doors.
I love it when my friends or family ask for my help with their home projects. A friend of mine wanted to do something with the closet doors in her daughter’s room, but she didn’t want to buy all new doors. She asked for my help with this diy project that I already knew was going be a great idea. I started my research looking up do-it-yourself closet door makeover ideas. I found so many people that have turned bifold closet doors into french doors or sliding doors, and so many other really cool things. The options are endless! I came up with a fairly simple way to transform these oak sliding double doors, into more of a modern farmhouse look.
Now obviously, it would be a lot more work to take on this challenge with mirror closet doors or even wood bifold doors, but like I previously mentioned, there are diy ideas out there for literally everything these days! Don’t be discouraged to take matters into your own hands and give those ugly closet doors a new look. Because, a simple change, even like a fresh coat of paint and new door handle(s) can make all the difference to your bedroom closets, and change the whole look of the room.
Over the course of a couple weeks I worked on this diy closet door makeover project. I knew with the limited spacing between the doors, I had to use fairly thin material for my design. You’ll also see later in the process that I had to purchase new door rollers to space them apart even more and keep them from rubbing on each other.
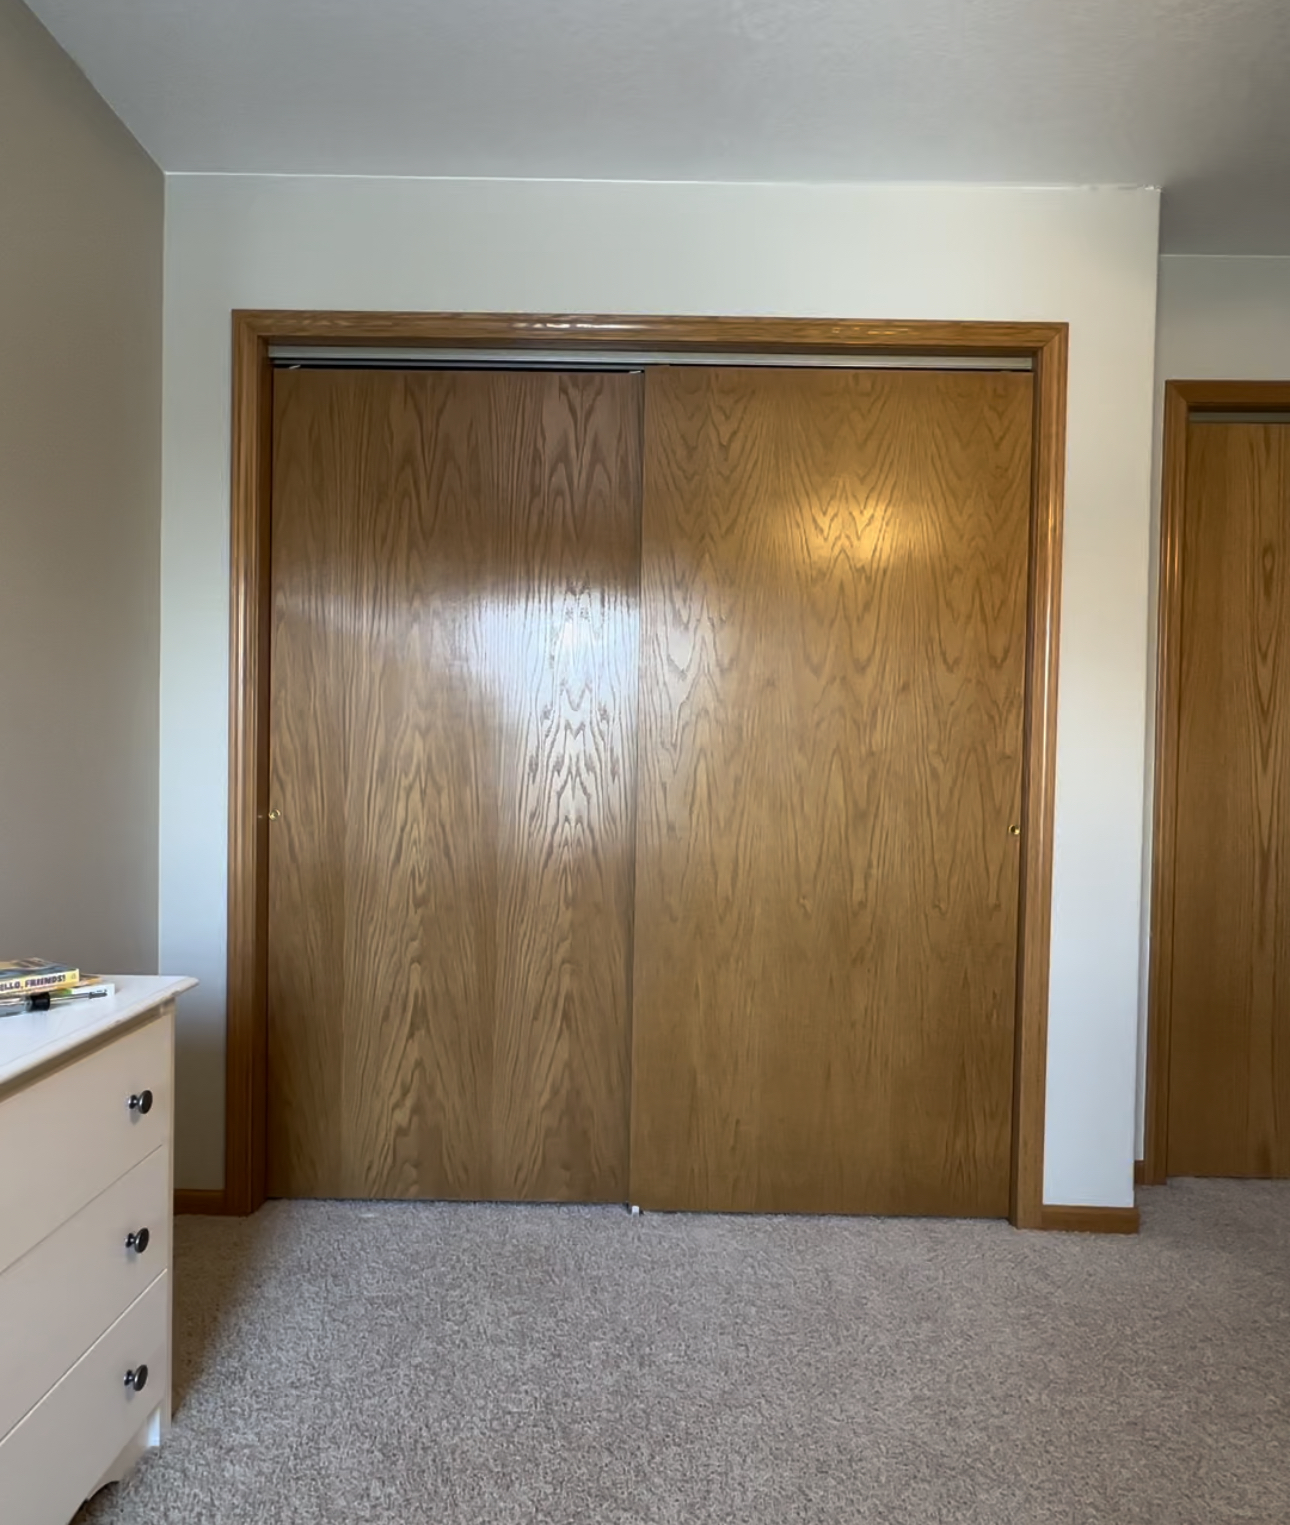
Here’s a look at what these slab doors looked like originally.
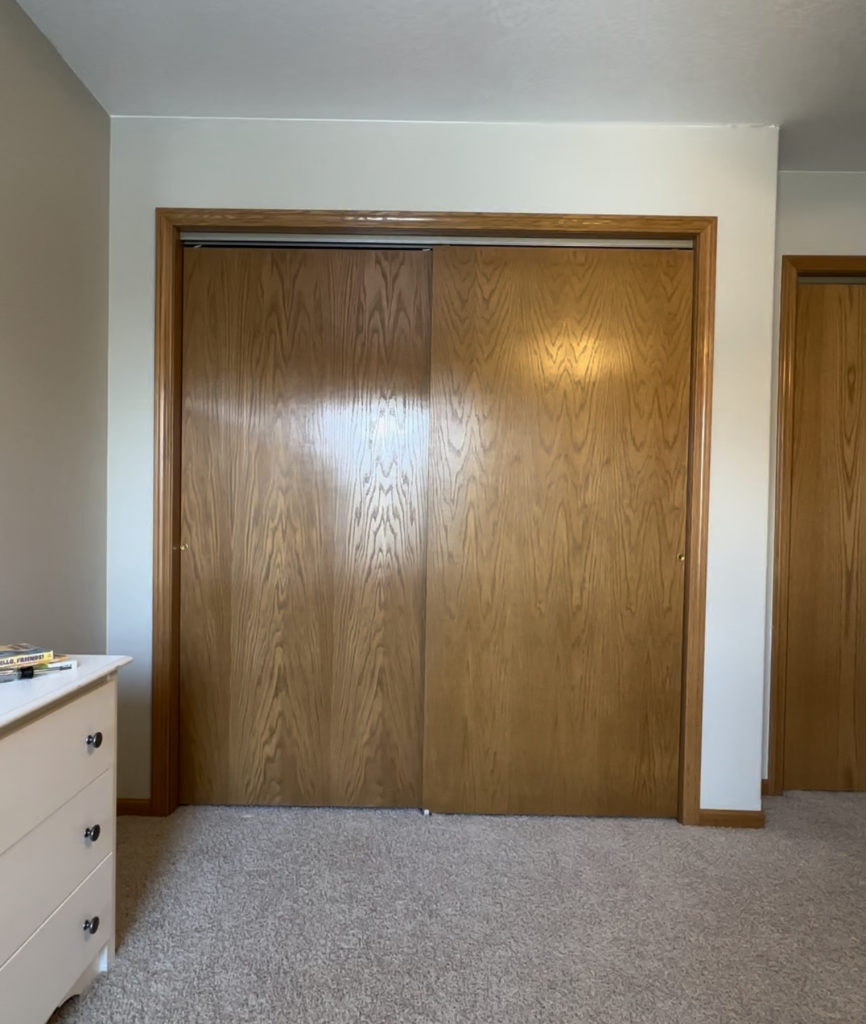
These are some of the more classic, standard closet doors you see in many homes, so I understand wanting to change things up a little bit. Also, if you have another room in mind that you’re wanting a fresh new look for, you might even consider a diy door makeover for a pantry door, a linen closet door, or pocket doors throughout your home. One thing that you could go crazy with is paint color. You could add a pop of color to a neutral room, or maybe a fun bold color and theme for your child’s bedroom.
Supplies I used:
- 1/4’’ Sanded Birch Plywood
- Liquid Nails
- Caulk
- Revere Pewter Paint
- Black Handles
- Bondo
- Spackling
- Door Rollers
Tools I used:
- Tape measure
- Circular saw
- Pencil
- Square
- Clamps
- Level
- Sand paper
- Sander
- Putty knife
List of steps for this closet door makeover:
1. Measure your doors
2. Measure and mark pieces of the 1/4 inch plywood. I’m not going to give you exact measurements because this will vary on door size and the design you’re going for.
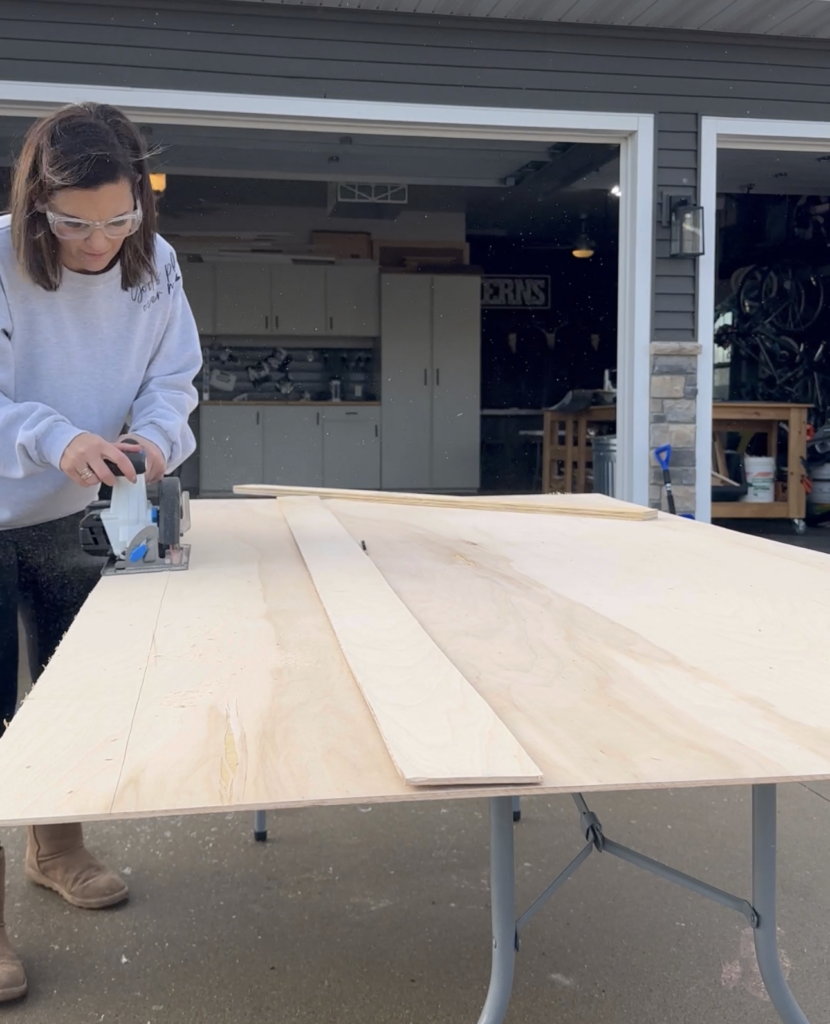
3. Cut pieces to length to cover perimeter of closet doors.
4. Take doors off track to work on them. You could do this at the very beginning also but I didn’t want to have them in the way initially.
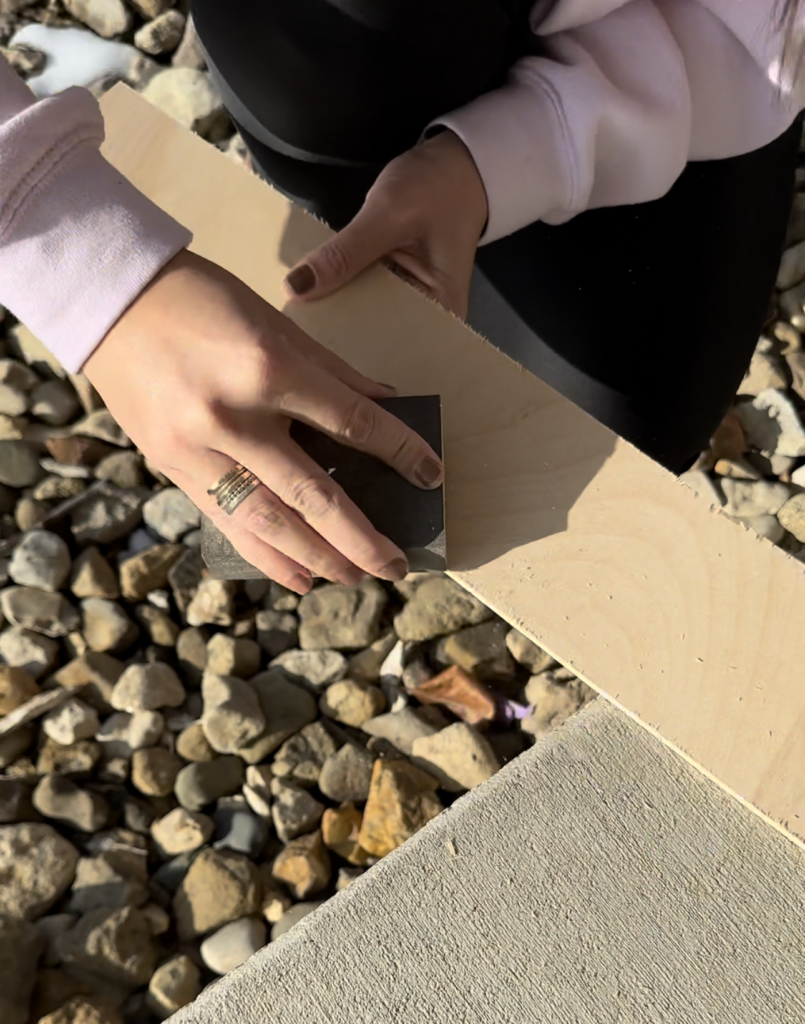
5. You’ll want to double and triple check that your measurements are correct by dry fitting them on the doors and then sand edges of plywood strips to smooth them out.
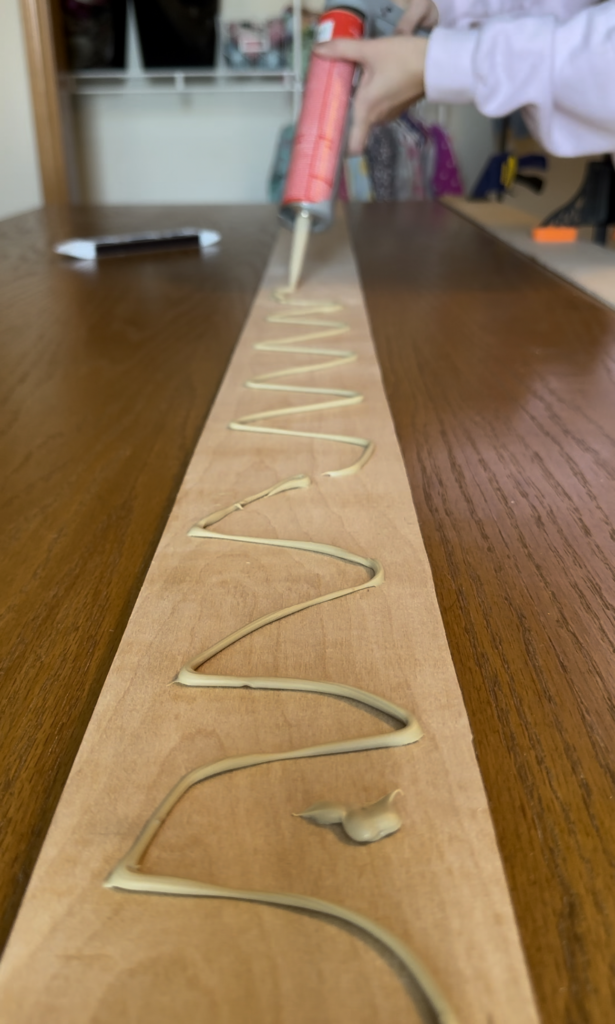
6. Apply liquid nails to the back side of the plywood strips and adhere them to the existing closet door panel. Now, you could probably also use wood glue for this but I felt like liquid nails was going to be the longest lasting option. The beauty of not using a brad nailer for this project is that you will have no nail holes to fill. We all know how much more time that can take.
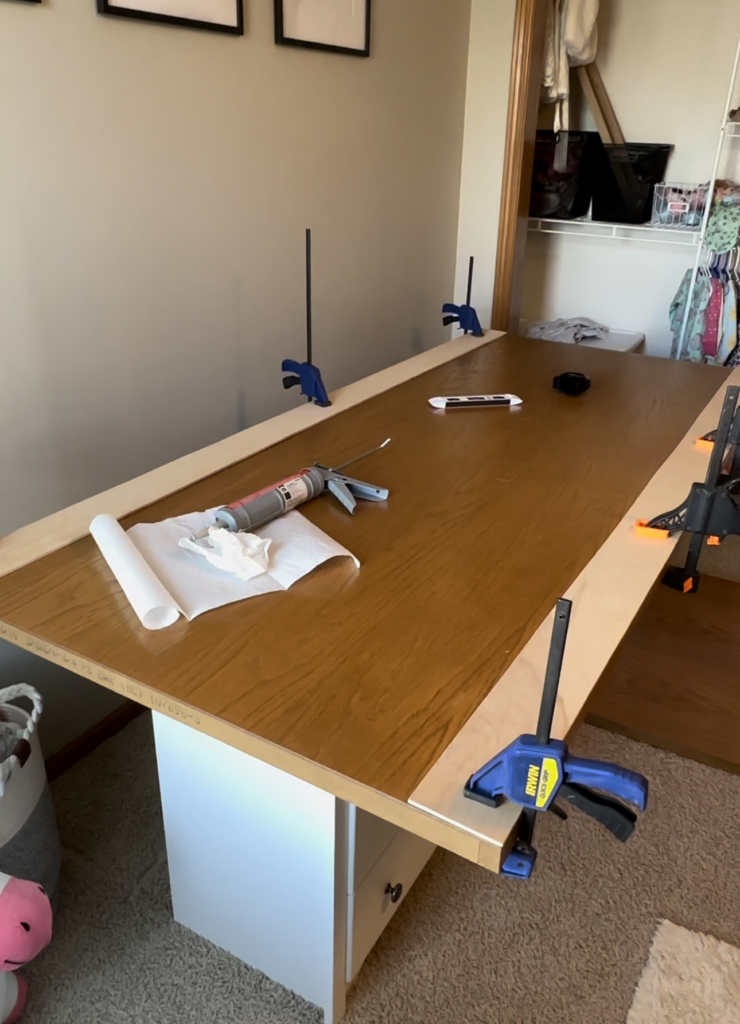
7. Clamp pieces to the existing door to allow the liquid nails to set up and dry. I recommend using several clamps in several spots. This might mean you can only do a couple strips at a time depending on how many clamps you have.
8. Once dry, use caulk (DAP Alex Caulk is my favorite) around the inside edges of the plywood trim and wipe away excess (I use baby wipes for this step).
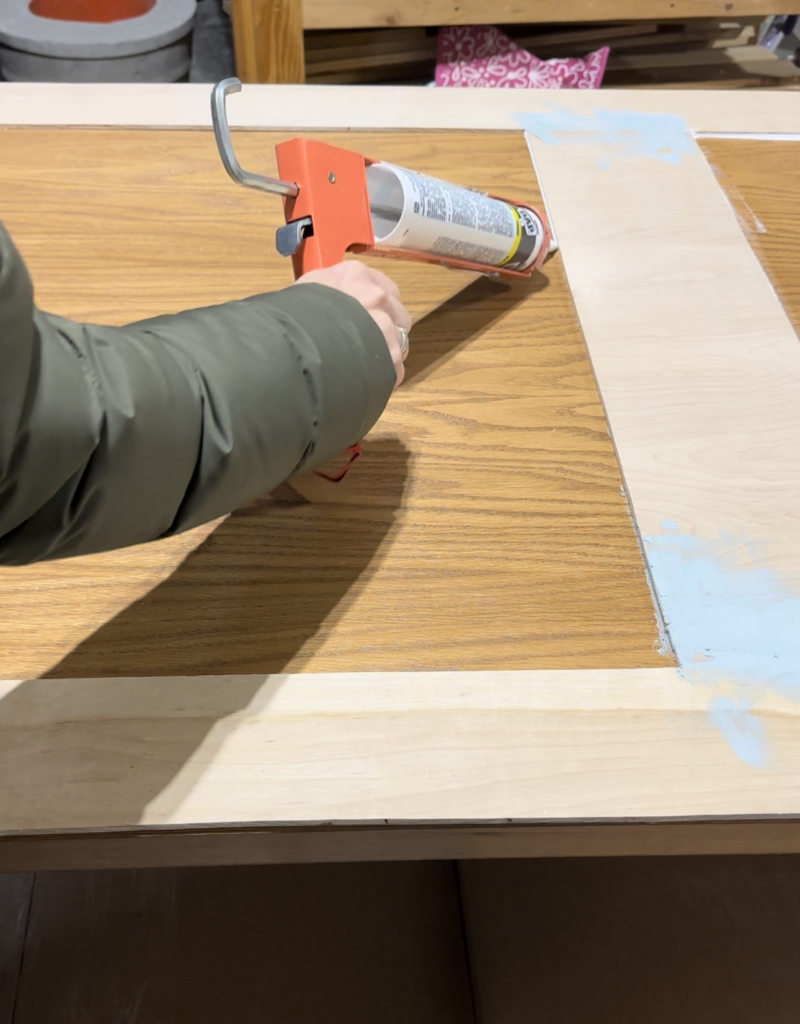
9. Then you want to allow everything to dry before sanding down edges of the doors.
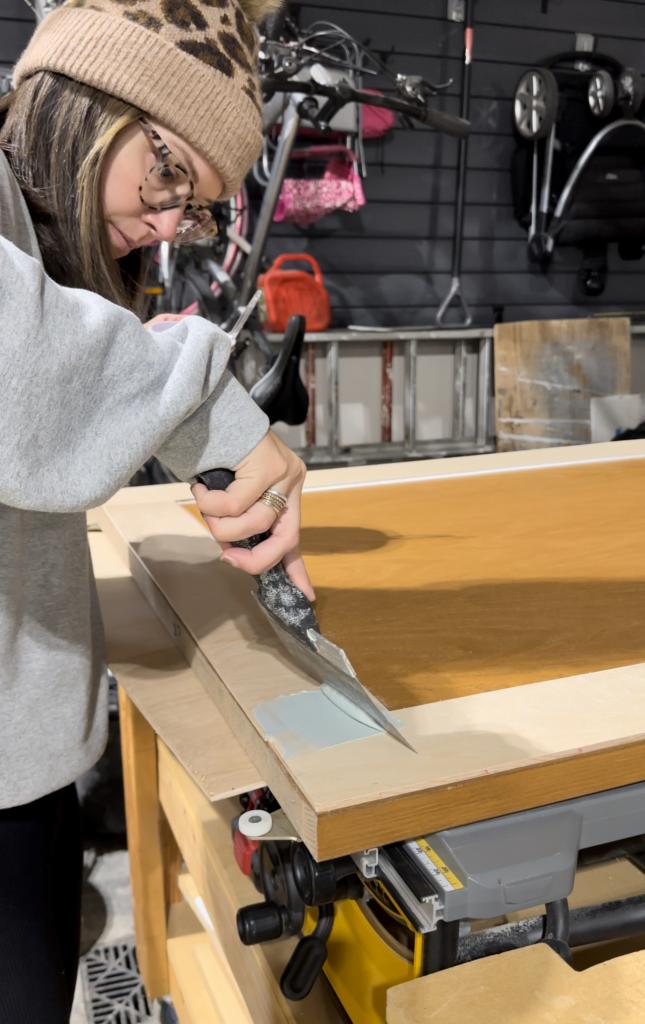
10. You can use wood filler or bondo to fill in seams of the trim pieces (I prefer bondo). Meanwhile, I also used lightweight spackling to fill in some of the outside seams around the edges of the doors where there was a small gap. You could use wood filler or bondo for this step also.
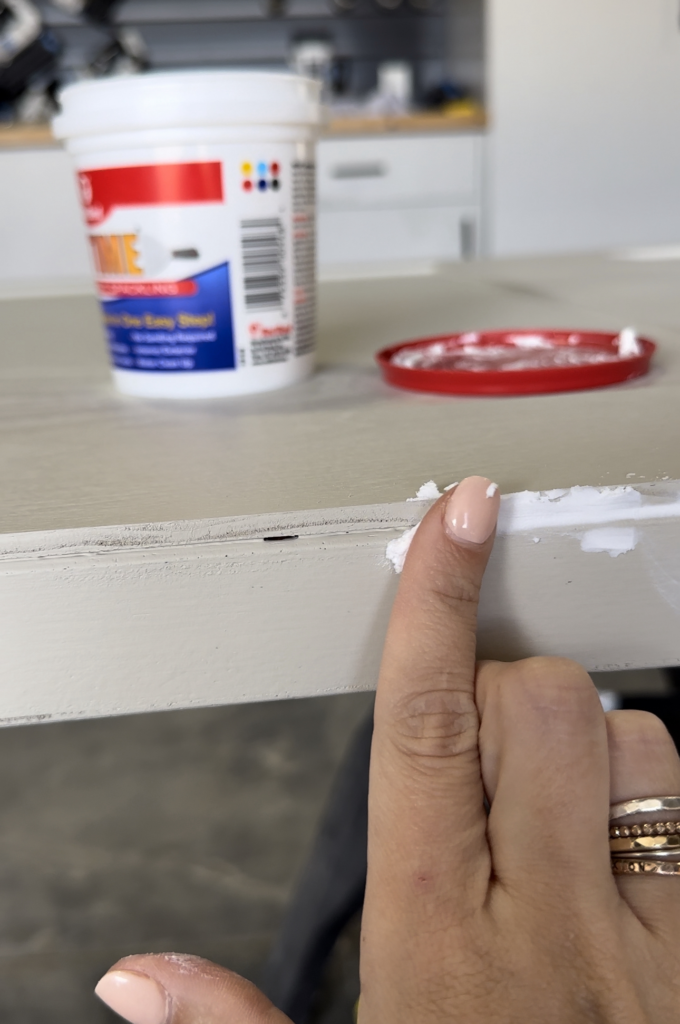
11. Next, you want to sand the entire surface (using 220 grit sandpaper) so everything is very smooth.
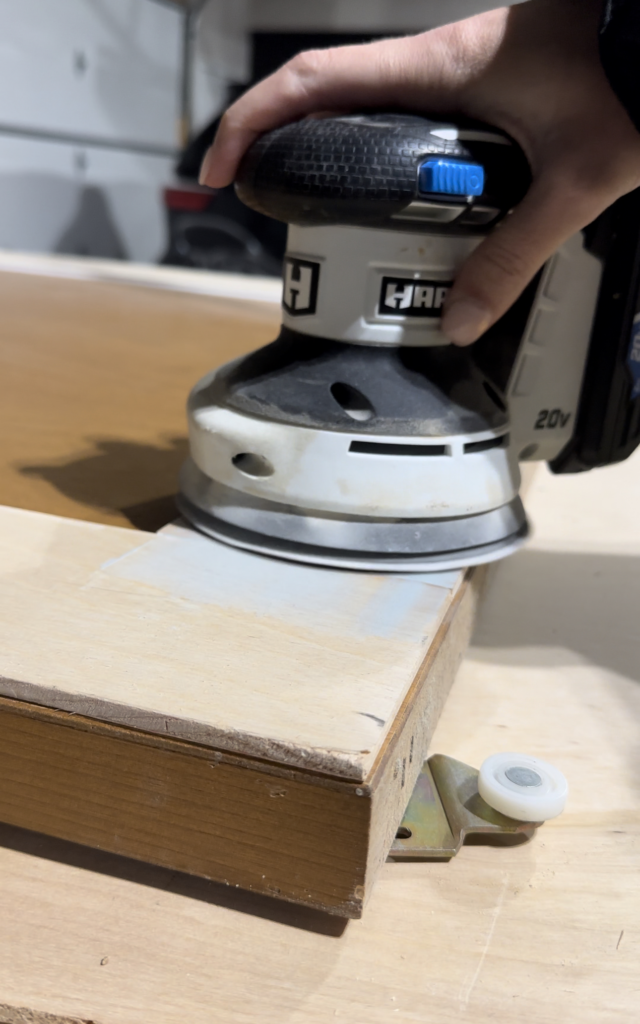
12. Apply first coat of the paint color you chose. You could use a paint sprayer for this step or a brush and roller like I did. Another fun twist for this project would be to apply chalkboard paint to the center part of the doors so your kids could draw on the doors. This would be great for a playroom.
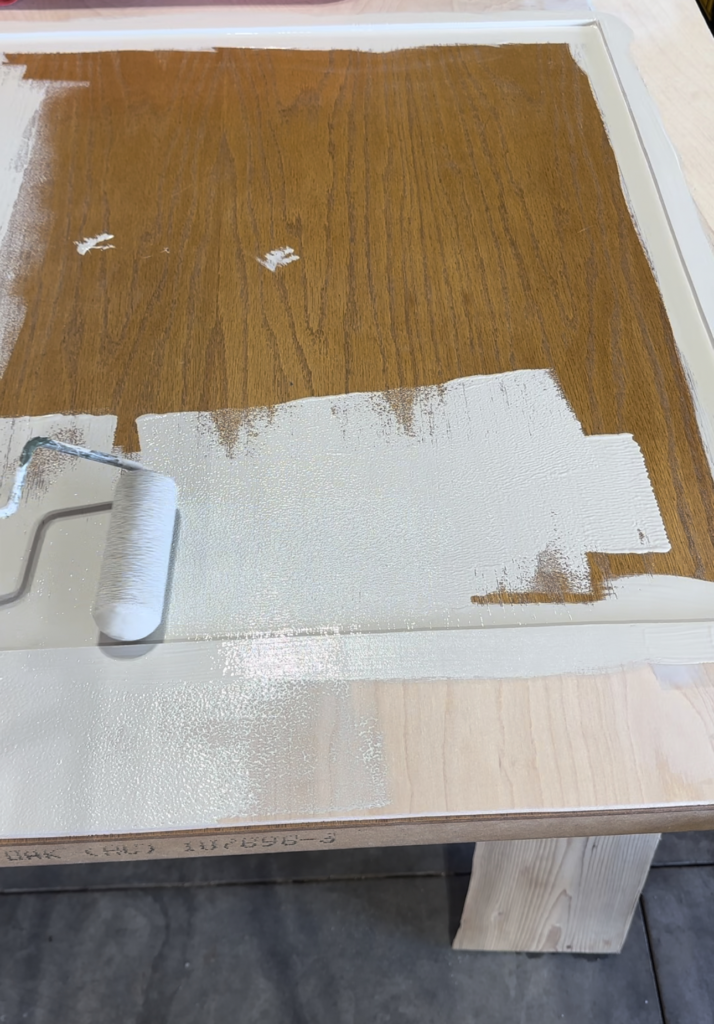
13. Lightly sand in-between each of the coats of paint (I did two coats of paint).
14. Now that you’re done painting and everything is dry, make sure you check to see if the doors still fit on current closet rollers. This is where I needed to adjust and purchase new rollers to prevent rubbing.
15. Update your roller hardware if needed.
16. Install the handles. We chose some more modern, black hardware and I think it fits the look so much better. I’ve seen some others use brass handles that are beautiful too.
17. Hang your doors and admire them.
Ok, are you ready to see the finished project and check out this door makeover?!
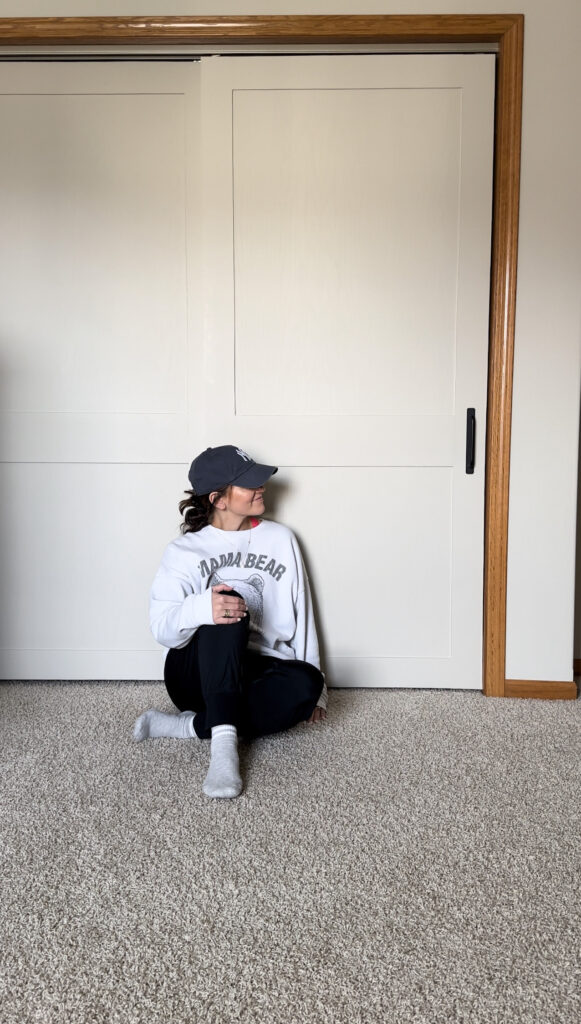
I just love how this turned out! My friend was so happy with how this project turned out, so later we walked the rest of the house brainstorming which other closet doors we should do next! Let me know if you decide to diy closet doors in your own home because I would love to see your transformations.
I hope you found some great times to get started on your own DIY Closet Door Makeover. Be sure to check out some of the other recent DIY projects I’ve done like this fluted coffee table or follow along on Instagram with our current project.
June 8, 2023

