DIY Aged Stool
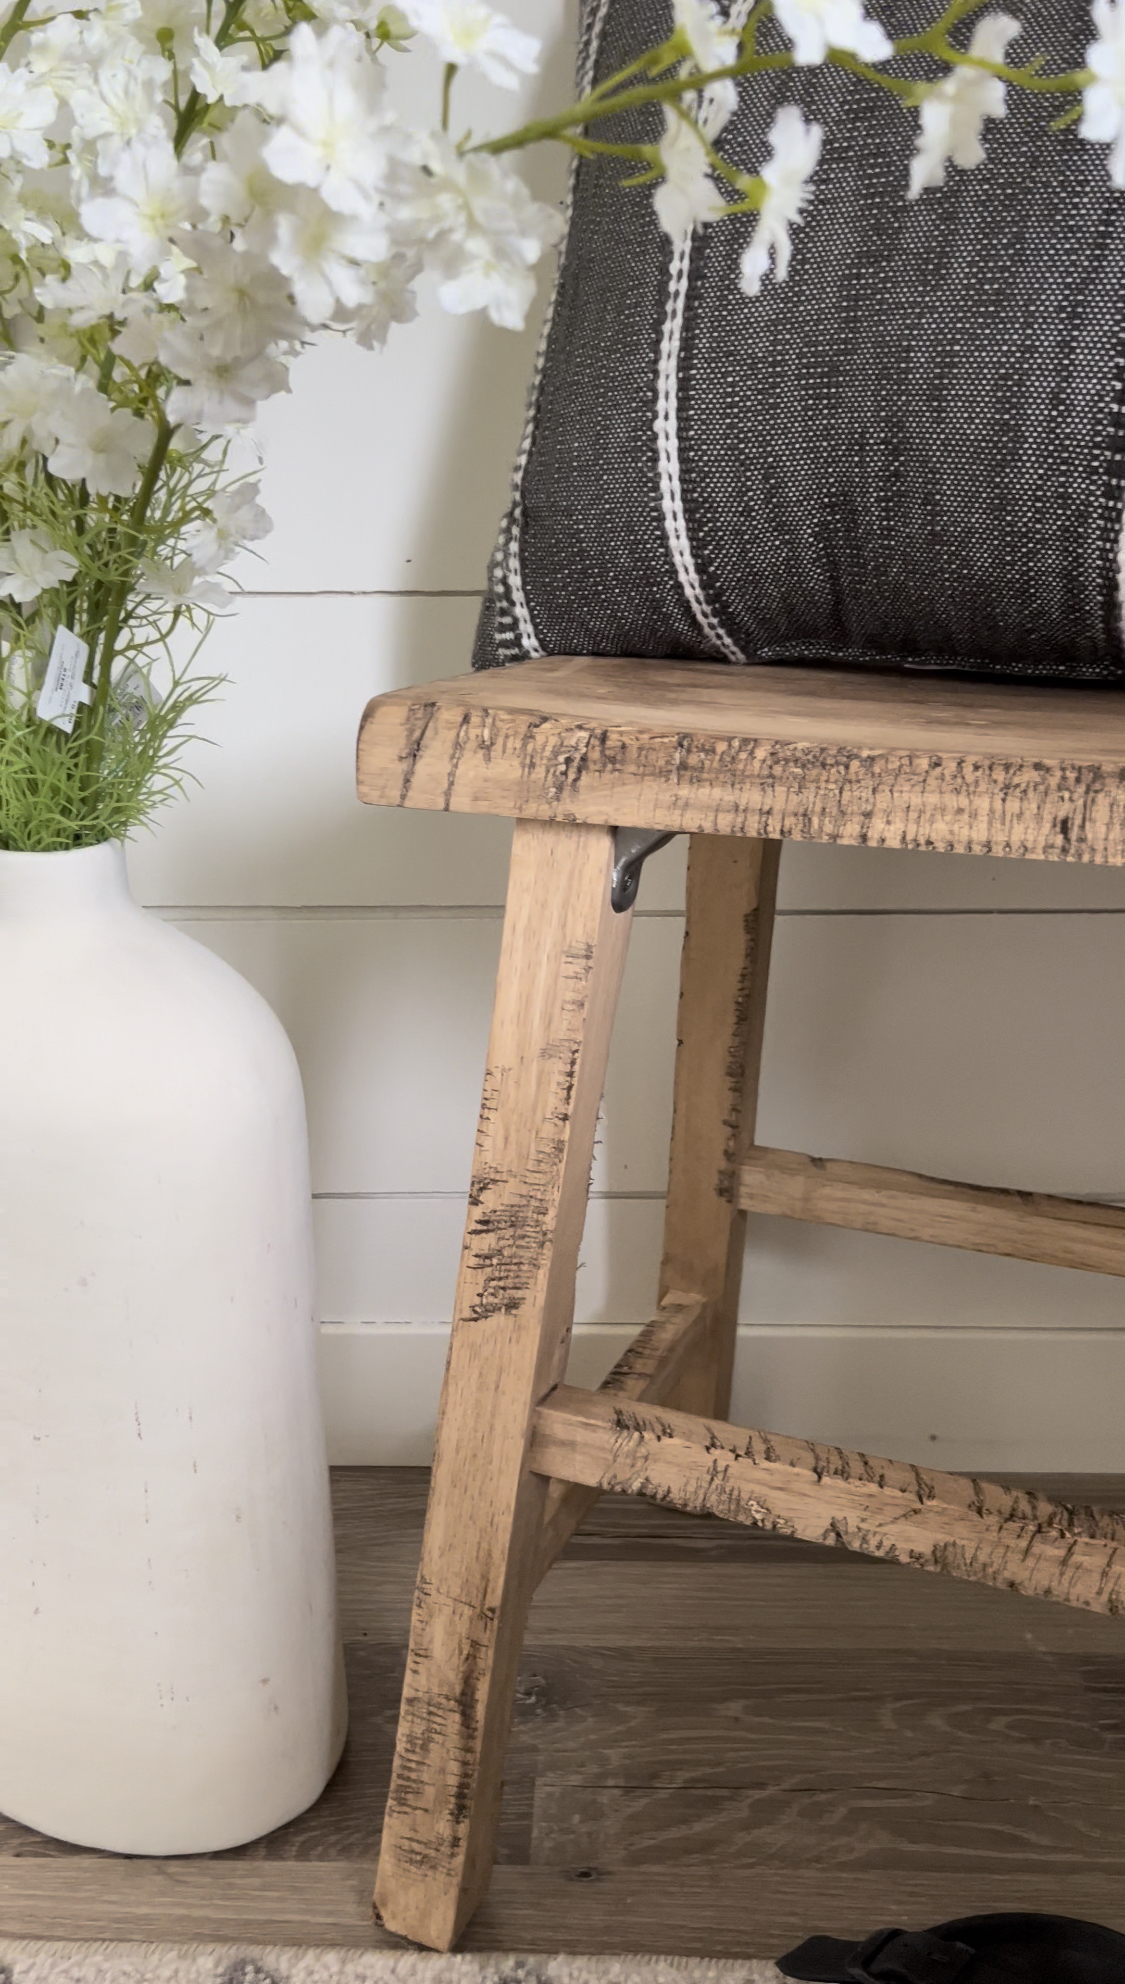
Aged furniture is in! Do you ever think about how you can pay hundreds for new furniture that looks old, or you can just age the furniture that you already have for free? I’m going to show you how I took a basic stool and gave it new life as a DIY aged stool!
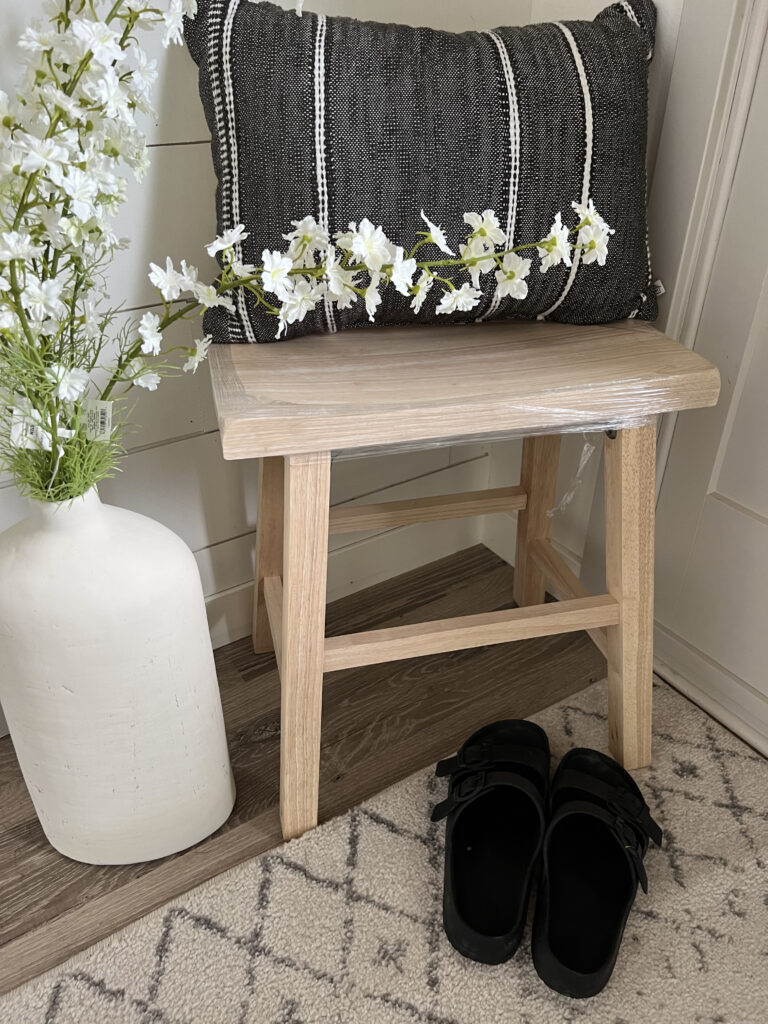
Step 1: Distress with Jigsaw
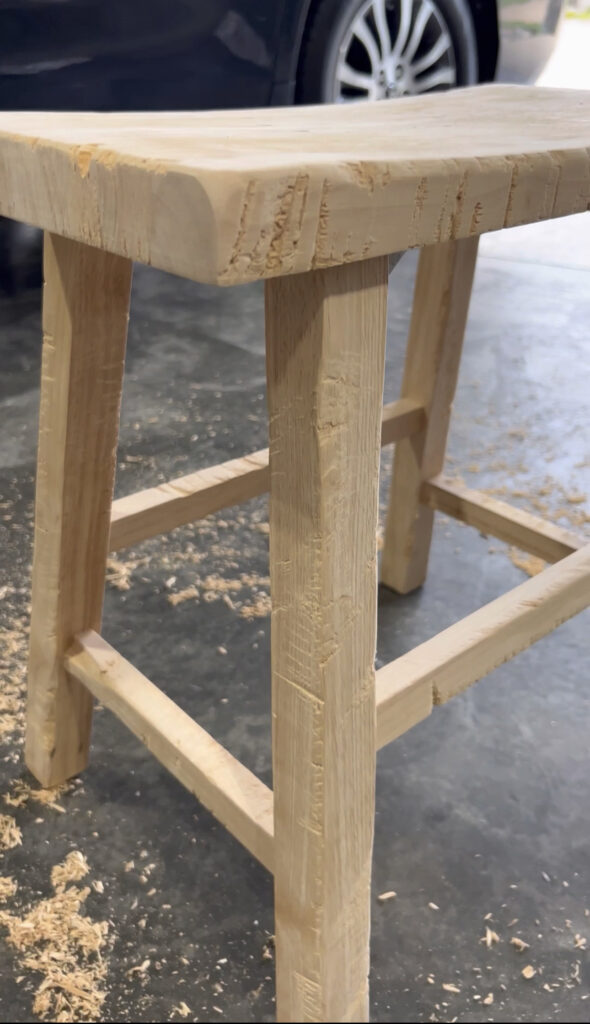
The first step is a little fun, and you just may be able to let out a little aggression too! I took my jigsaw and made lots of cuts into the stool. I wanted to be careful not to accidentally cut too deep, especially on the smaller boards such as the supports underneath. You don’t want to slice a support in half! Try to get your cuts all over the entire piece, because that will add to its authenticity. If you do this step right, then it does get pretty messy, but it’s an easy clean up job.
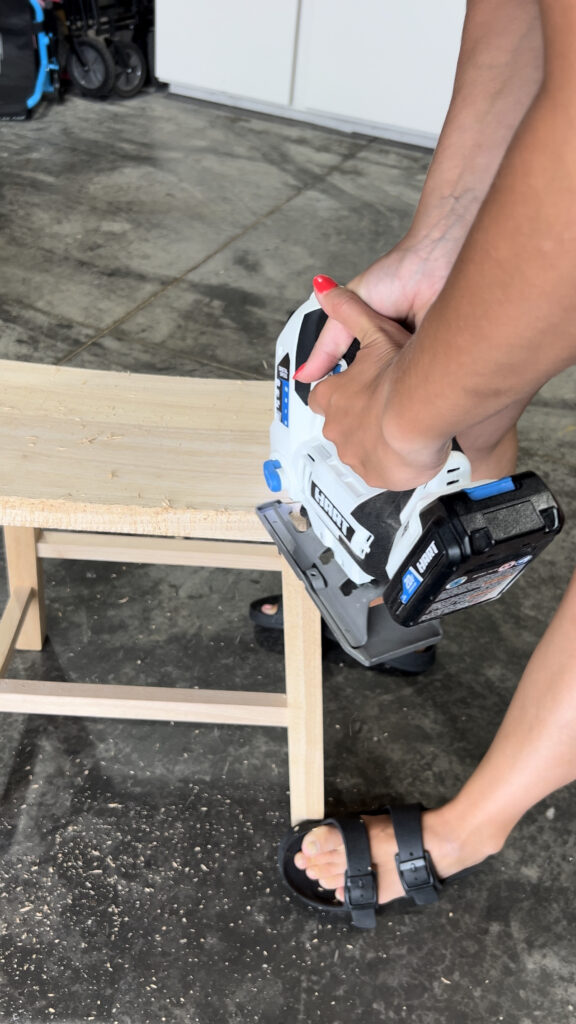
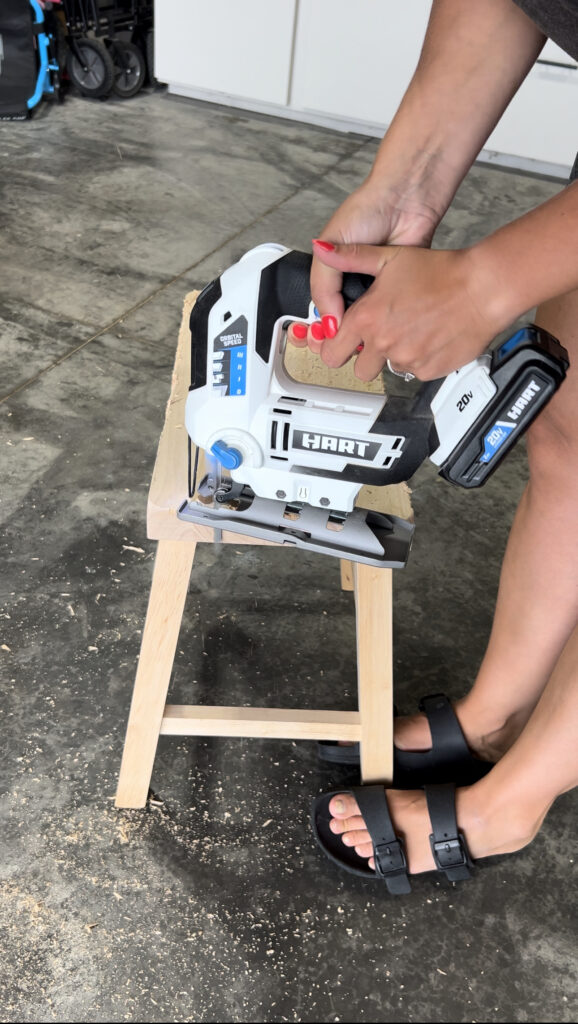
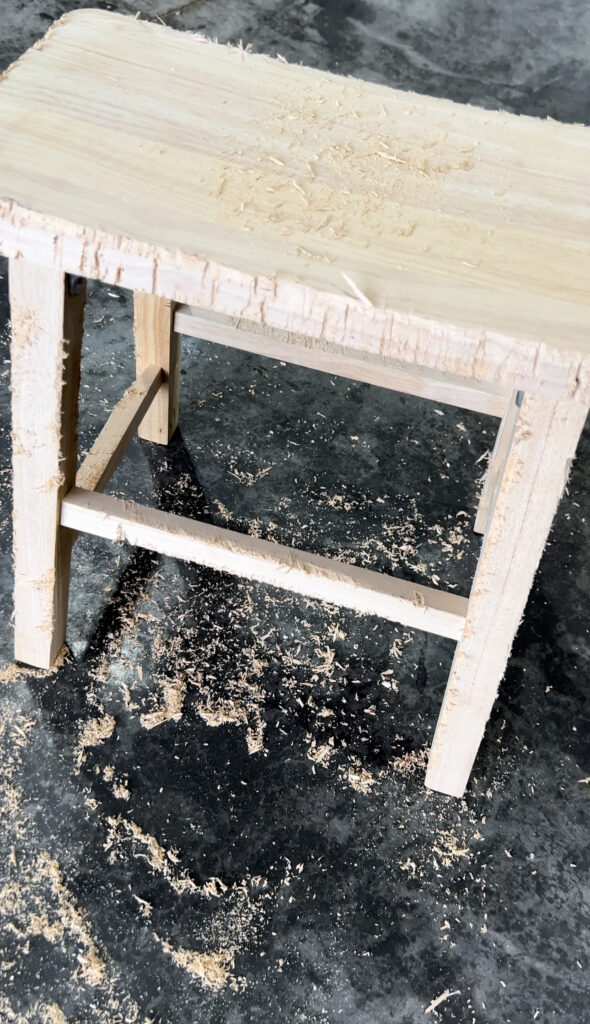
Step 2: Wire Brush & Drill
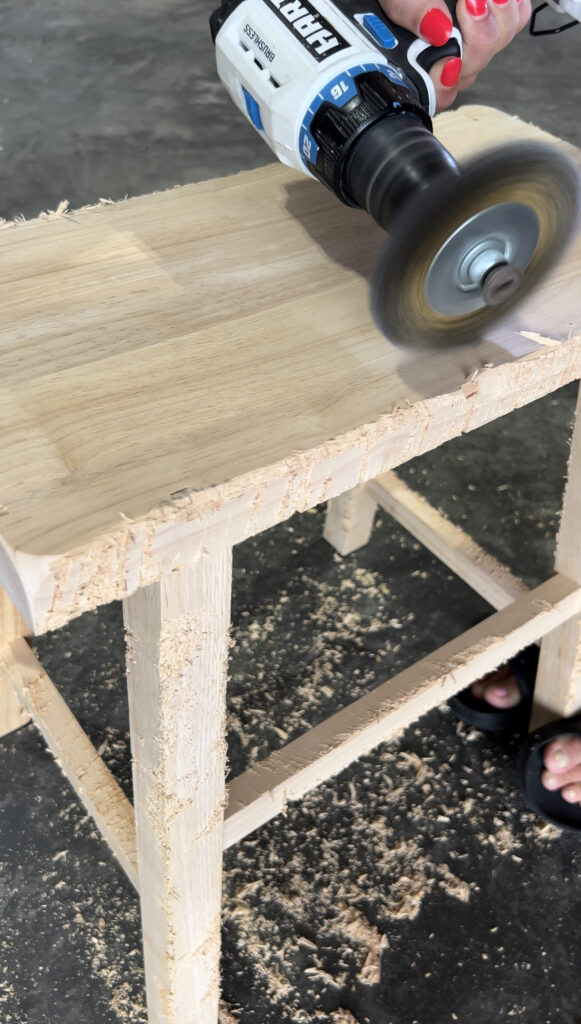
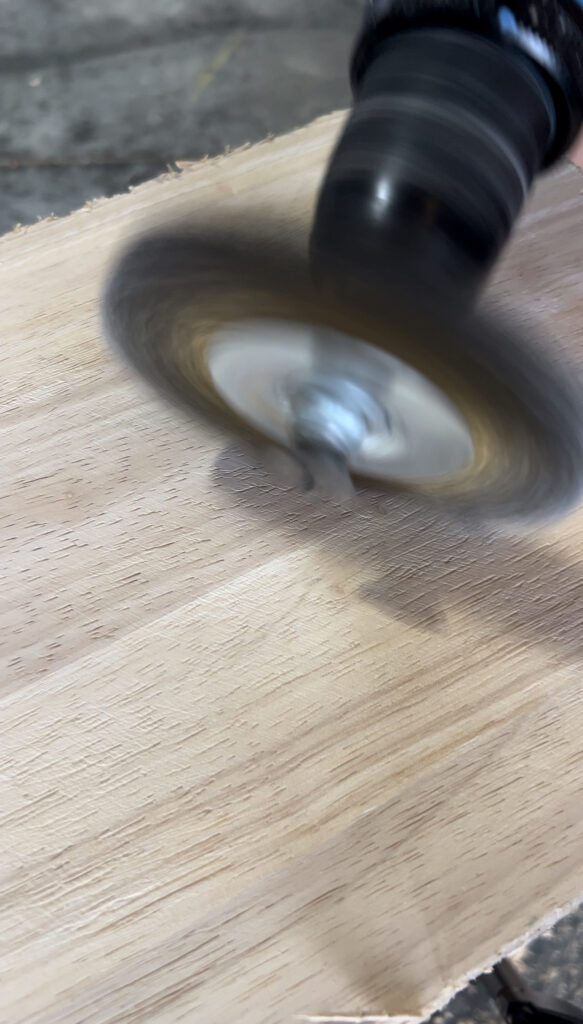
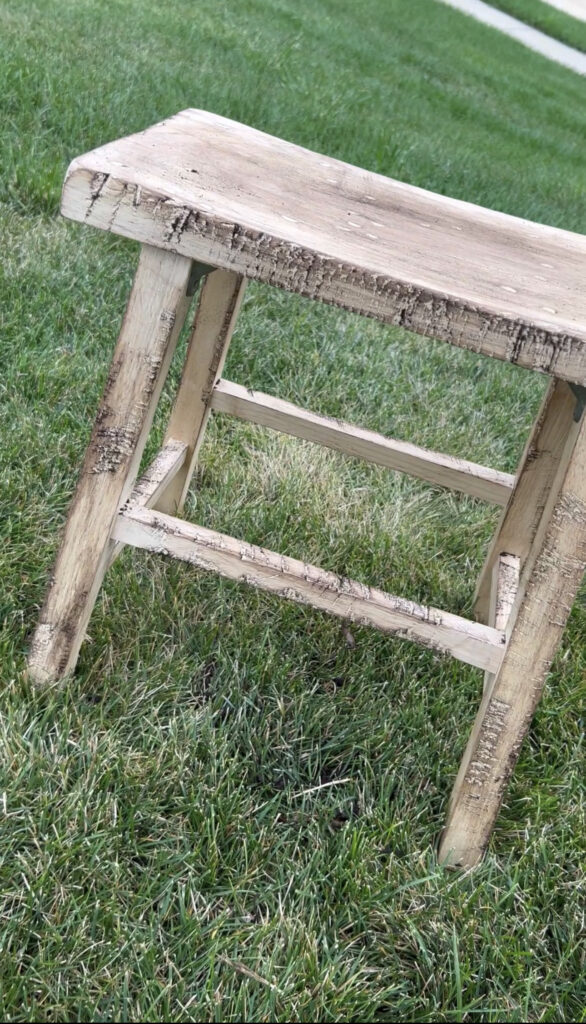
For the next step I took a wire brush attachment and added it to my Hart drill. Then I carefully buzzed it all over the stool. This step gives the stool all of the little tiny nicks that you see in furniture over time, such as when you drop things on wood furniture. Without those marks, the furniture won’t look as authentically aged. If you look really closely, you can see the nicks in the photos below.
Step 3: Sand it Smooth
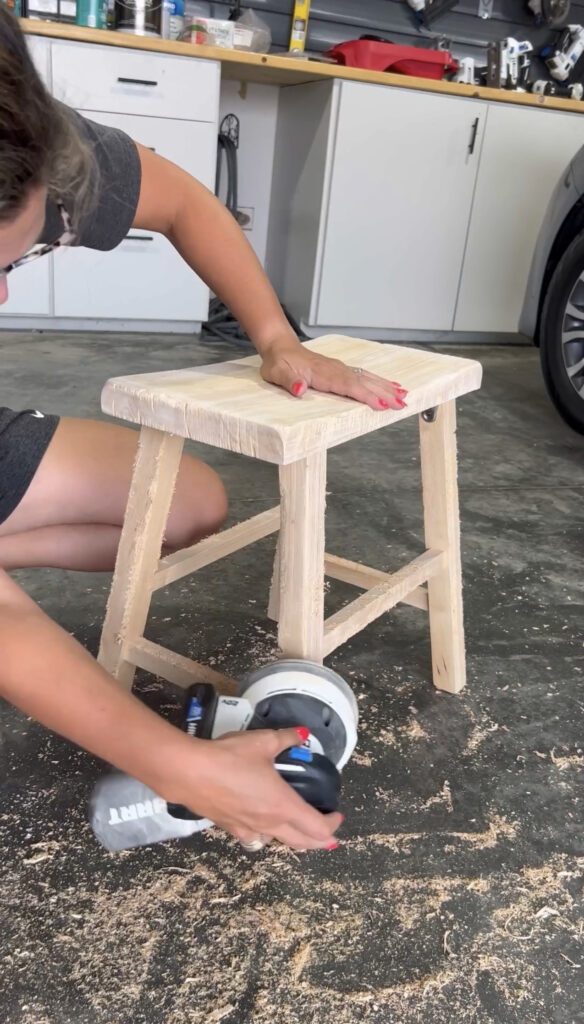
Par for the course of most DIY projects- sanding! I definitely recommend investing in a good sander if you like to DIY, as it will save you a ton of time (and arm soreness!) over hand sanding. I simply took my electric sander and ran it all over the stool, including underneath, until the stool was smooth. Once smooth, I wiped it down with a wet cloth to remove all of the excess wood shavings before staining.
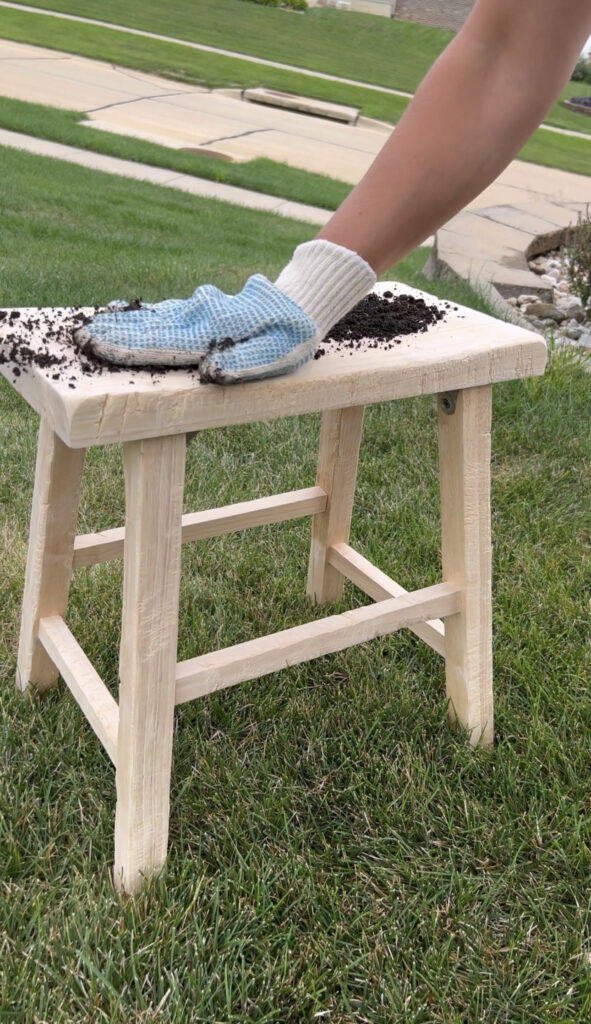
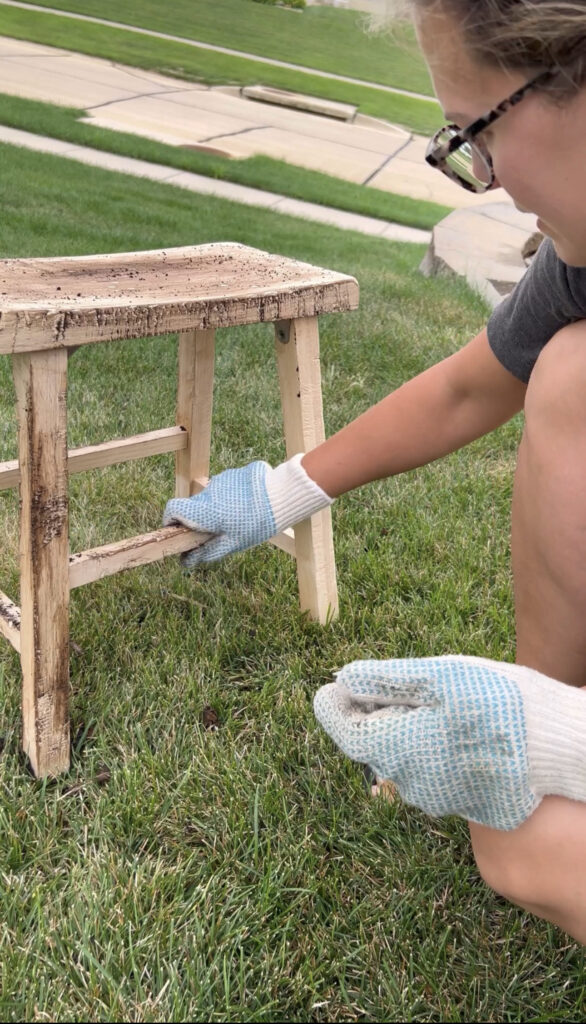
Step 4: Throw some dirt on it!
Yes, really! Take your piece of furniture outside and find some fresh dirt, then just rub it in! Be sure to fill all of the cracks and crevices. I promise, this is the secret that really levels it up as an aged stool!
Step 5: Stain and Seal
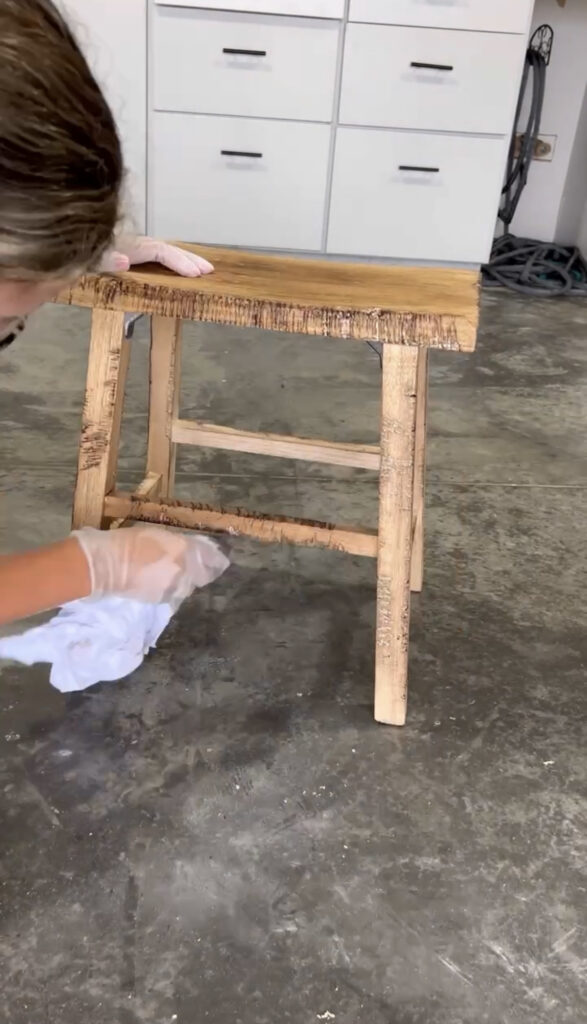
If you love the color of the furniture you’re aging you can move straight to sealing it, which protects the piece from stains and discoloration. I wanted to stain it to match other stain colors in my house, so I stained it using the color Weathered Oak. First I brushed it on with a clean paintbrush, then after letting it sit I wiped it off with a clean, dry cloth. The longer you let your stain sit, the darker your stain color will be. After staining, I sealed it using the same method with polyurethane.
Step 6: Admire its Beauty
And give yourself a pat on the back for a job well done! Now go style your new favorite piece of furniture!


And that’s it! An easy peasy afternoon project. What do you think- do you like the original or the aged stool better? What piece of furniture are you excited to try this method on first?
Are you ready to level up your DIY game? Try building my DIY fluted coffee table!
Materials, Tools & Supplies:
- Stool (or other furniture!)
- Hart Jigsaw
- Hart Drill
- Hart Brush Attachment
- Hart Sander
- Stain (I used Weathered Oak!)
- Topcoat
- Dirt
February 14, 2023

